Built Work · 2024–Present
Home Theater
A large basement room with a screen nook, a wire problem, and a clear vision. A custom raised platform for stadium seating, a 120" acoustically transparent screen that rises from the floor, a Bowers & Wilkins 5.1 surround setup, and every cable hidden behind walls, above ceilings, or inside the platform itself. Neat, clean, high-tech, and classy, or it stays open until it is.
The Transformation
Before & After
Drag the handle to compare.
Walkthrough: drag to compare.
Project Walkthrough
Phase by Phase
The Before
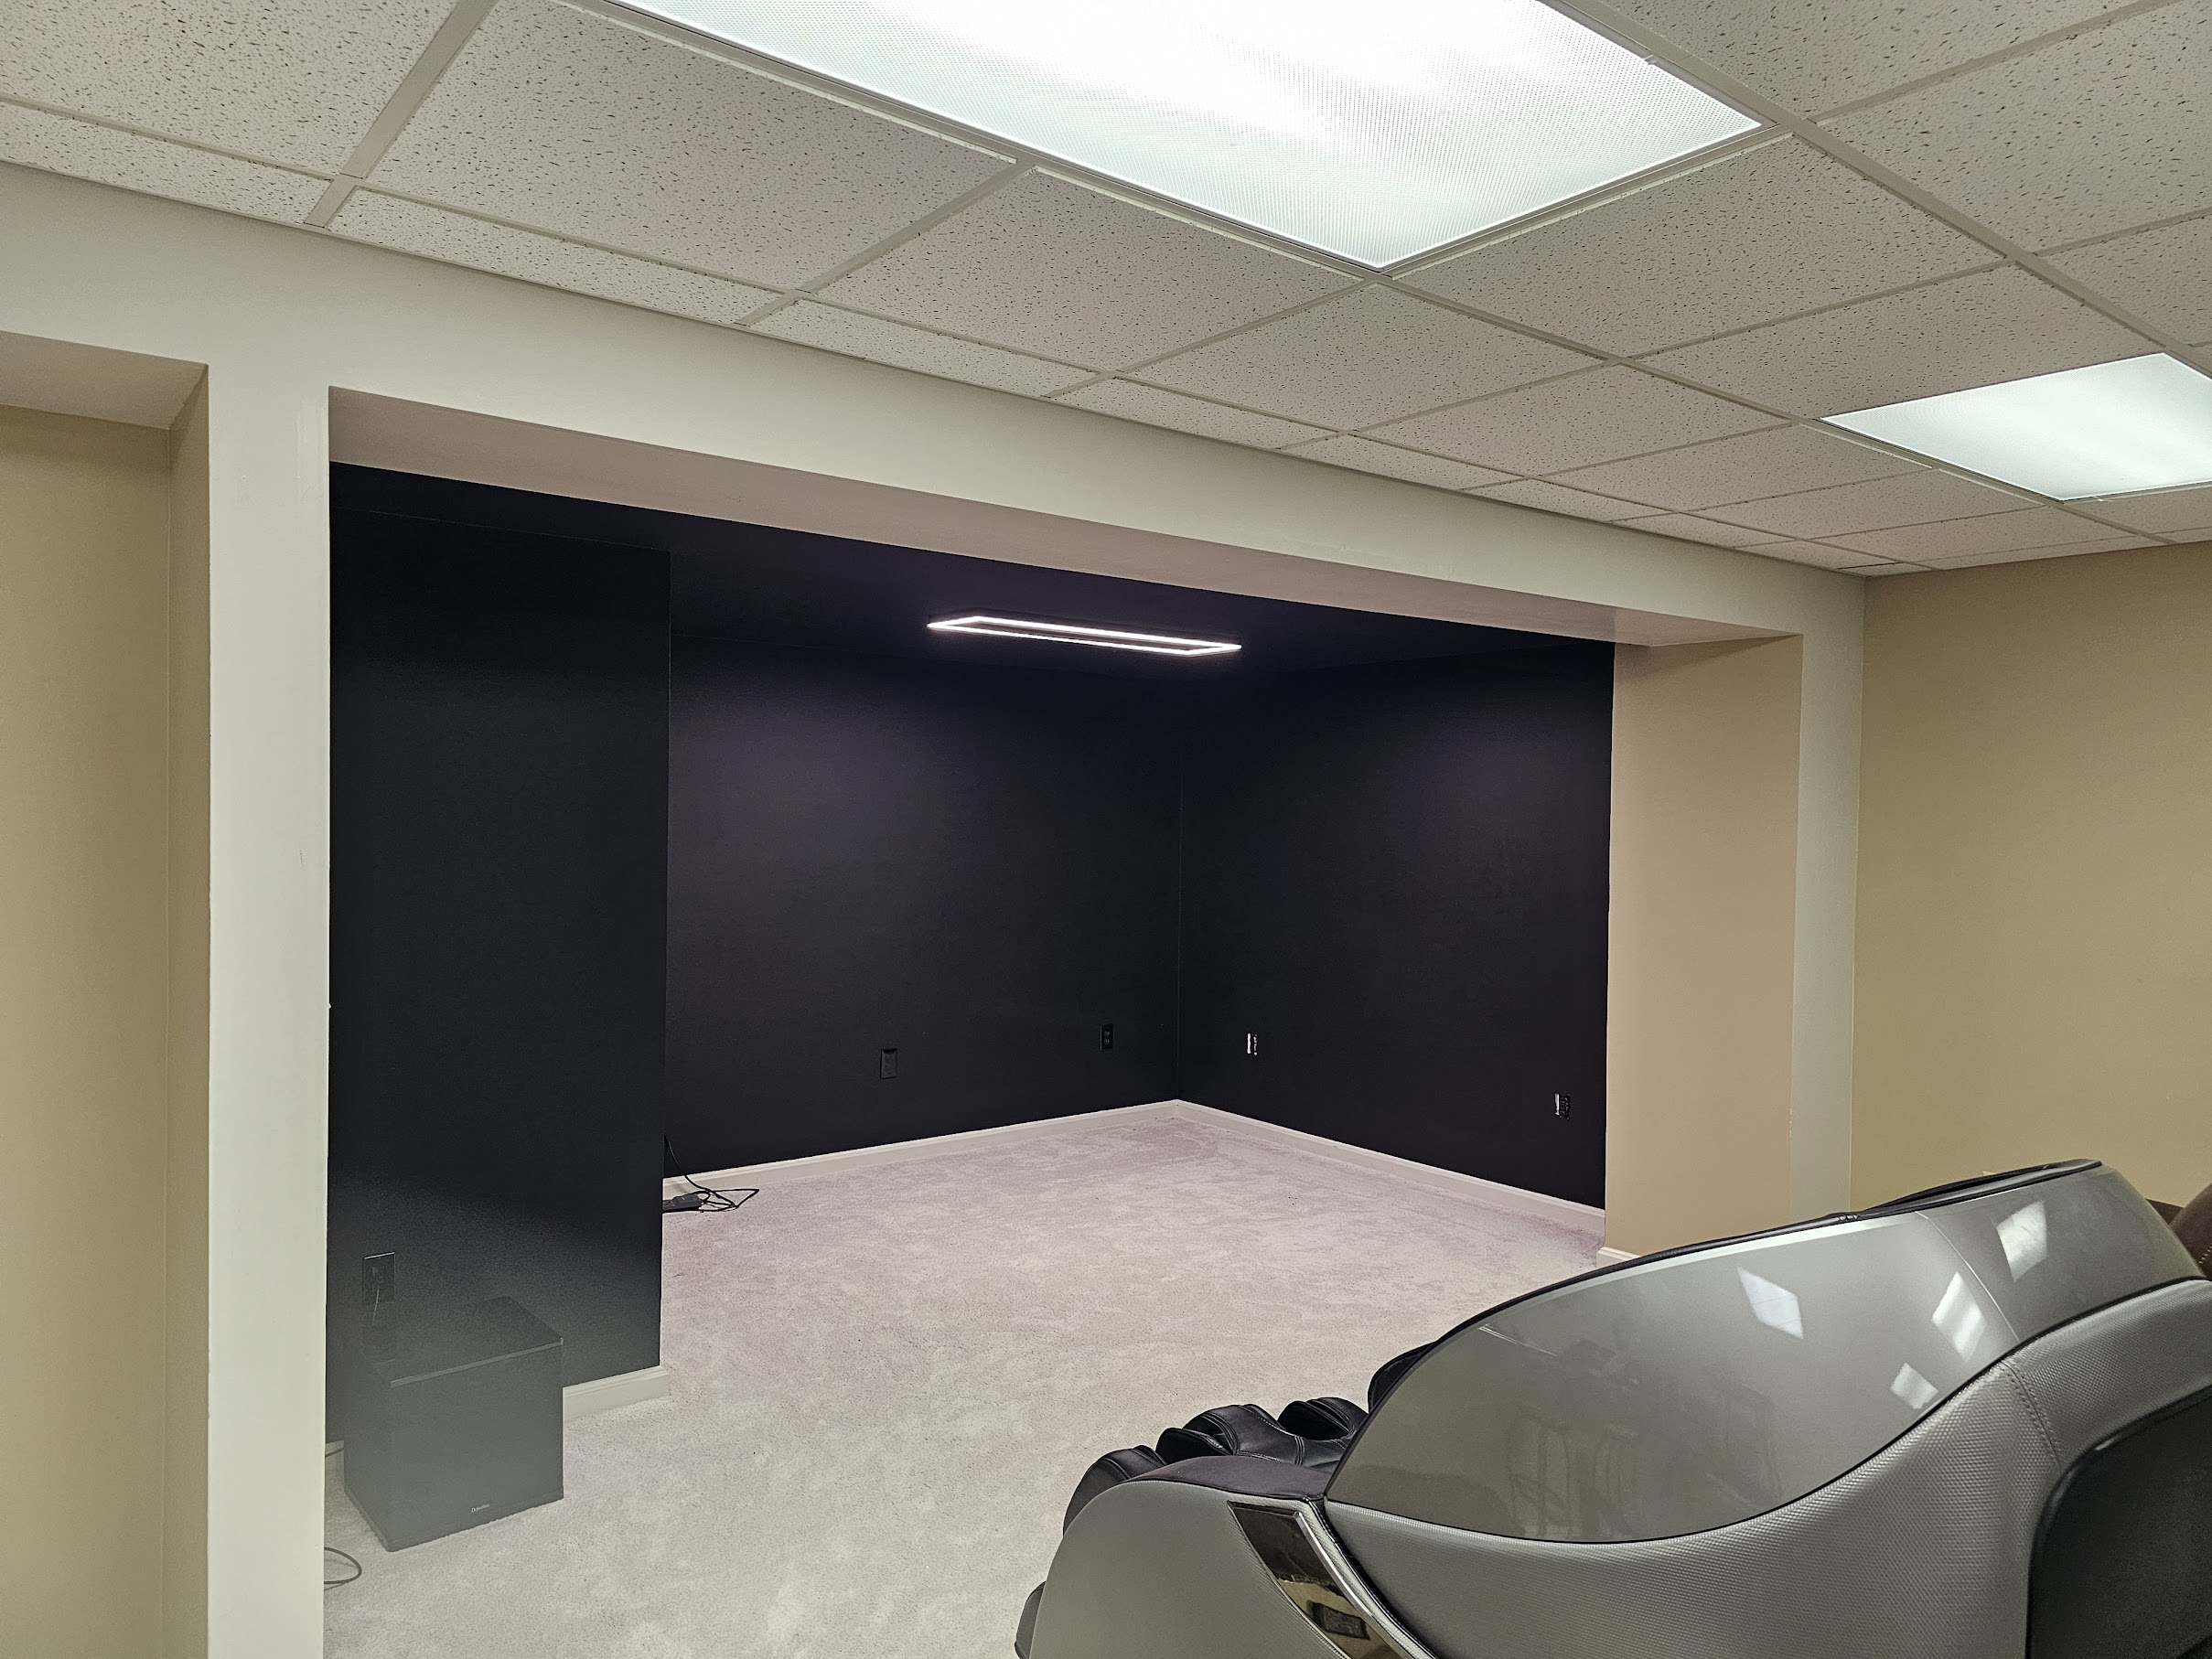
The basement had a large open room and a nook at the far end that was always destined to be a screen wall. The AWOL Vision UST projector and 120" motorized floor-rise screen were already in place, running on a Denon receiver through Bowers & Wilkins bookshelves, rears, center, and a Definitive SuperCube for bass. But the room wasn't a theater yet, it was a room with expensive equipment in it. Seating was at ground level, kids sat on the floor to get a straight-on view, wires were everywhere, and the screen table was a T-shaped assembly of brackets that looked like an afterthought. Starting point noted.
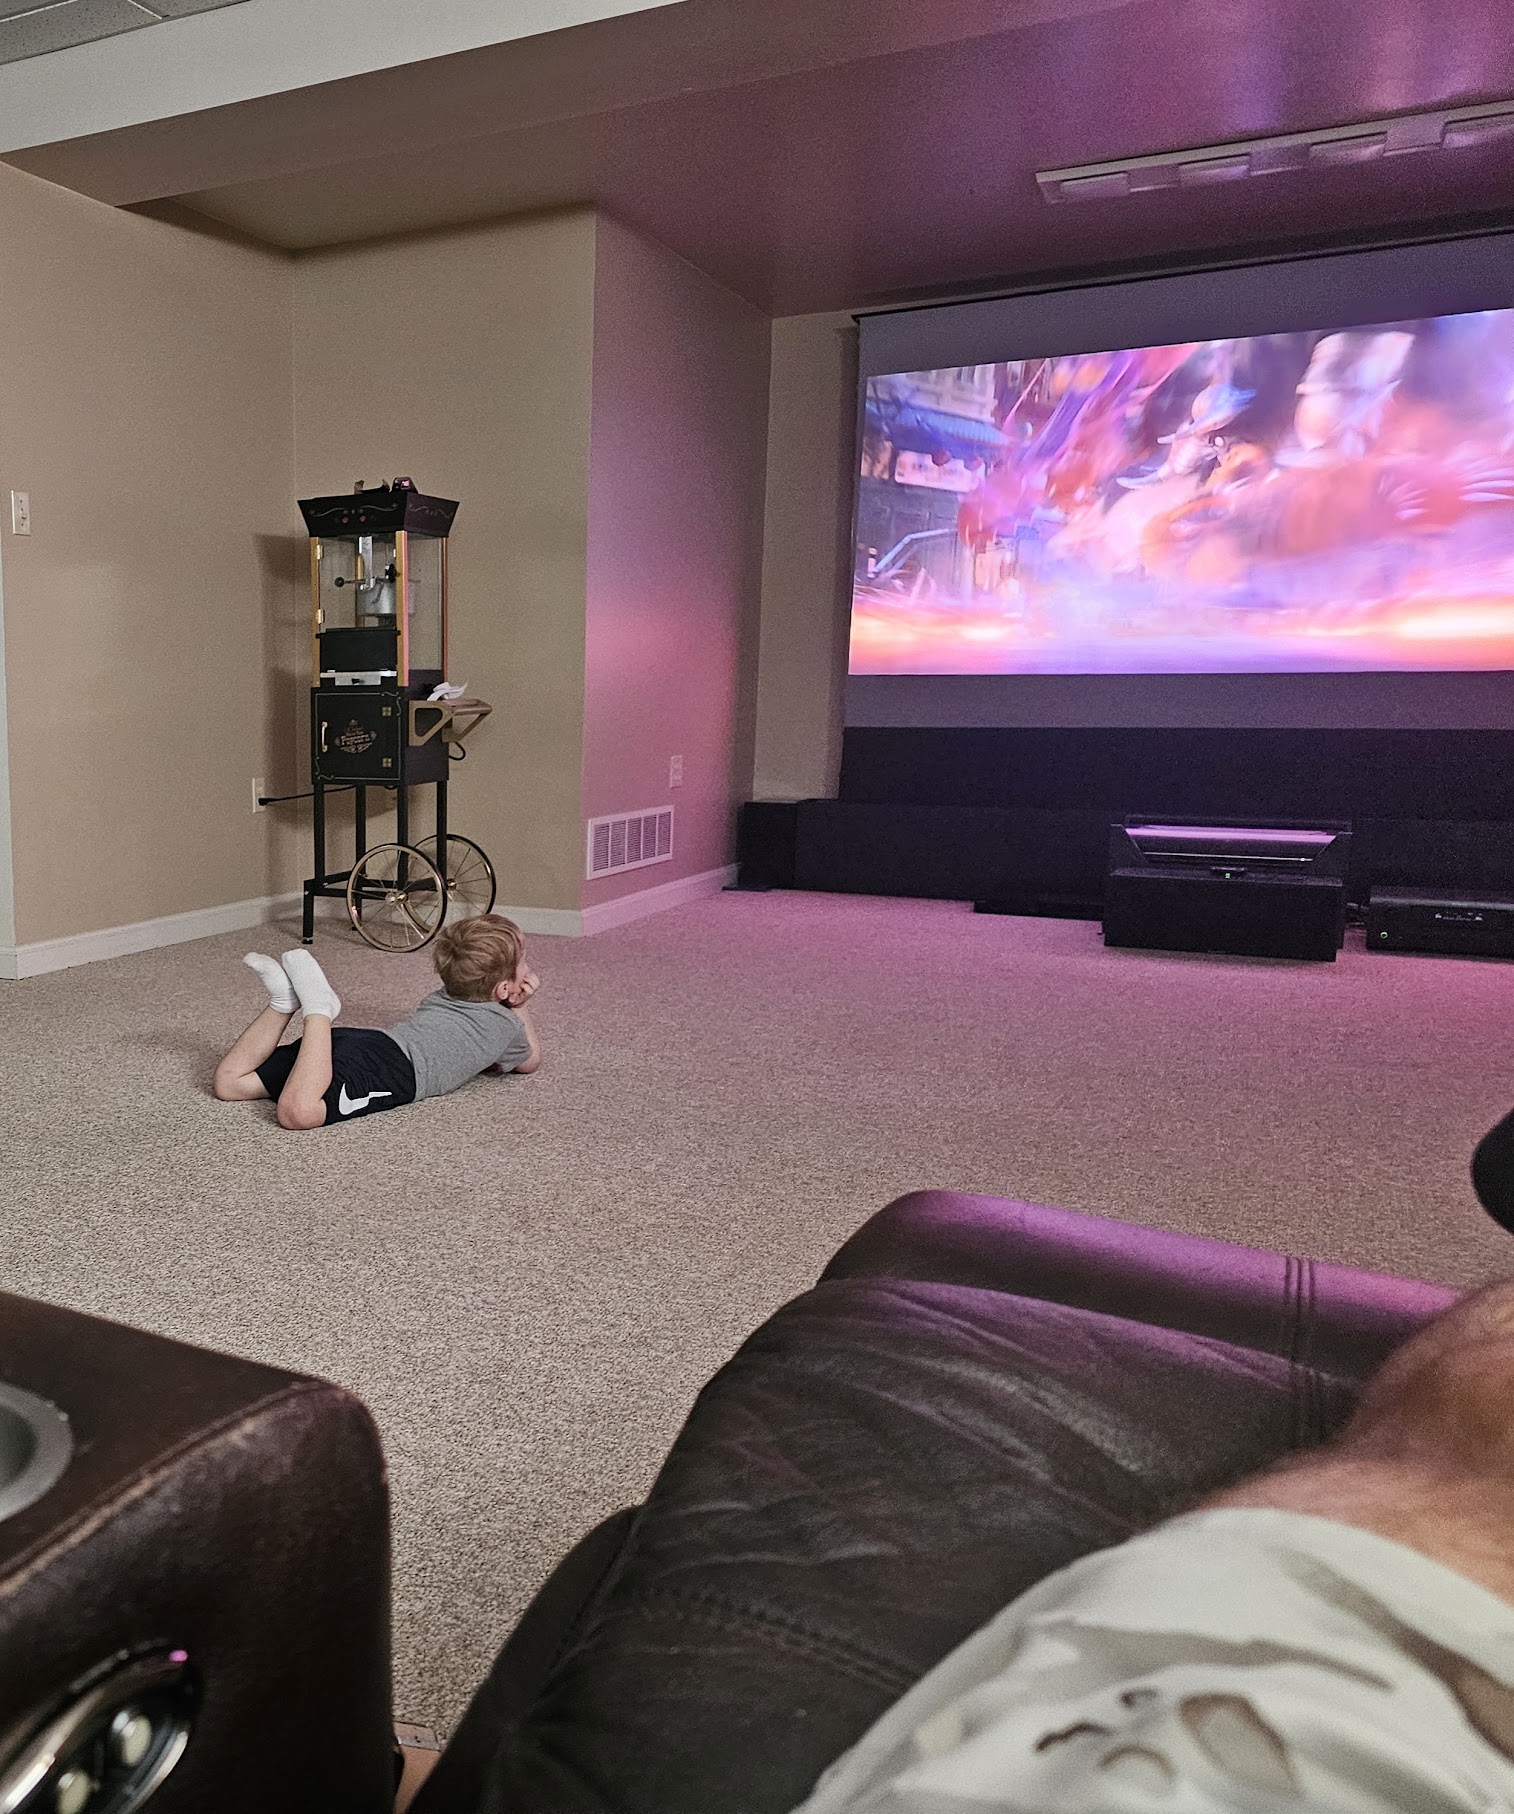 Floor-level viewing, September 2024
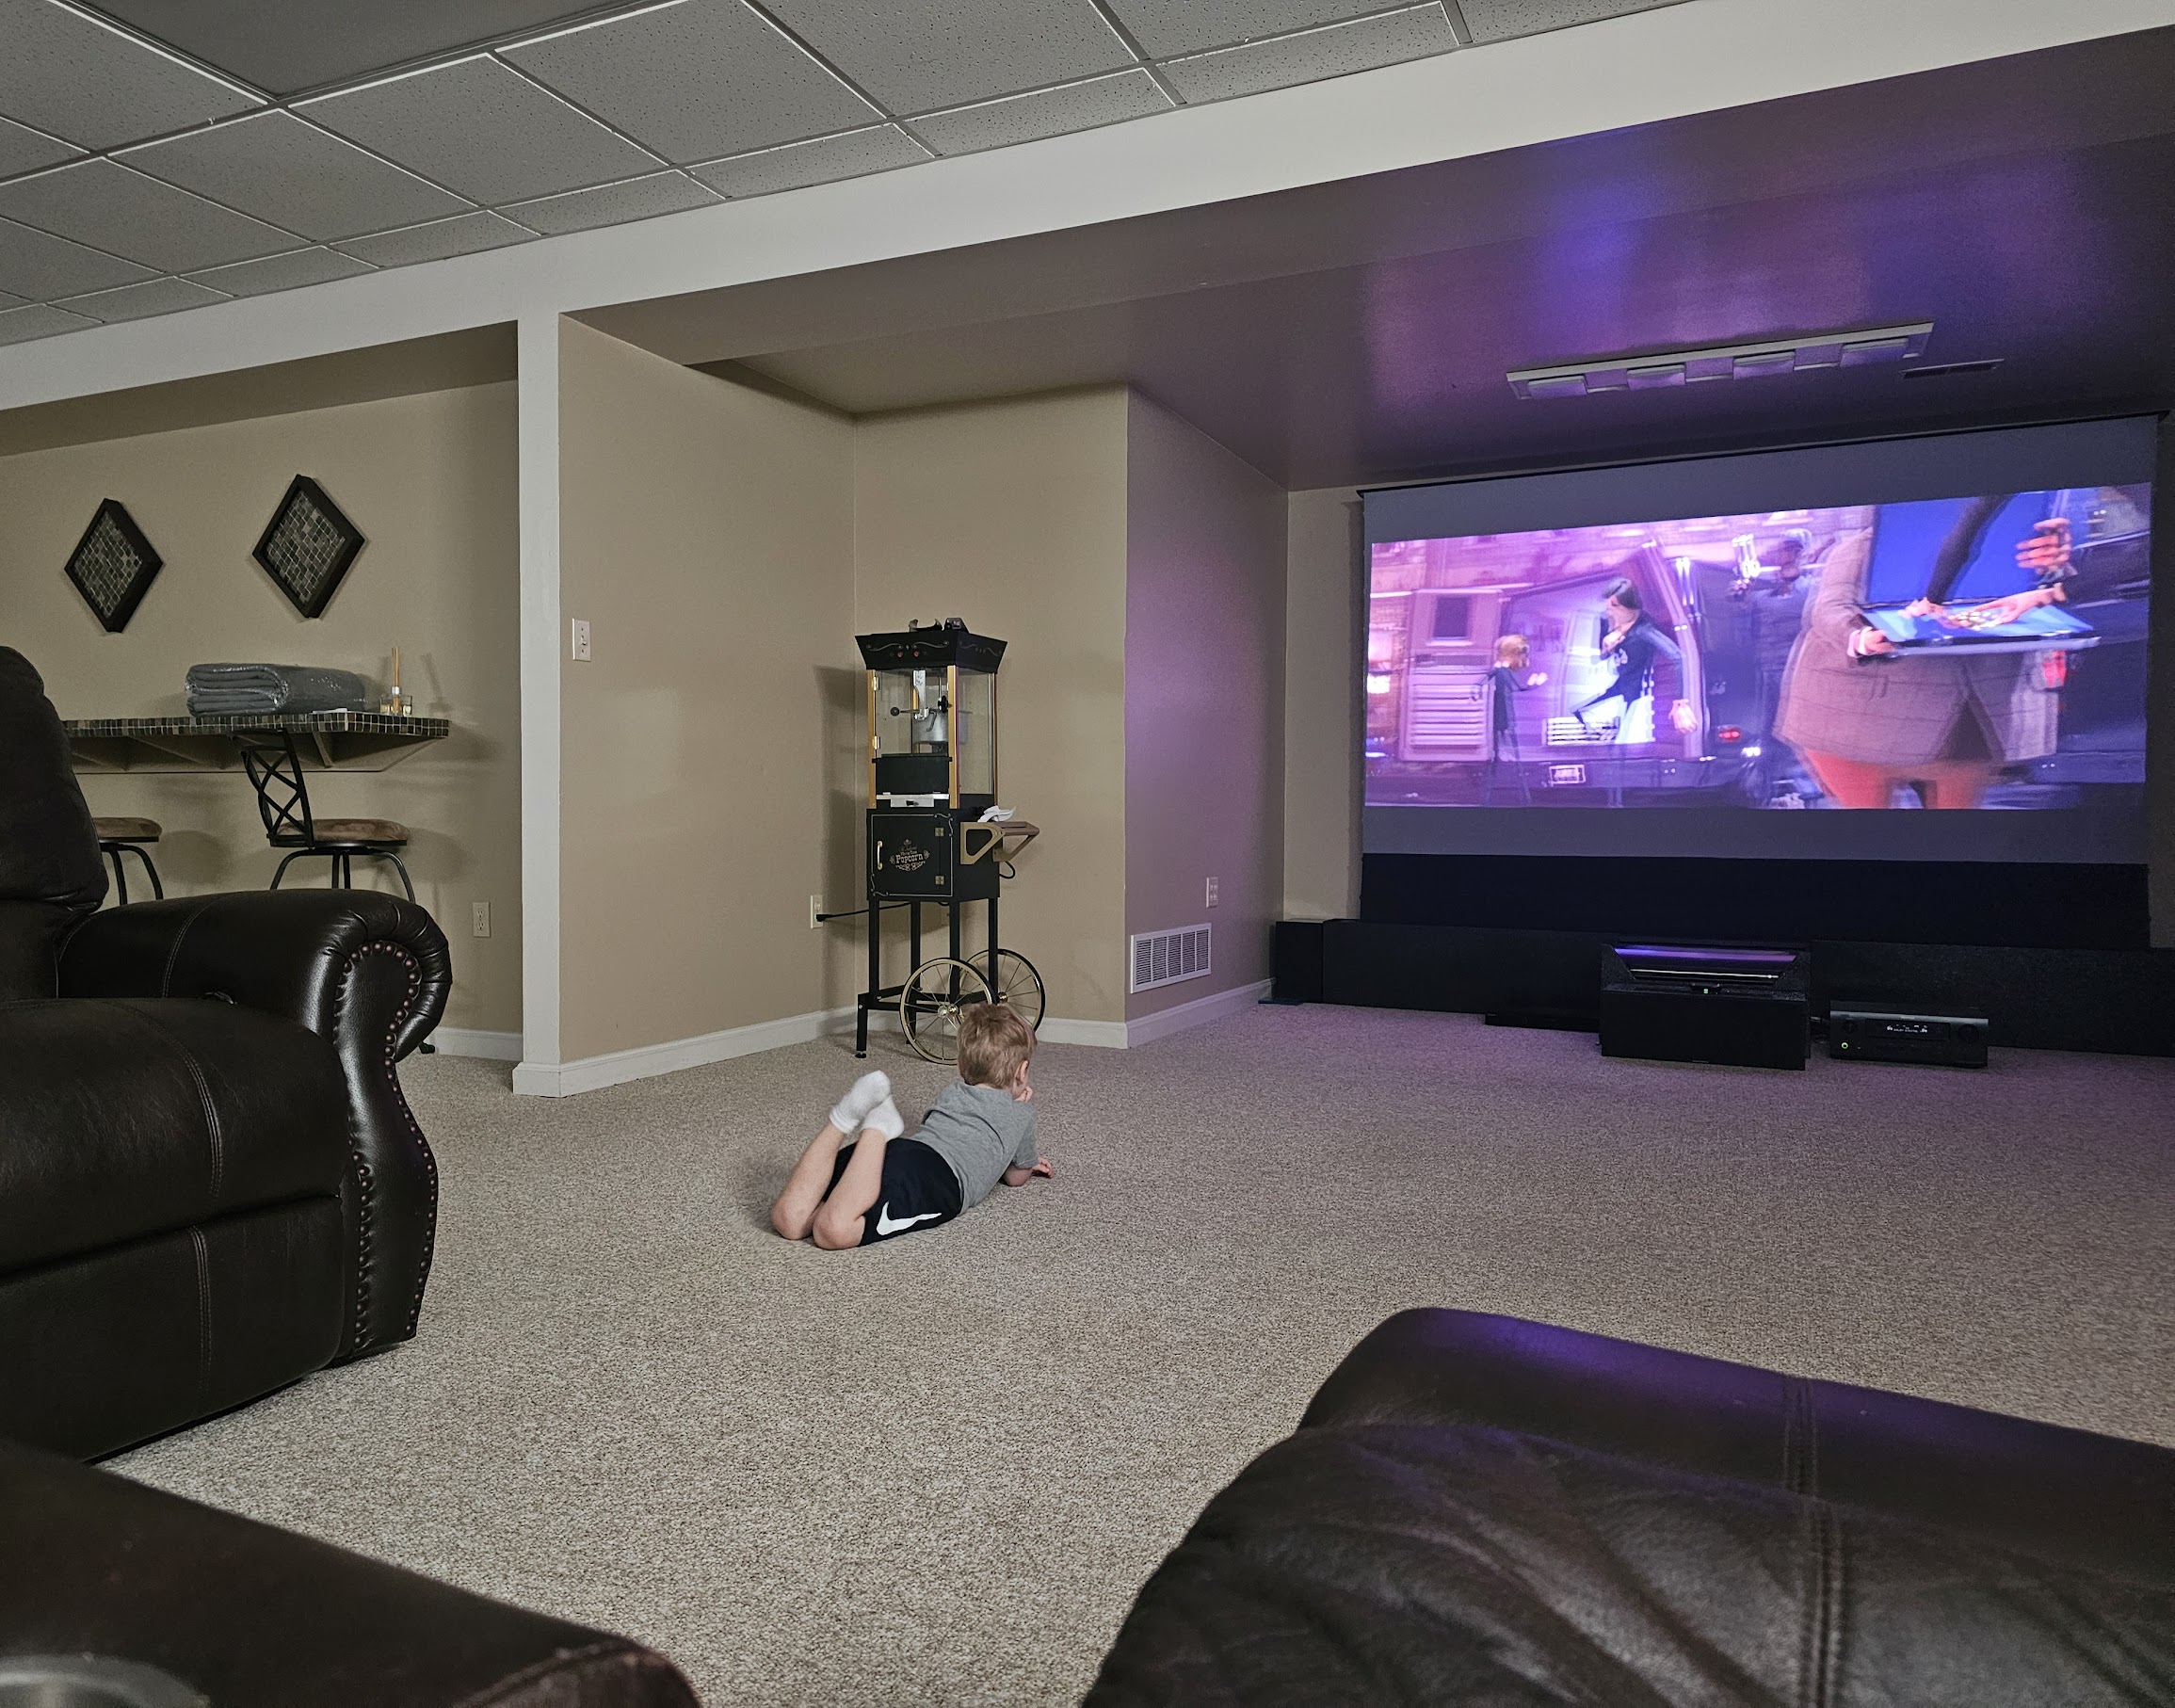 Wide room view, no platform, no stadium seating
Platform Design & Framing
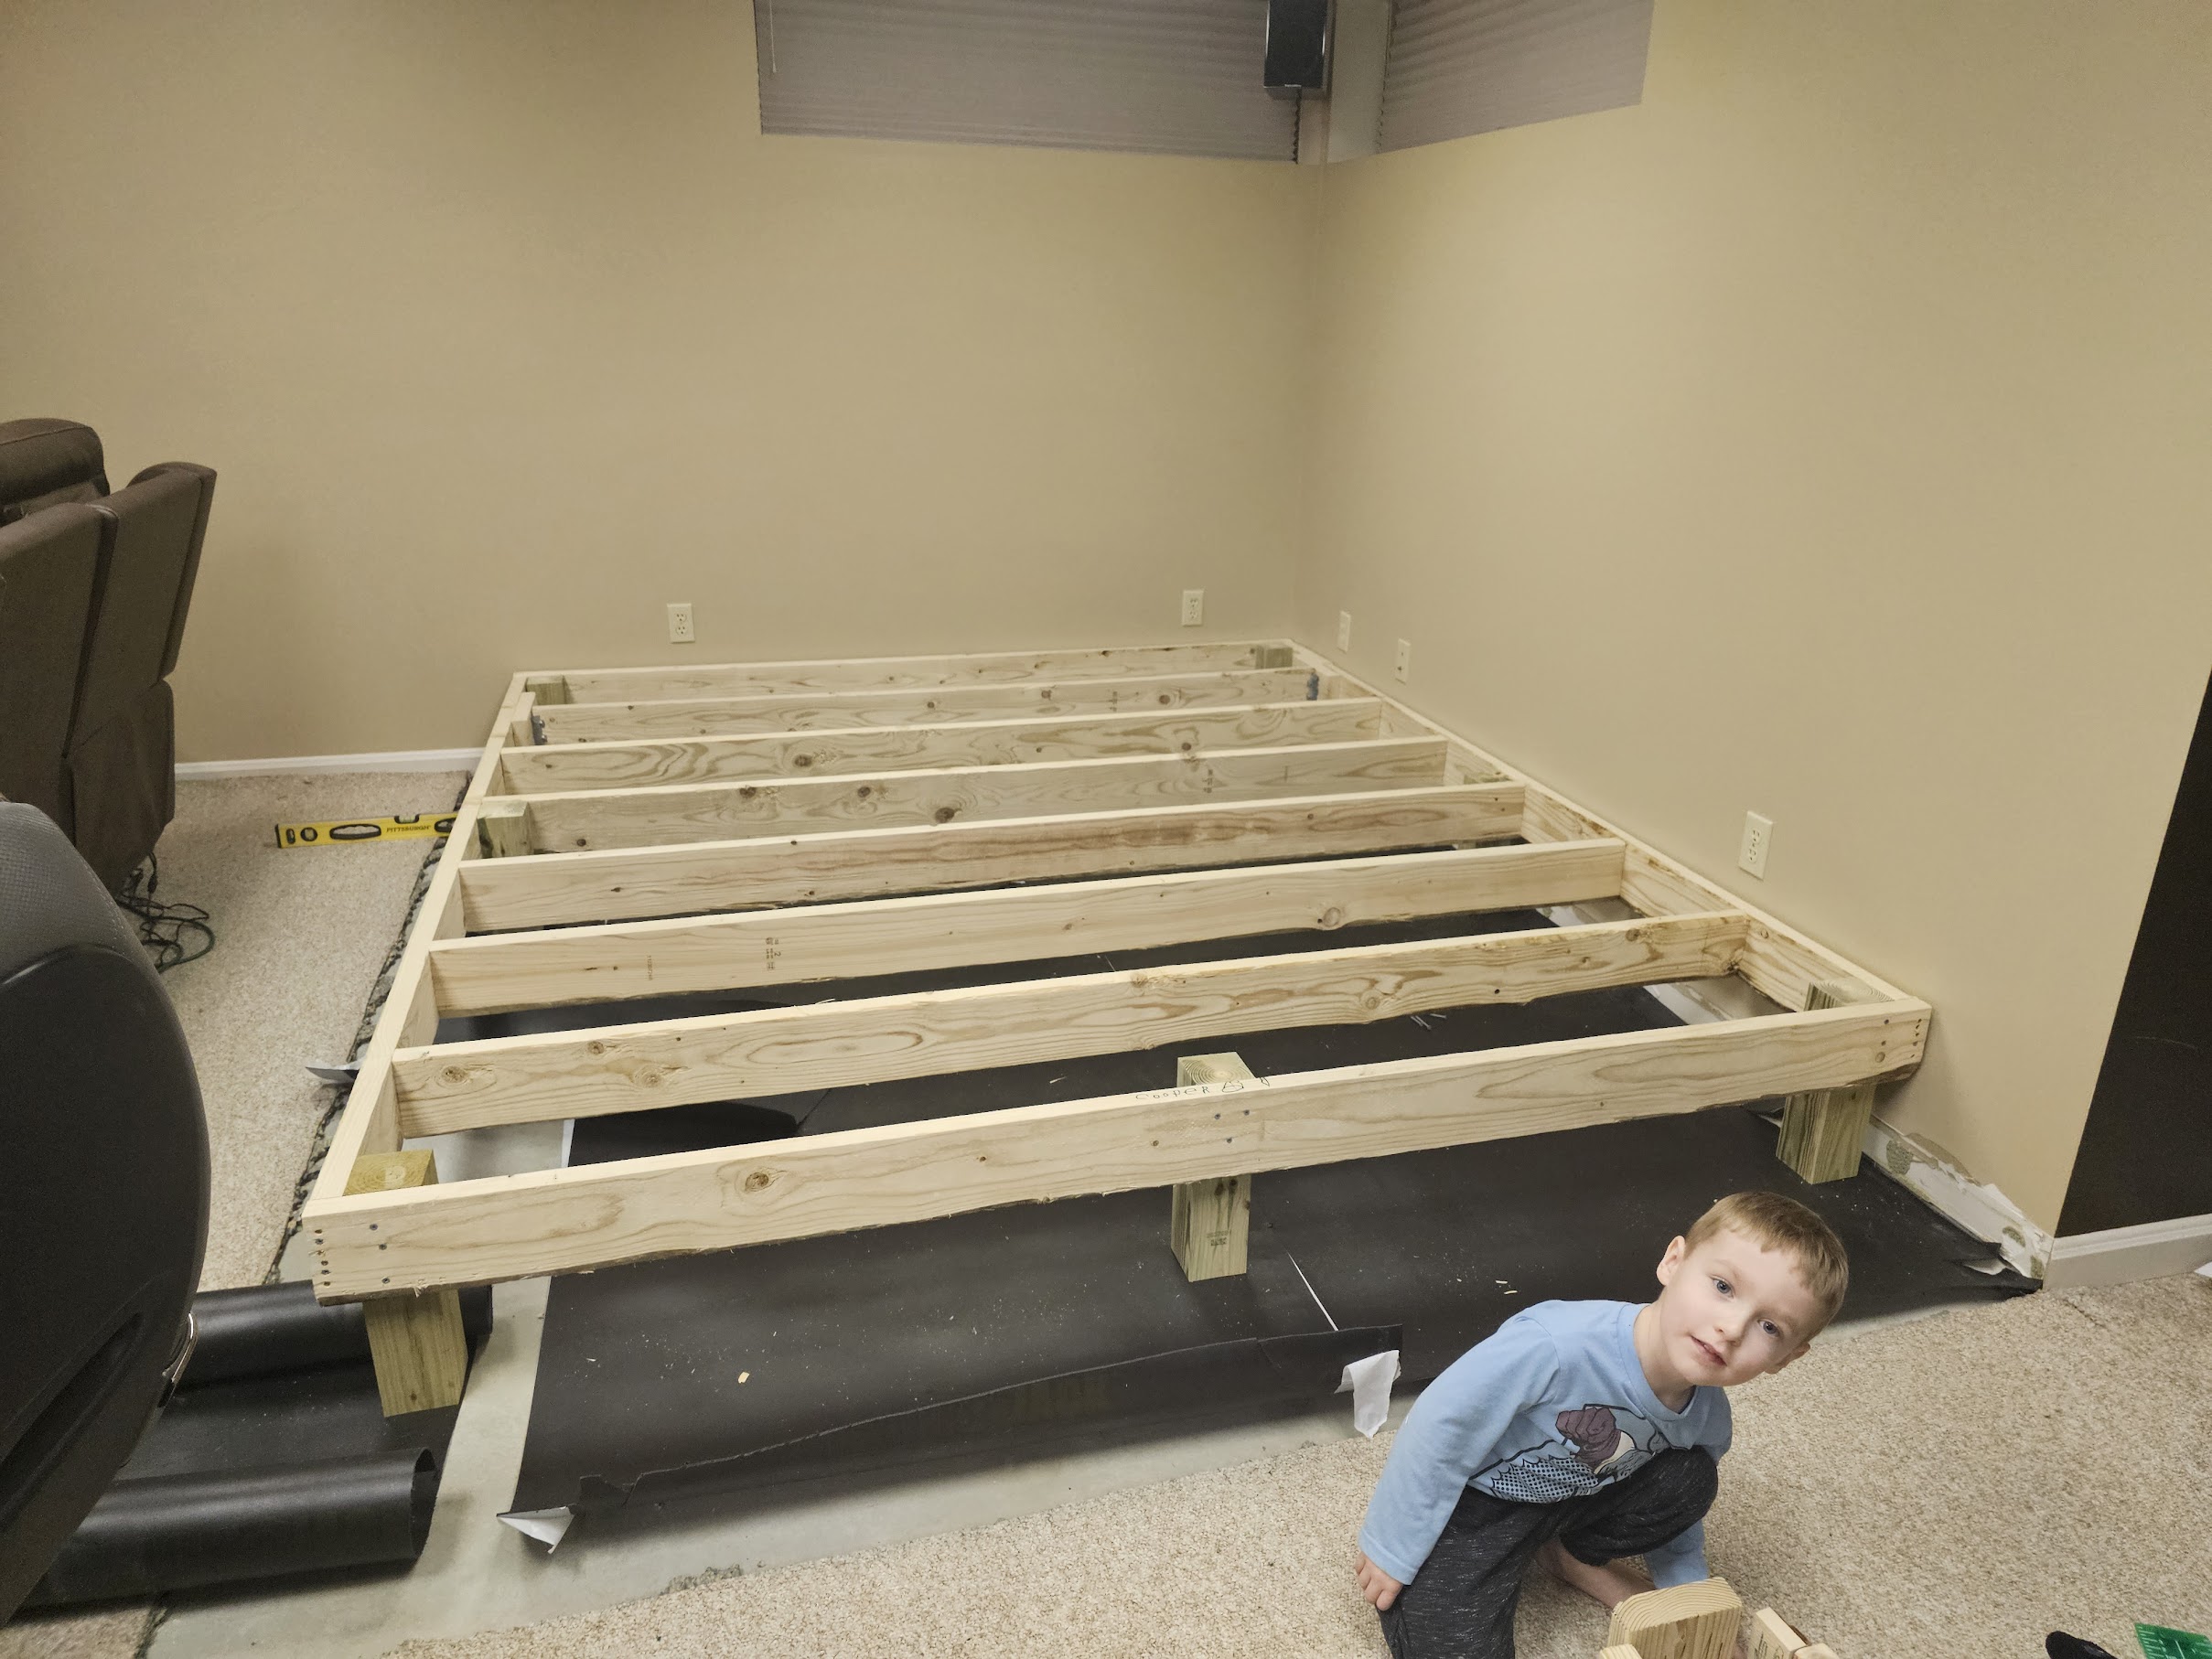
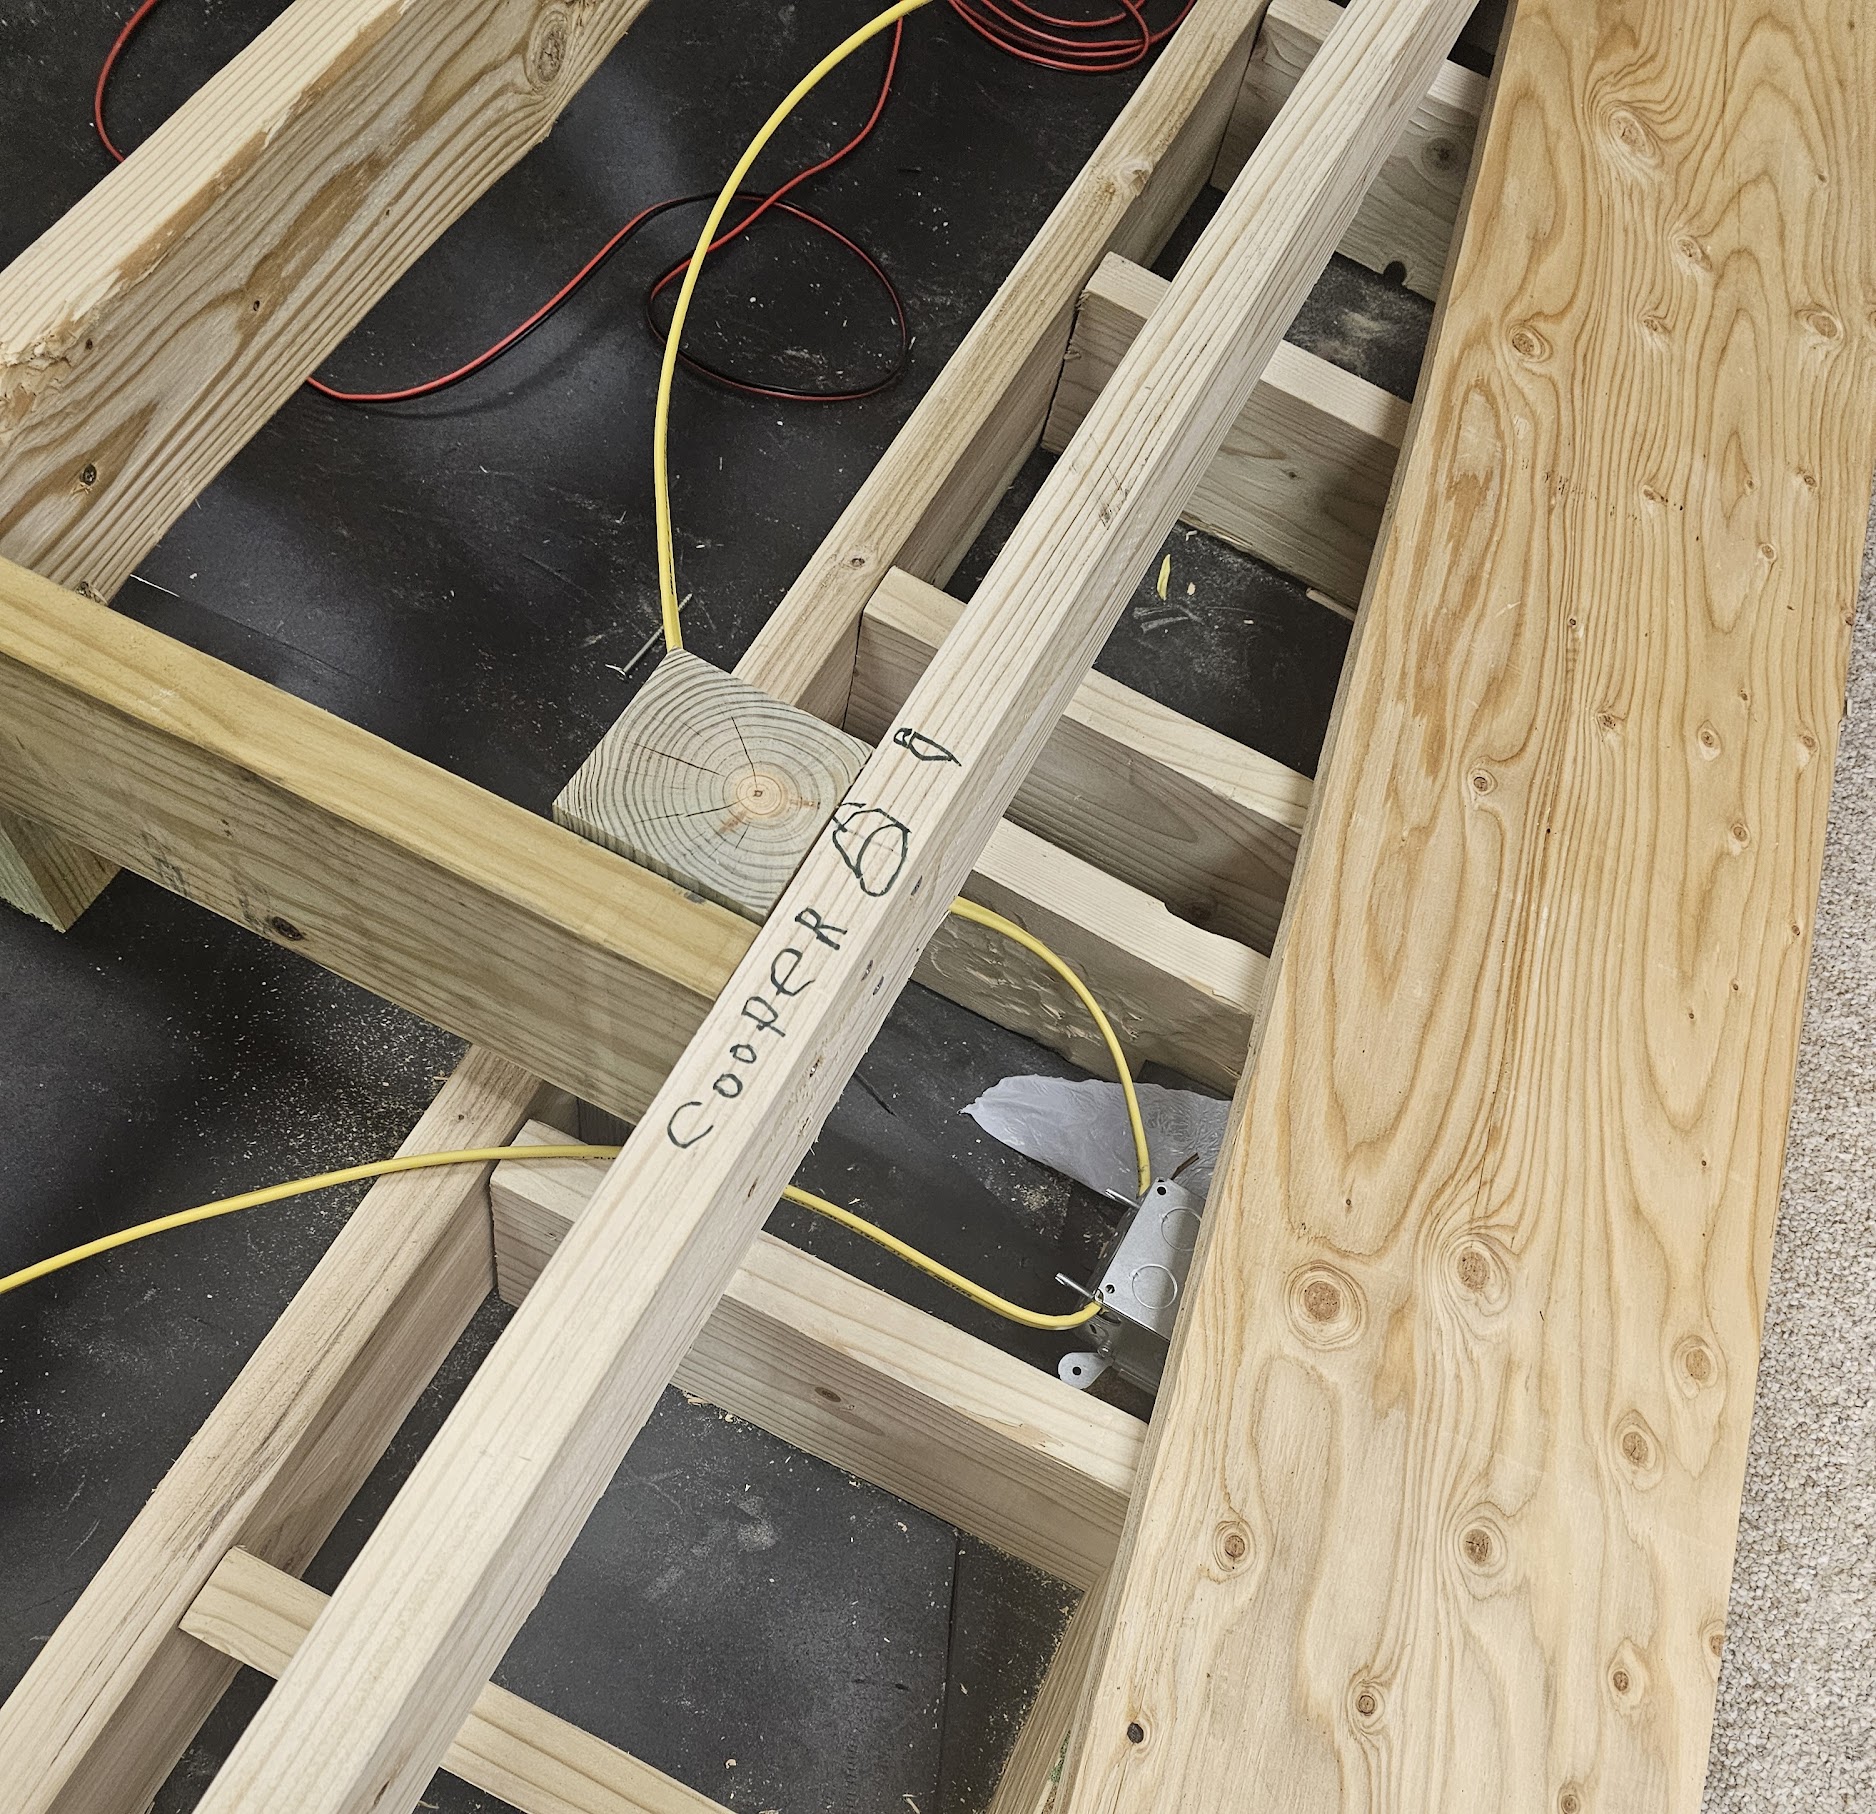
Commercial platforms were looked at and ruled out, overpriced, cheap-looking, and none of them would accommodate hidden wiring for powered recliners. Building custom was the only path that allowed for a 14" raised platform, receptacles on the front face for a front row, a top outlet under the second row, RGB deck lights on the risers, and full electrical integration with Home Assistant. The perimeter frame was laid out on the carpet first, then raised on 4×4 posts and leveled. Joists went across for proper floor support. Cooper helped, his name is on a joist inside the platform, which is where it will stay.
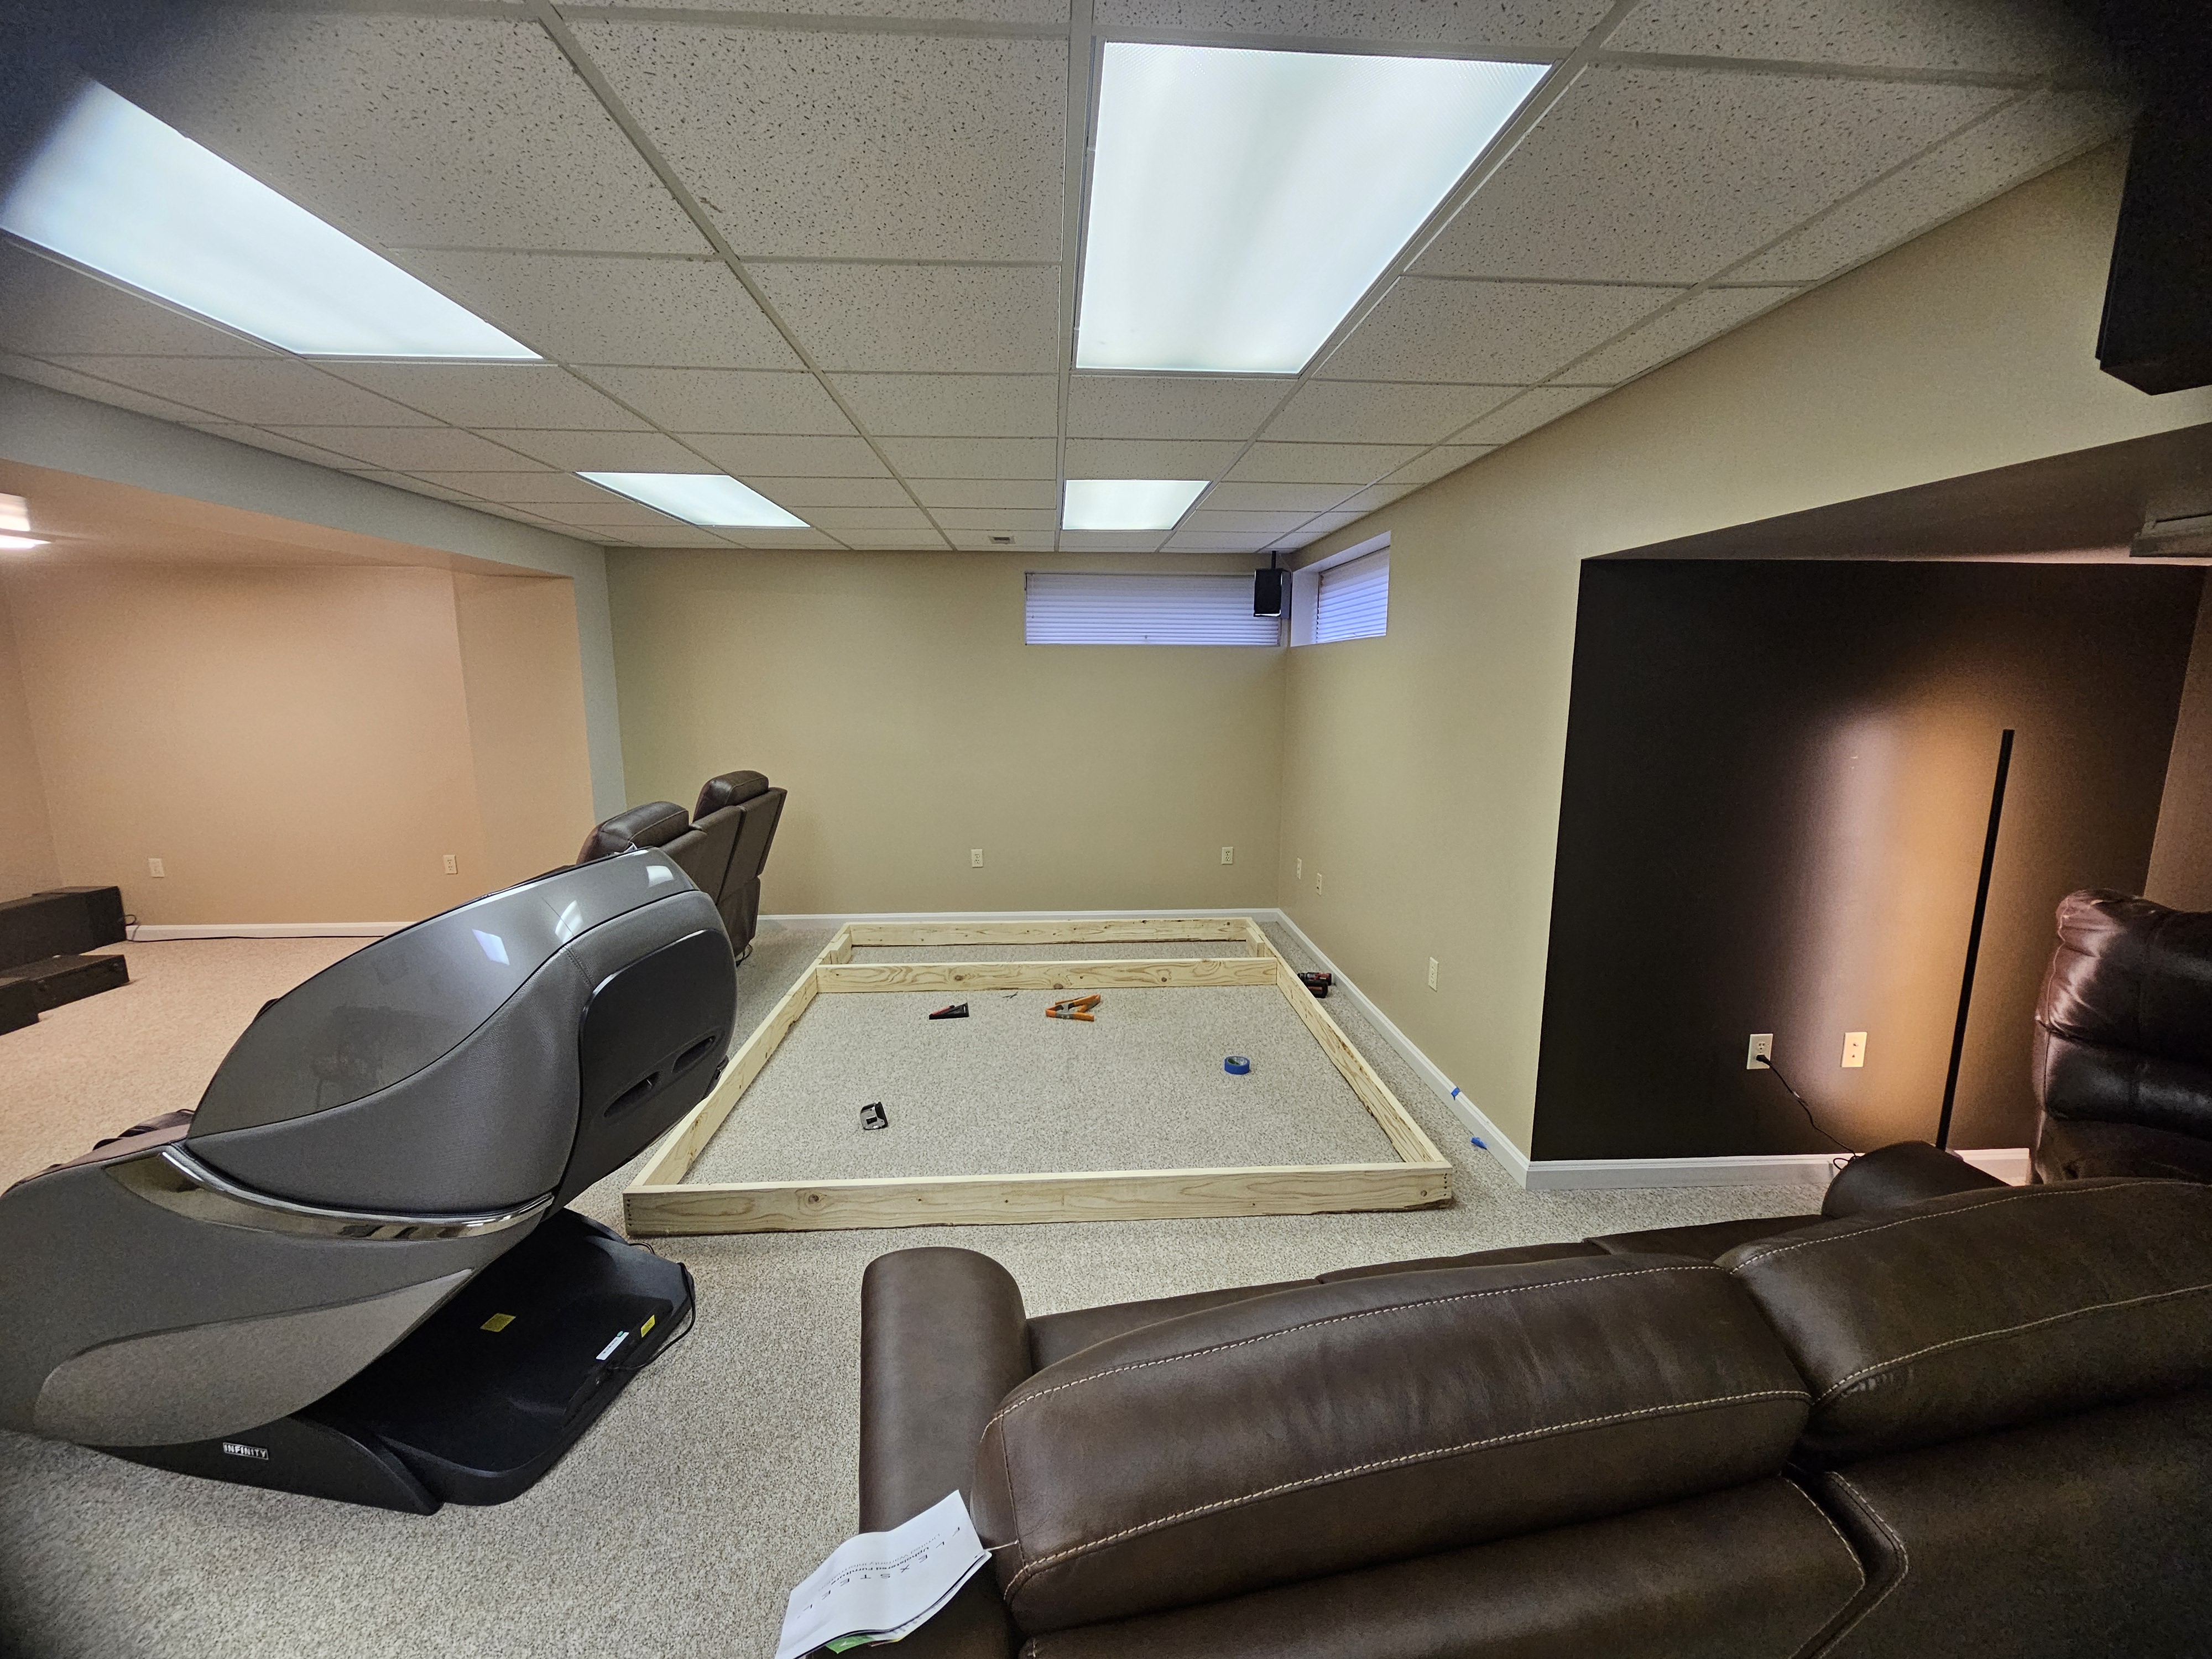 Planning the footprint, December 2024
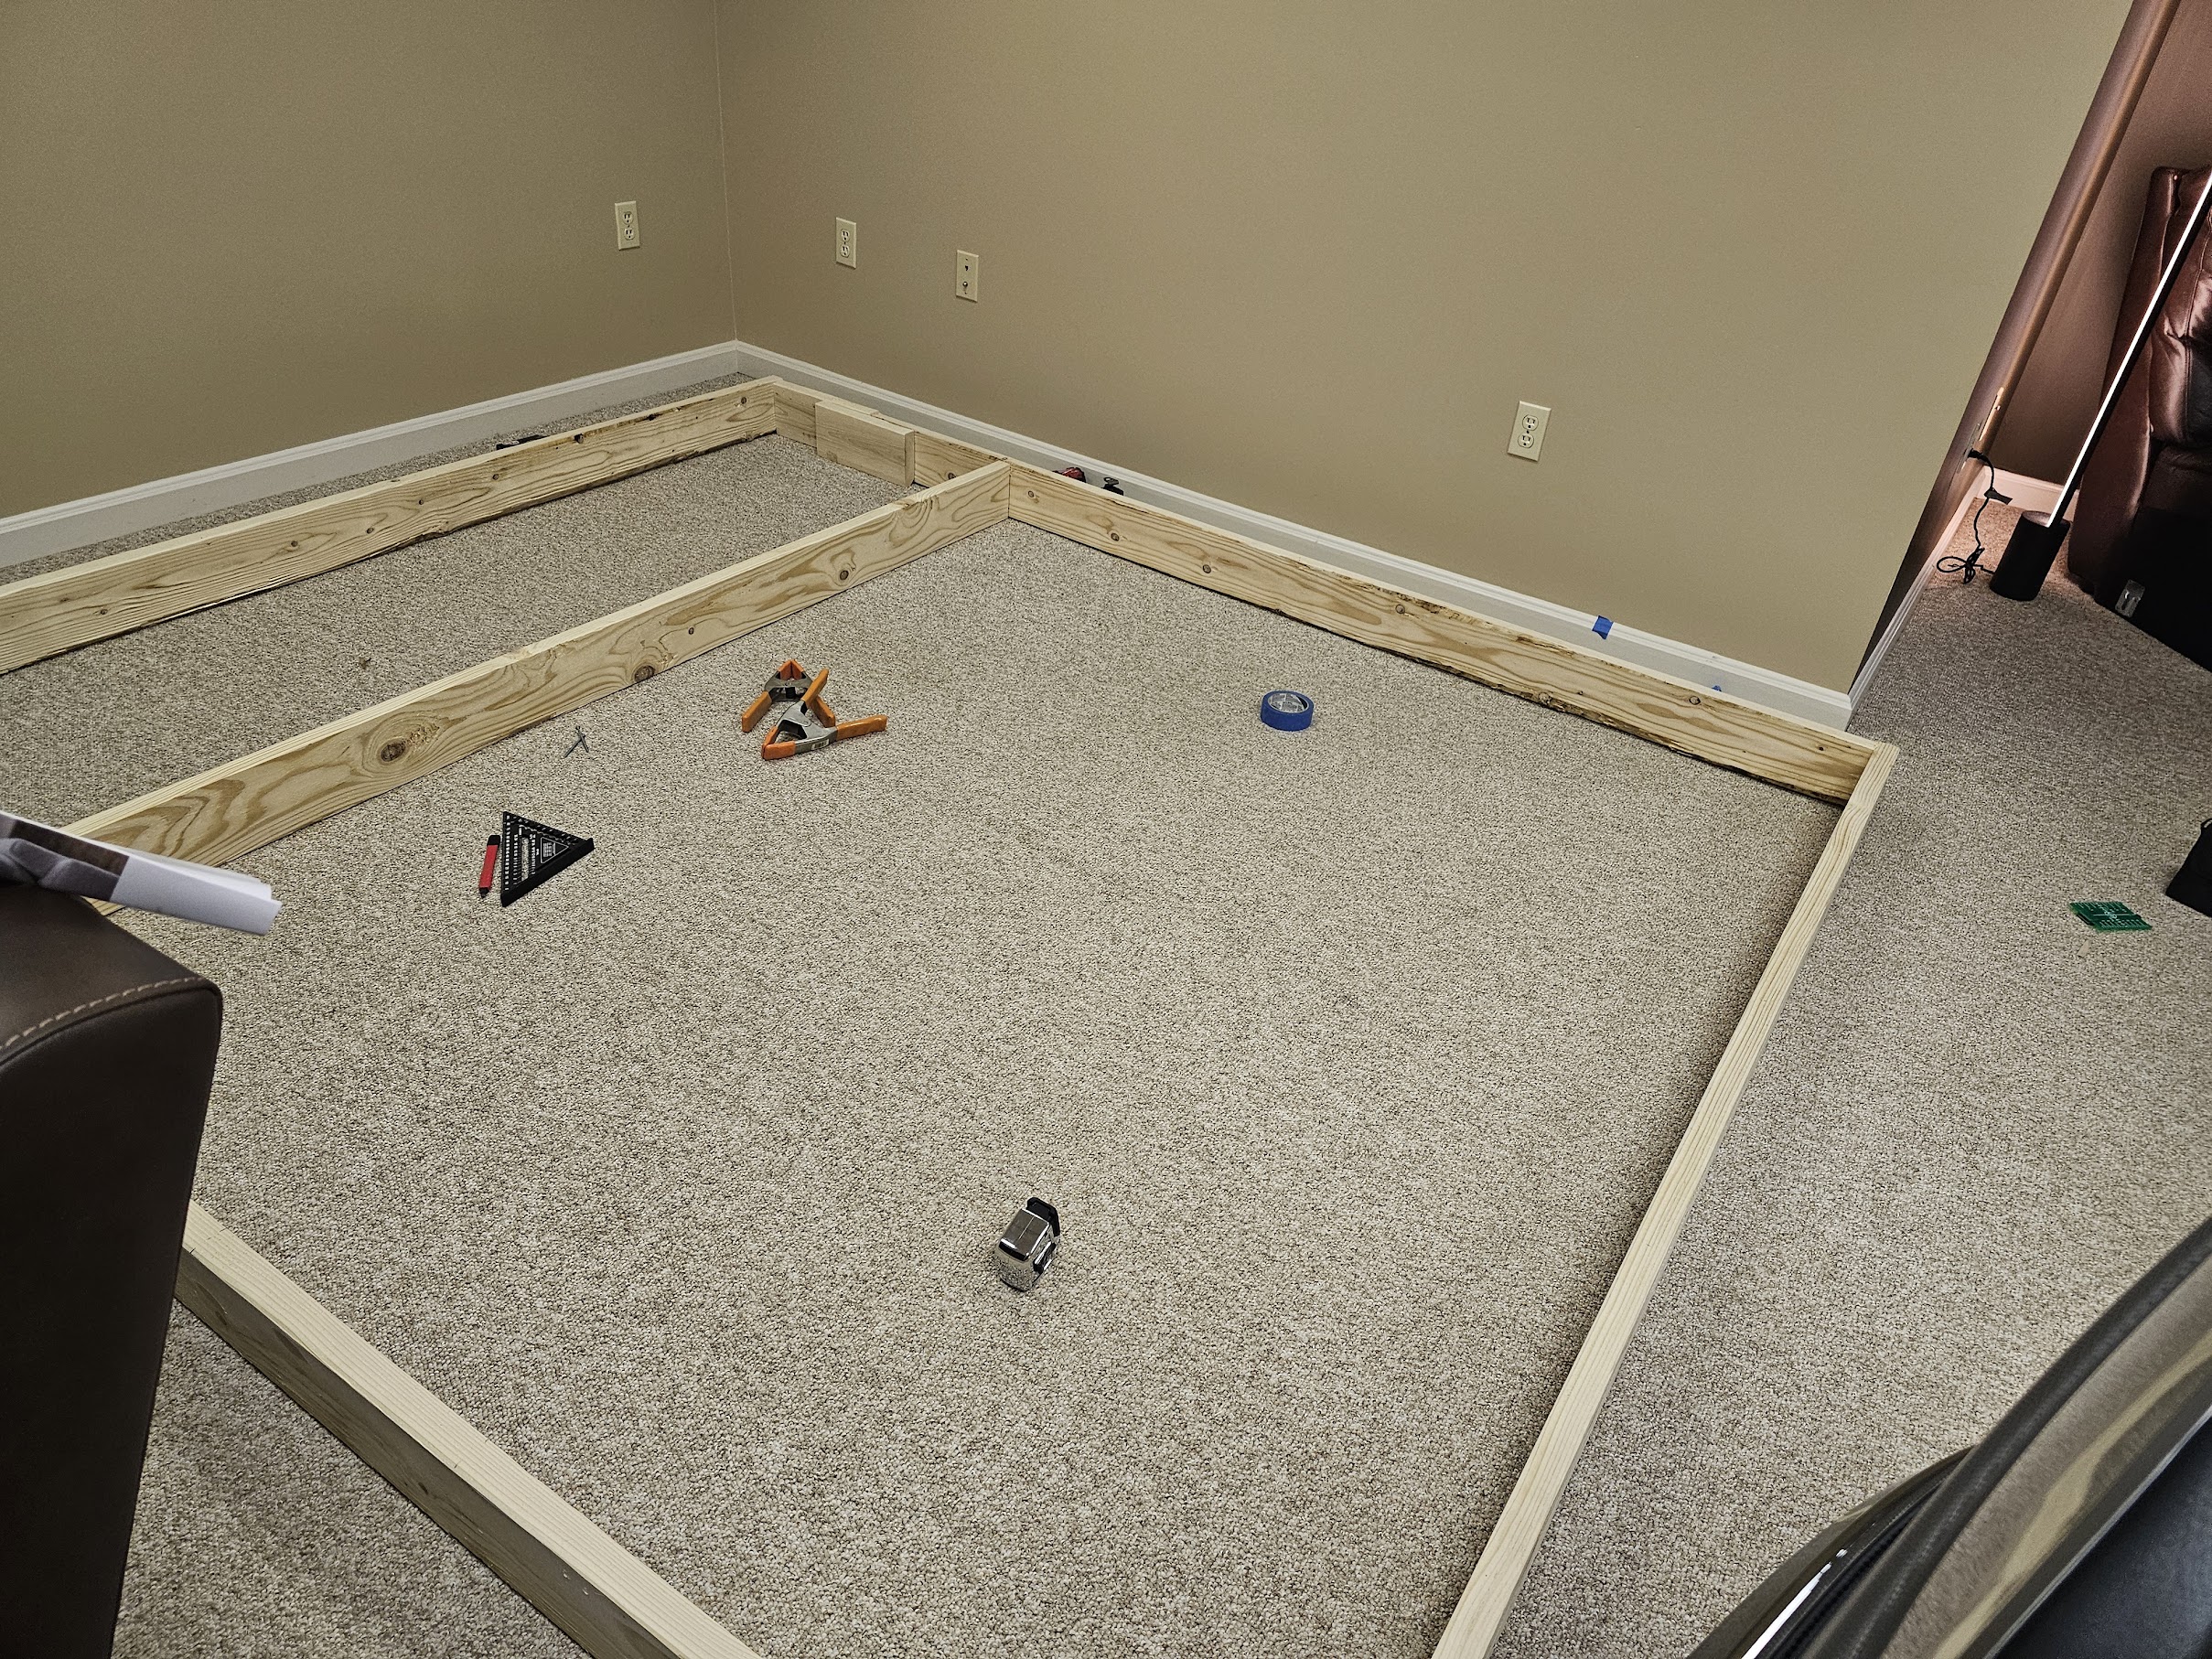 Perimeter frame assembled on the carpet
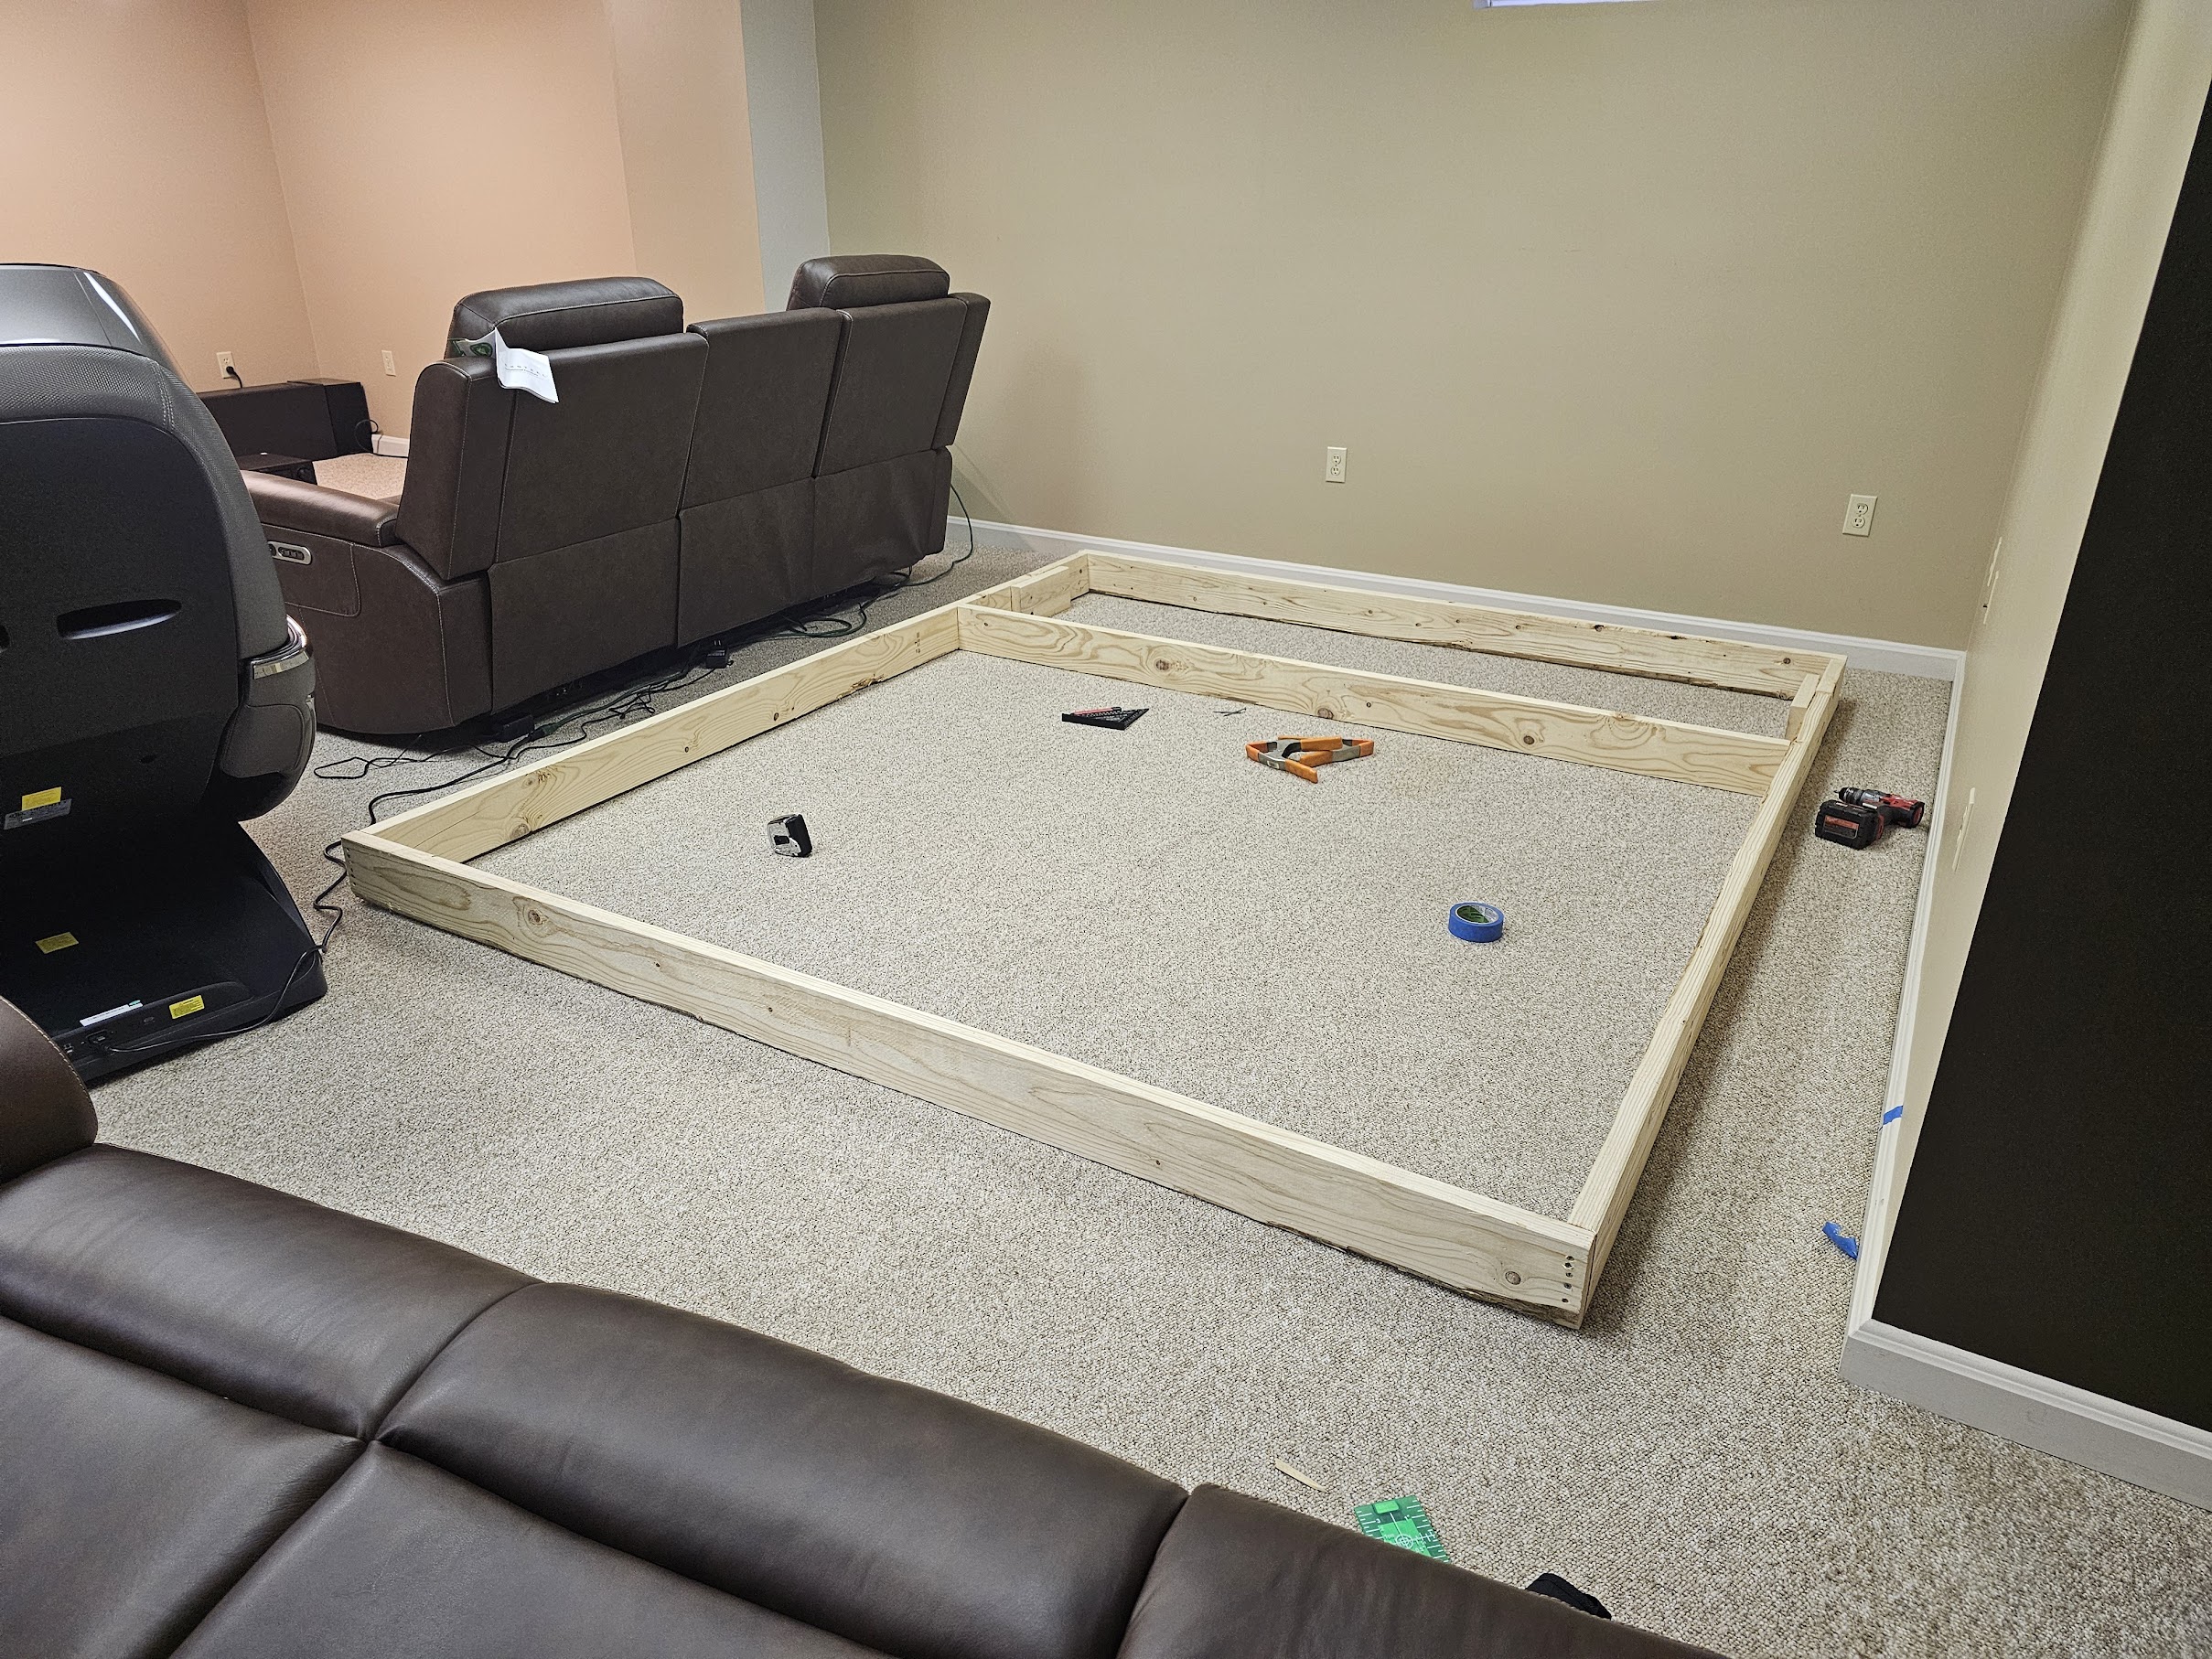 Outer frame together, about to go up
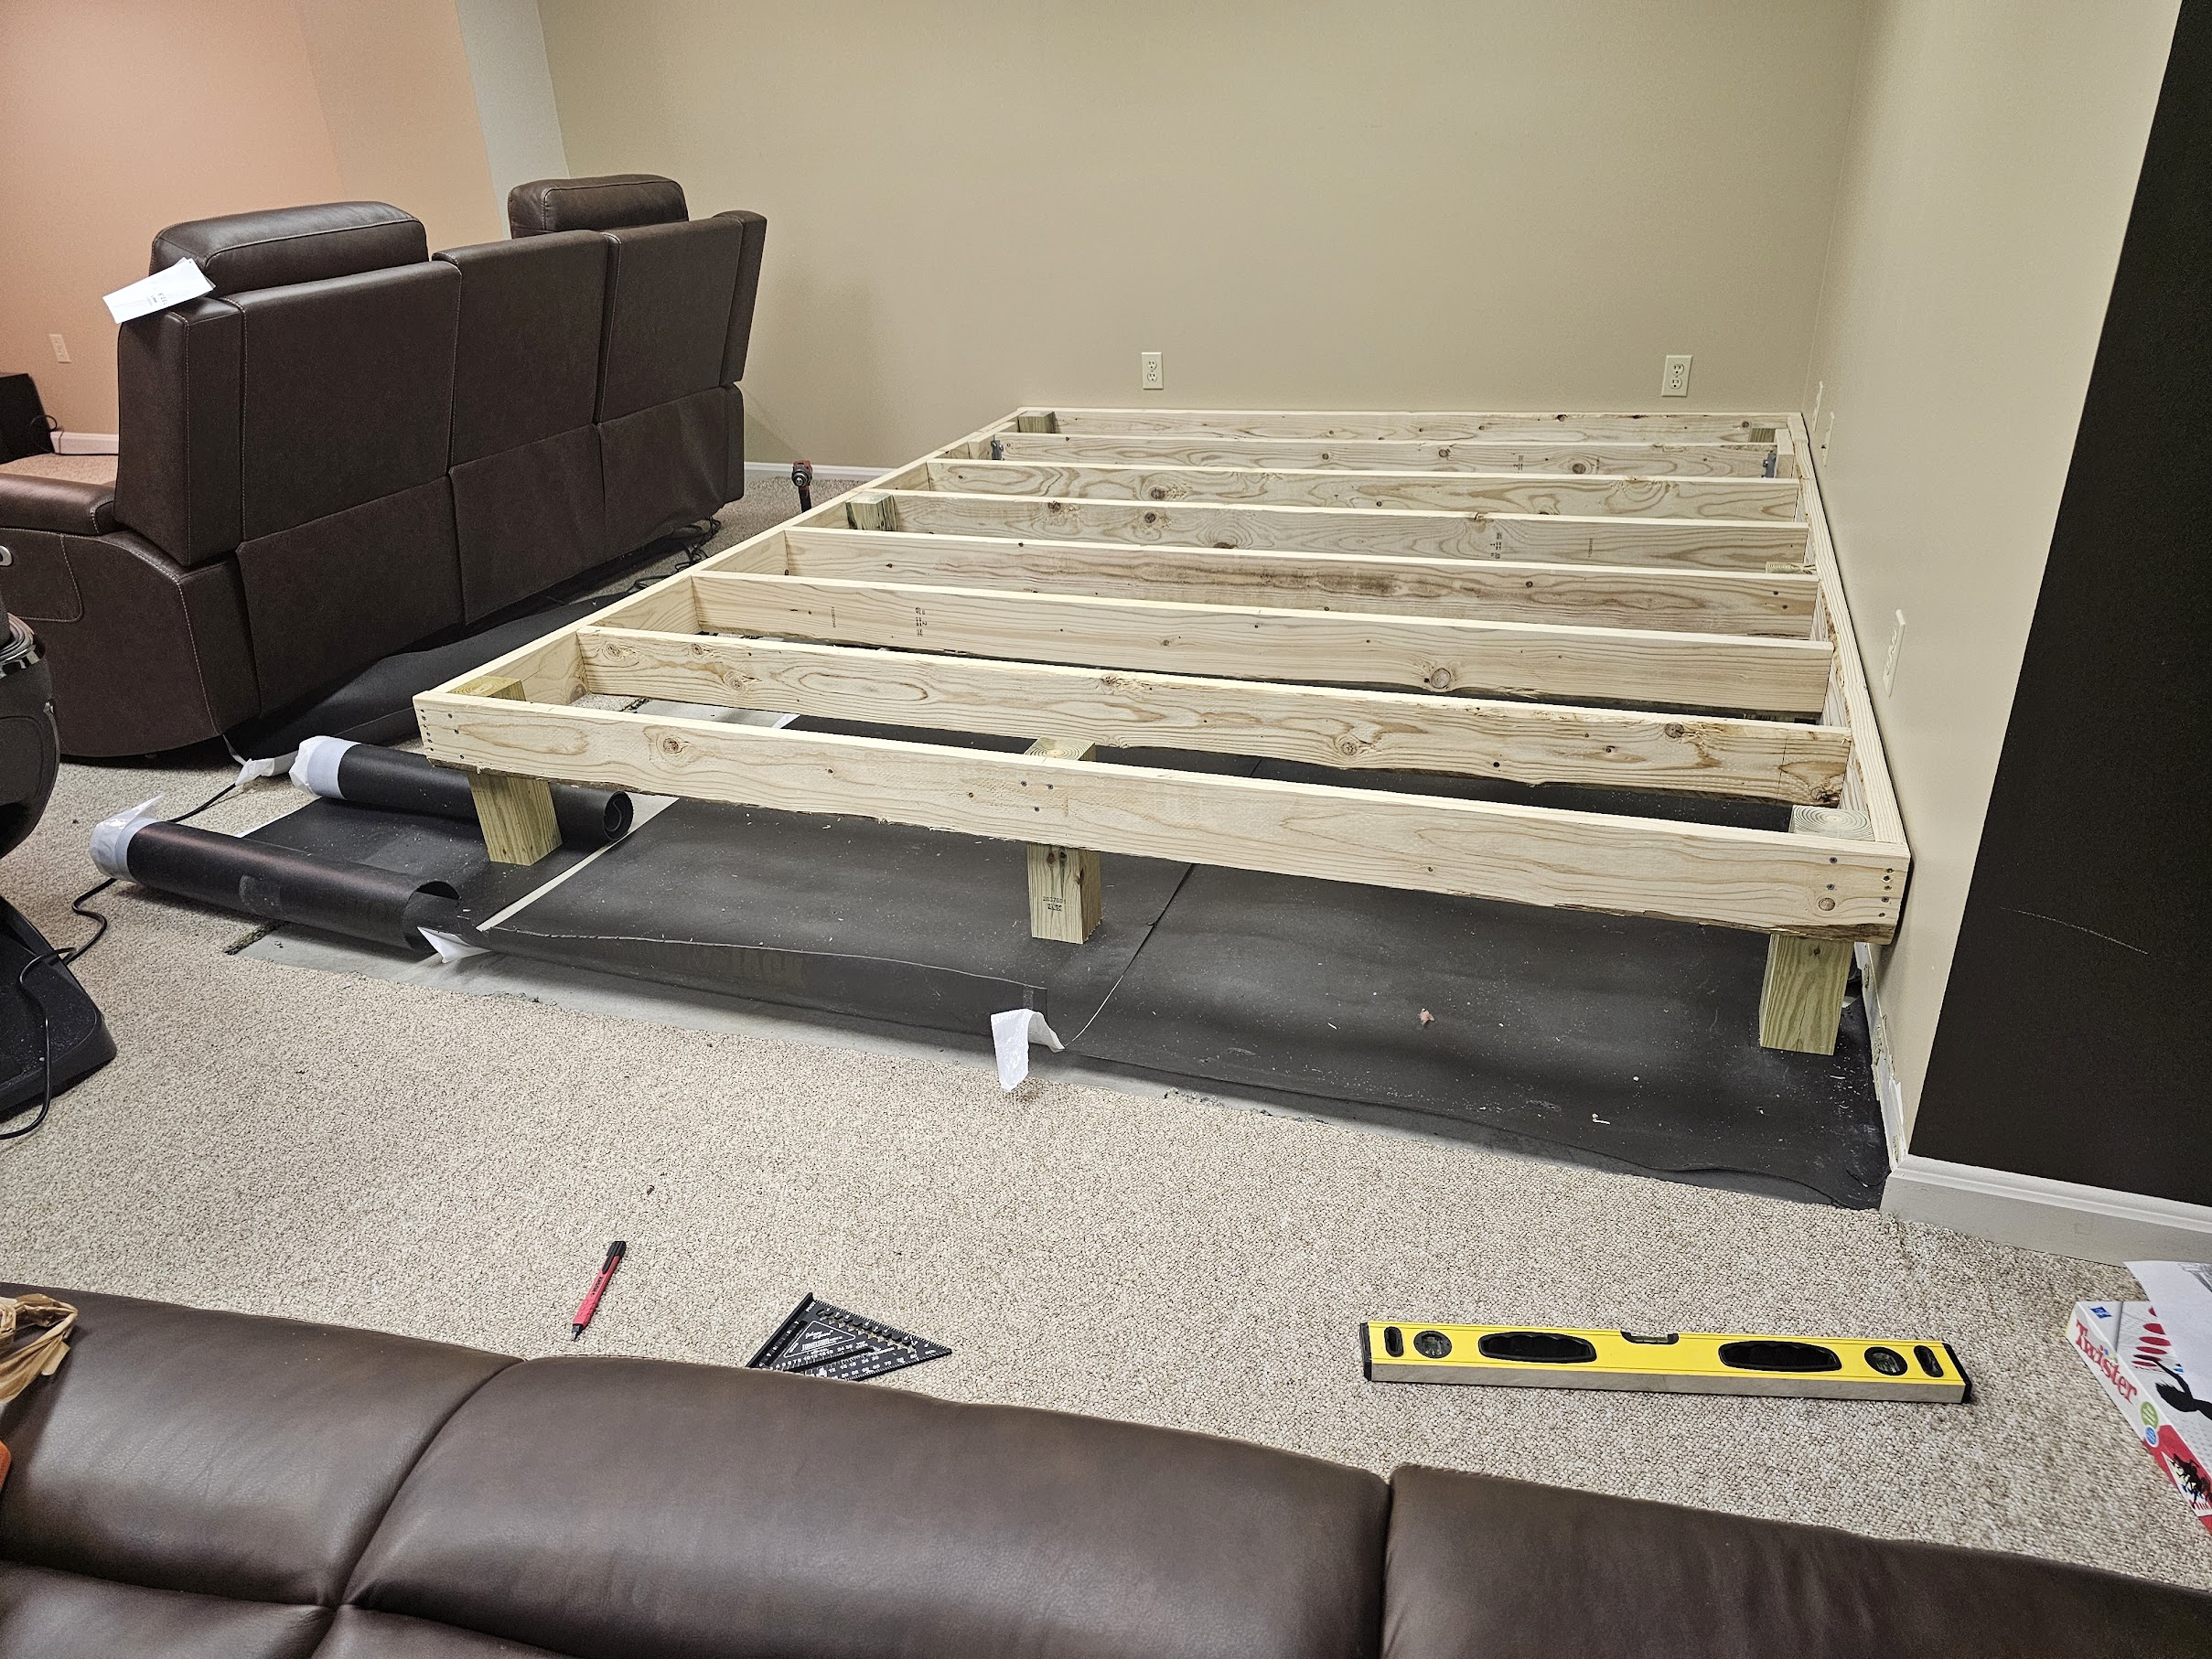 Raised and leveled on 4×4 posts, joists in
 Full frame, moisture barrier down, nook visible behind
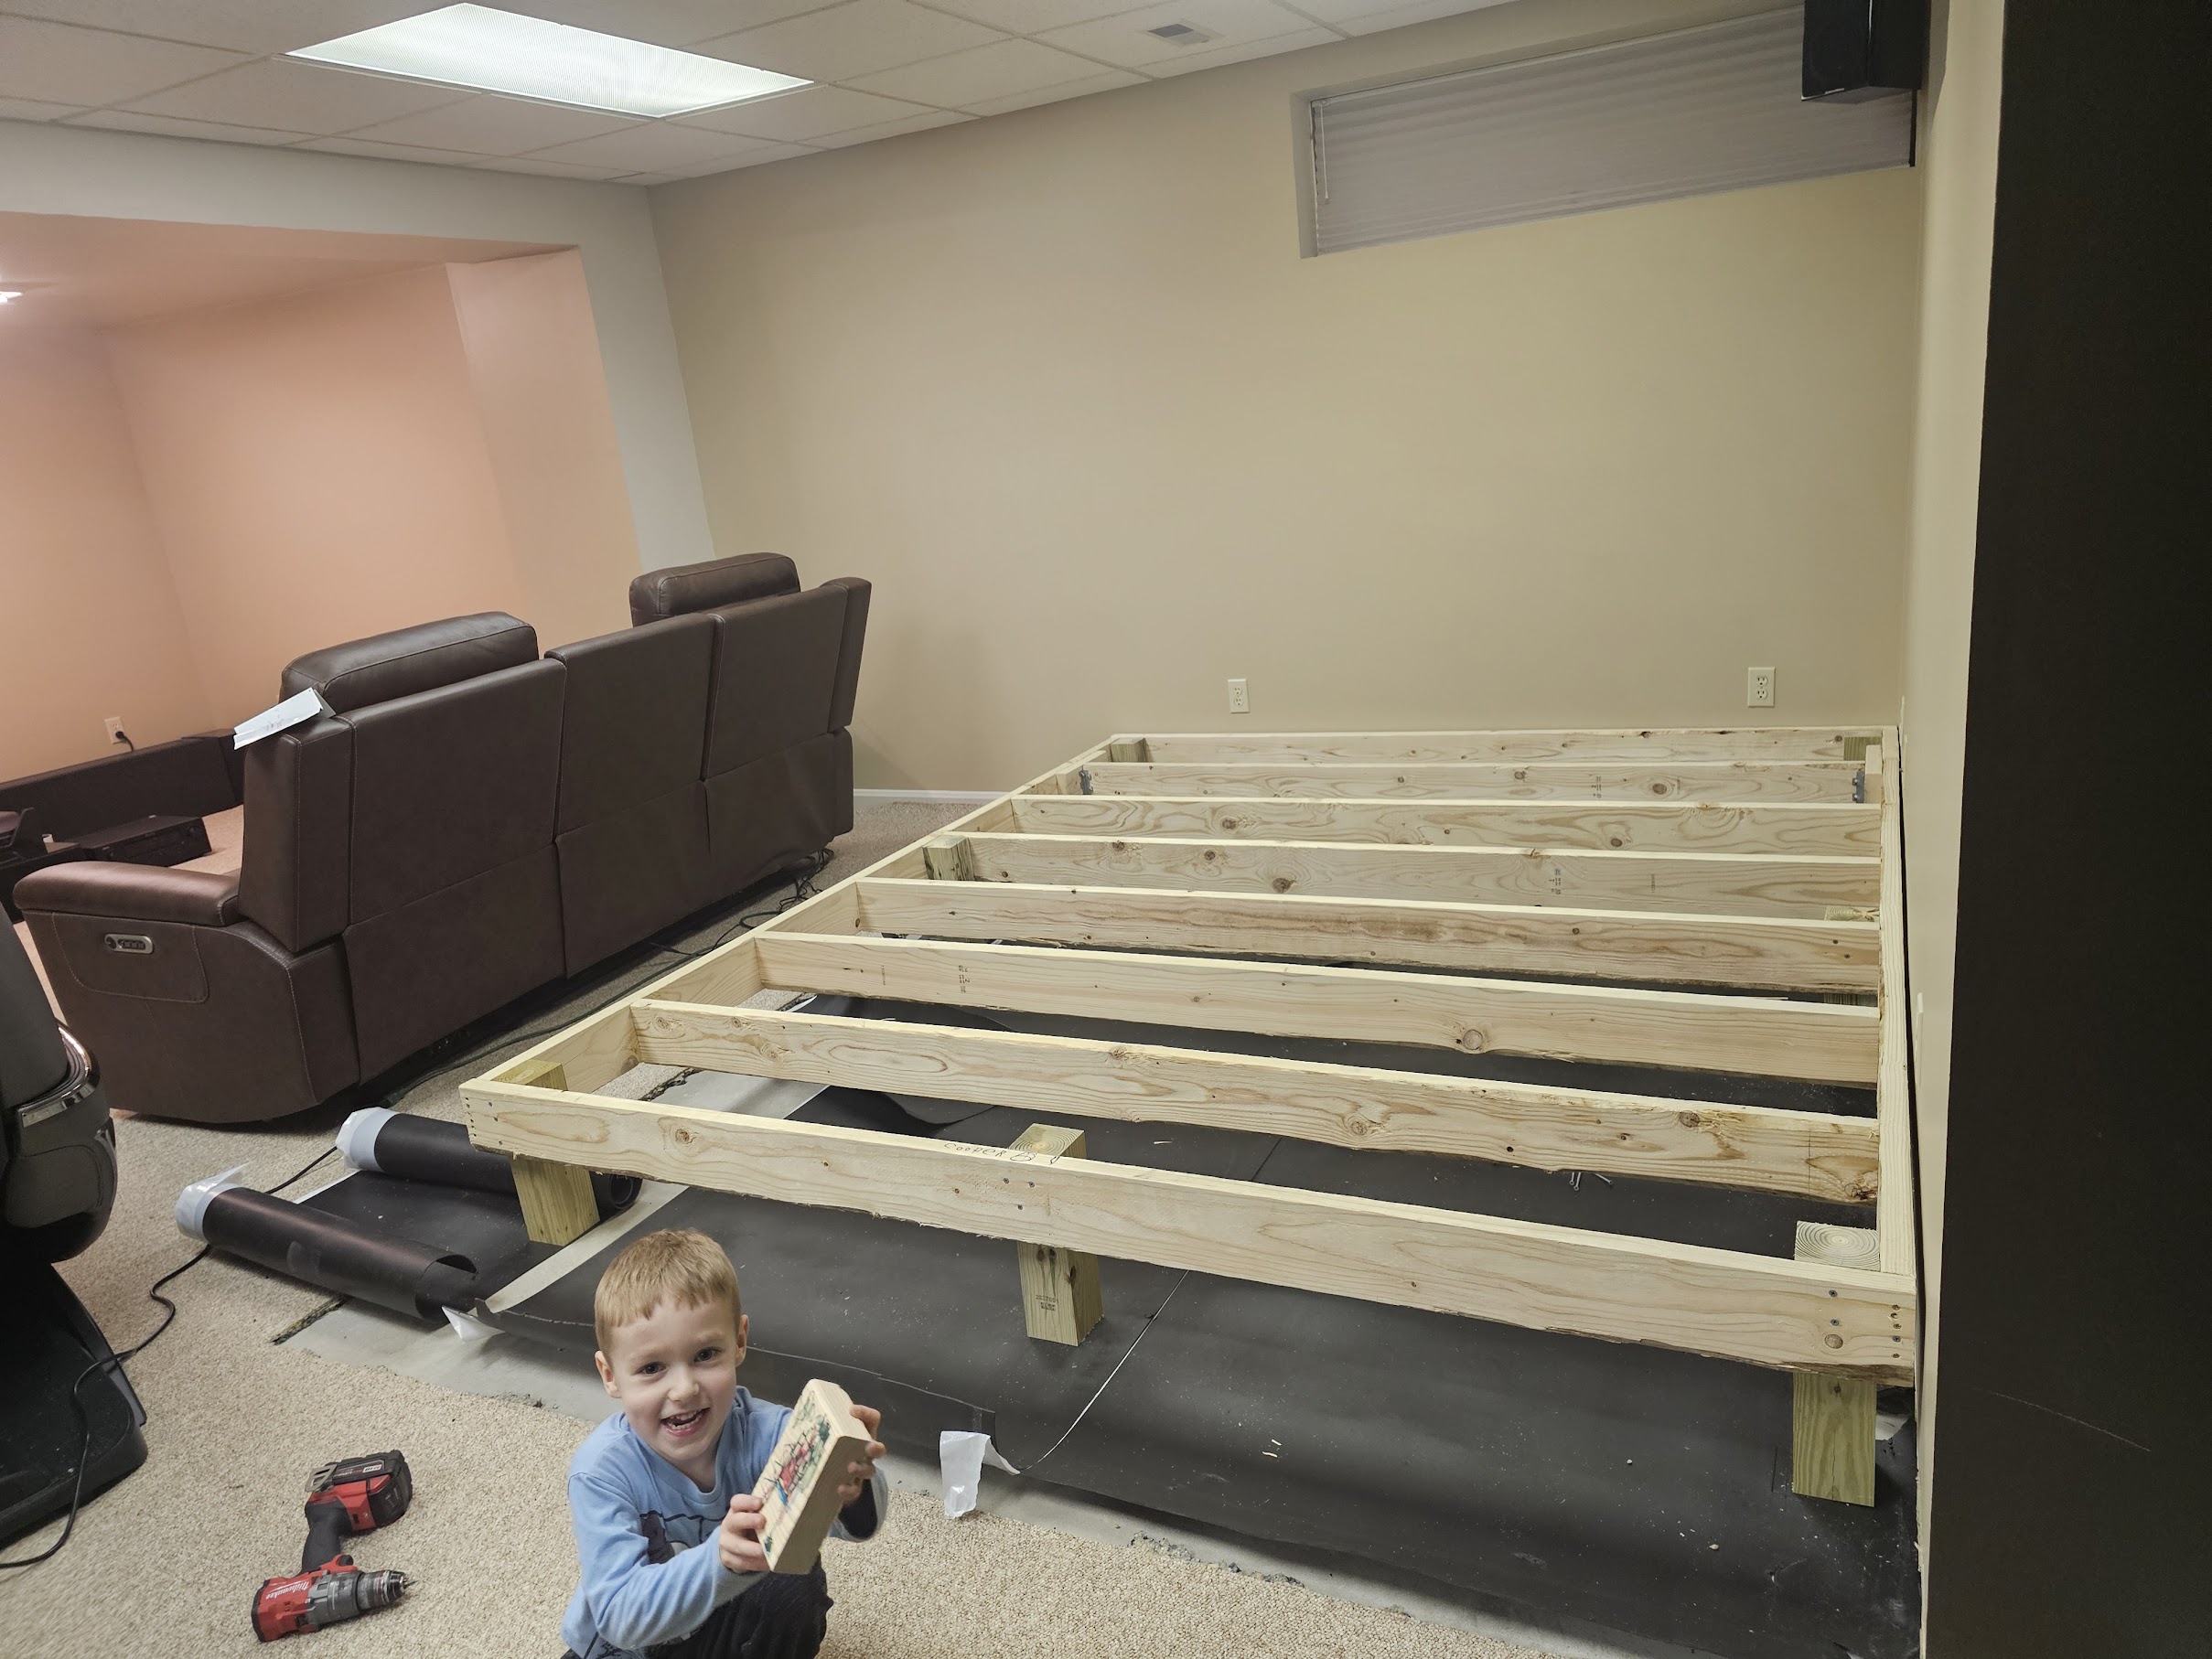 Cooper on the job
 His name is on a joist inside, it stays there
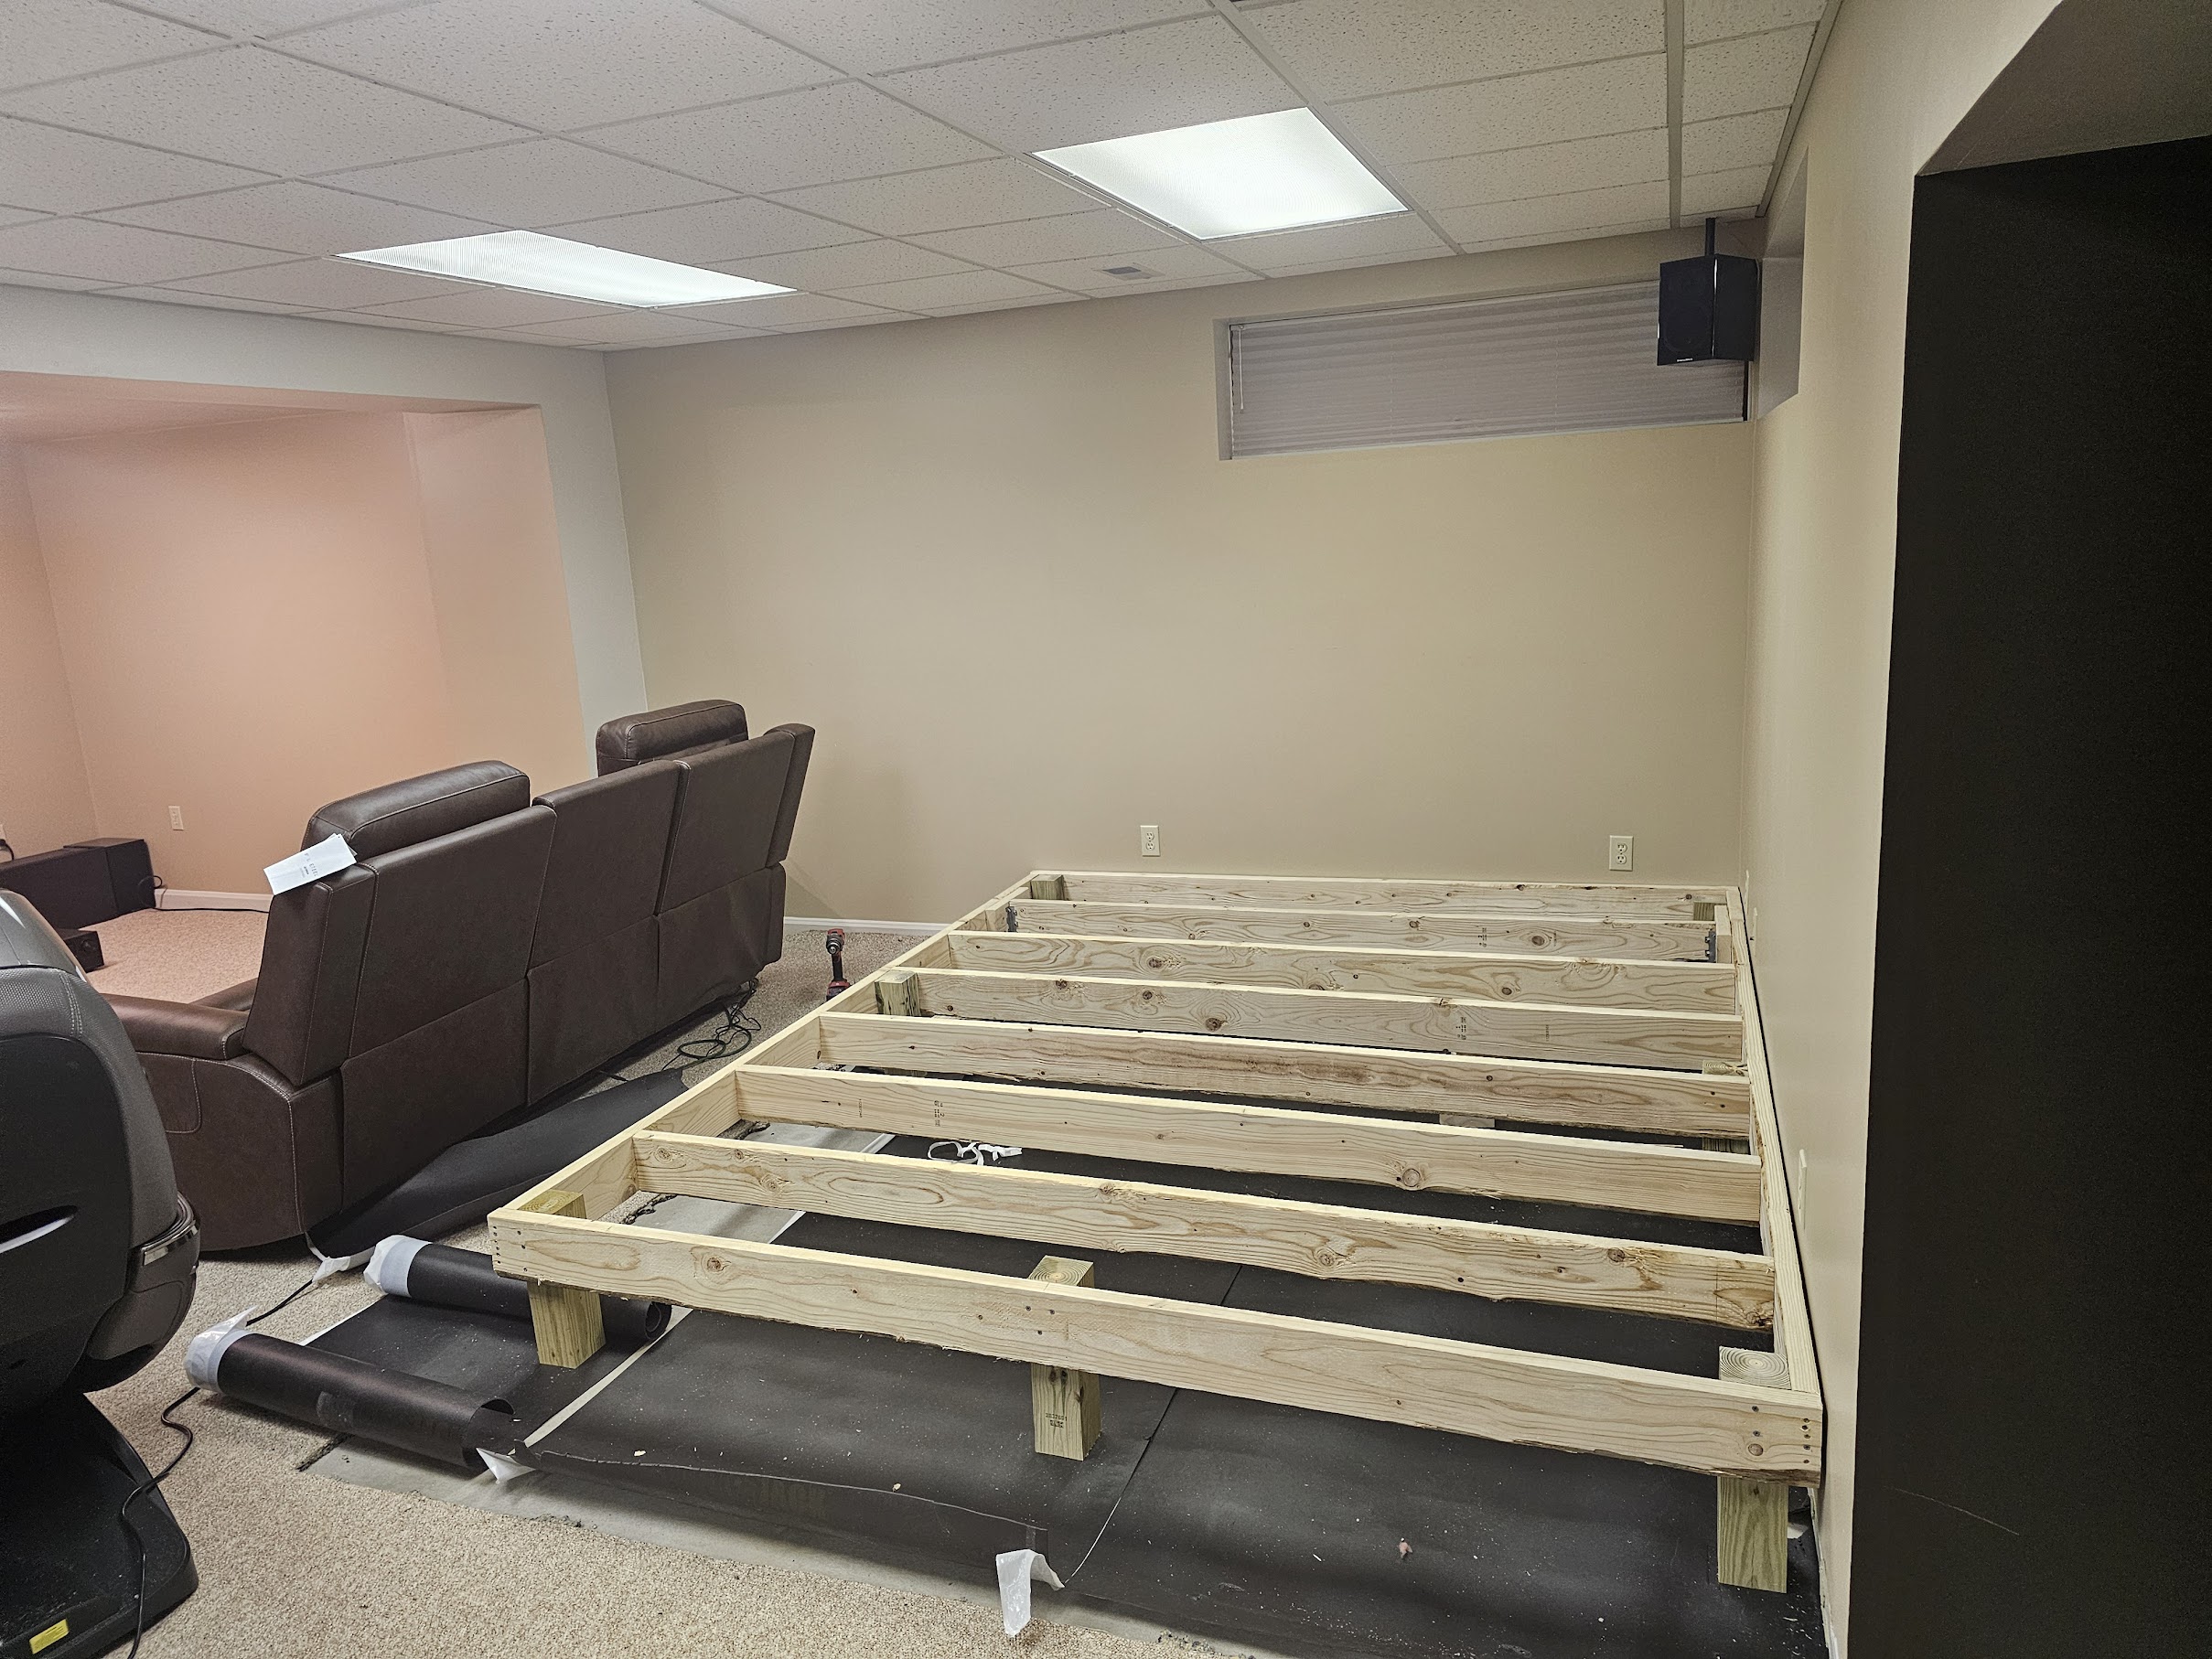
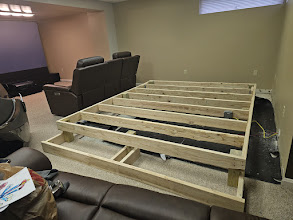 Early framing, full span of the platform
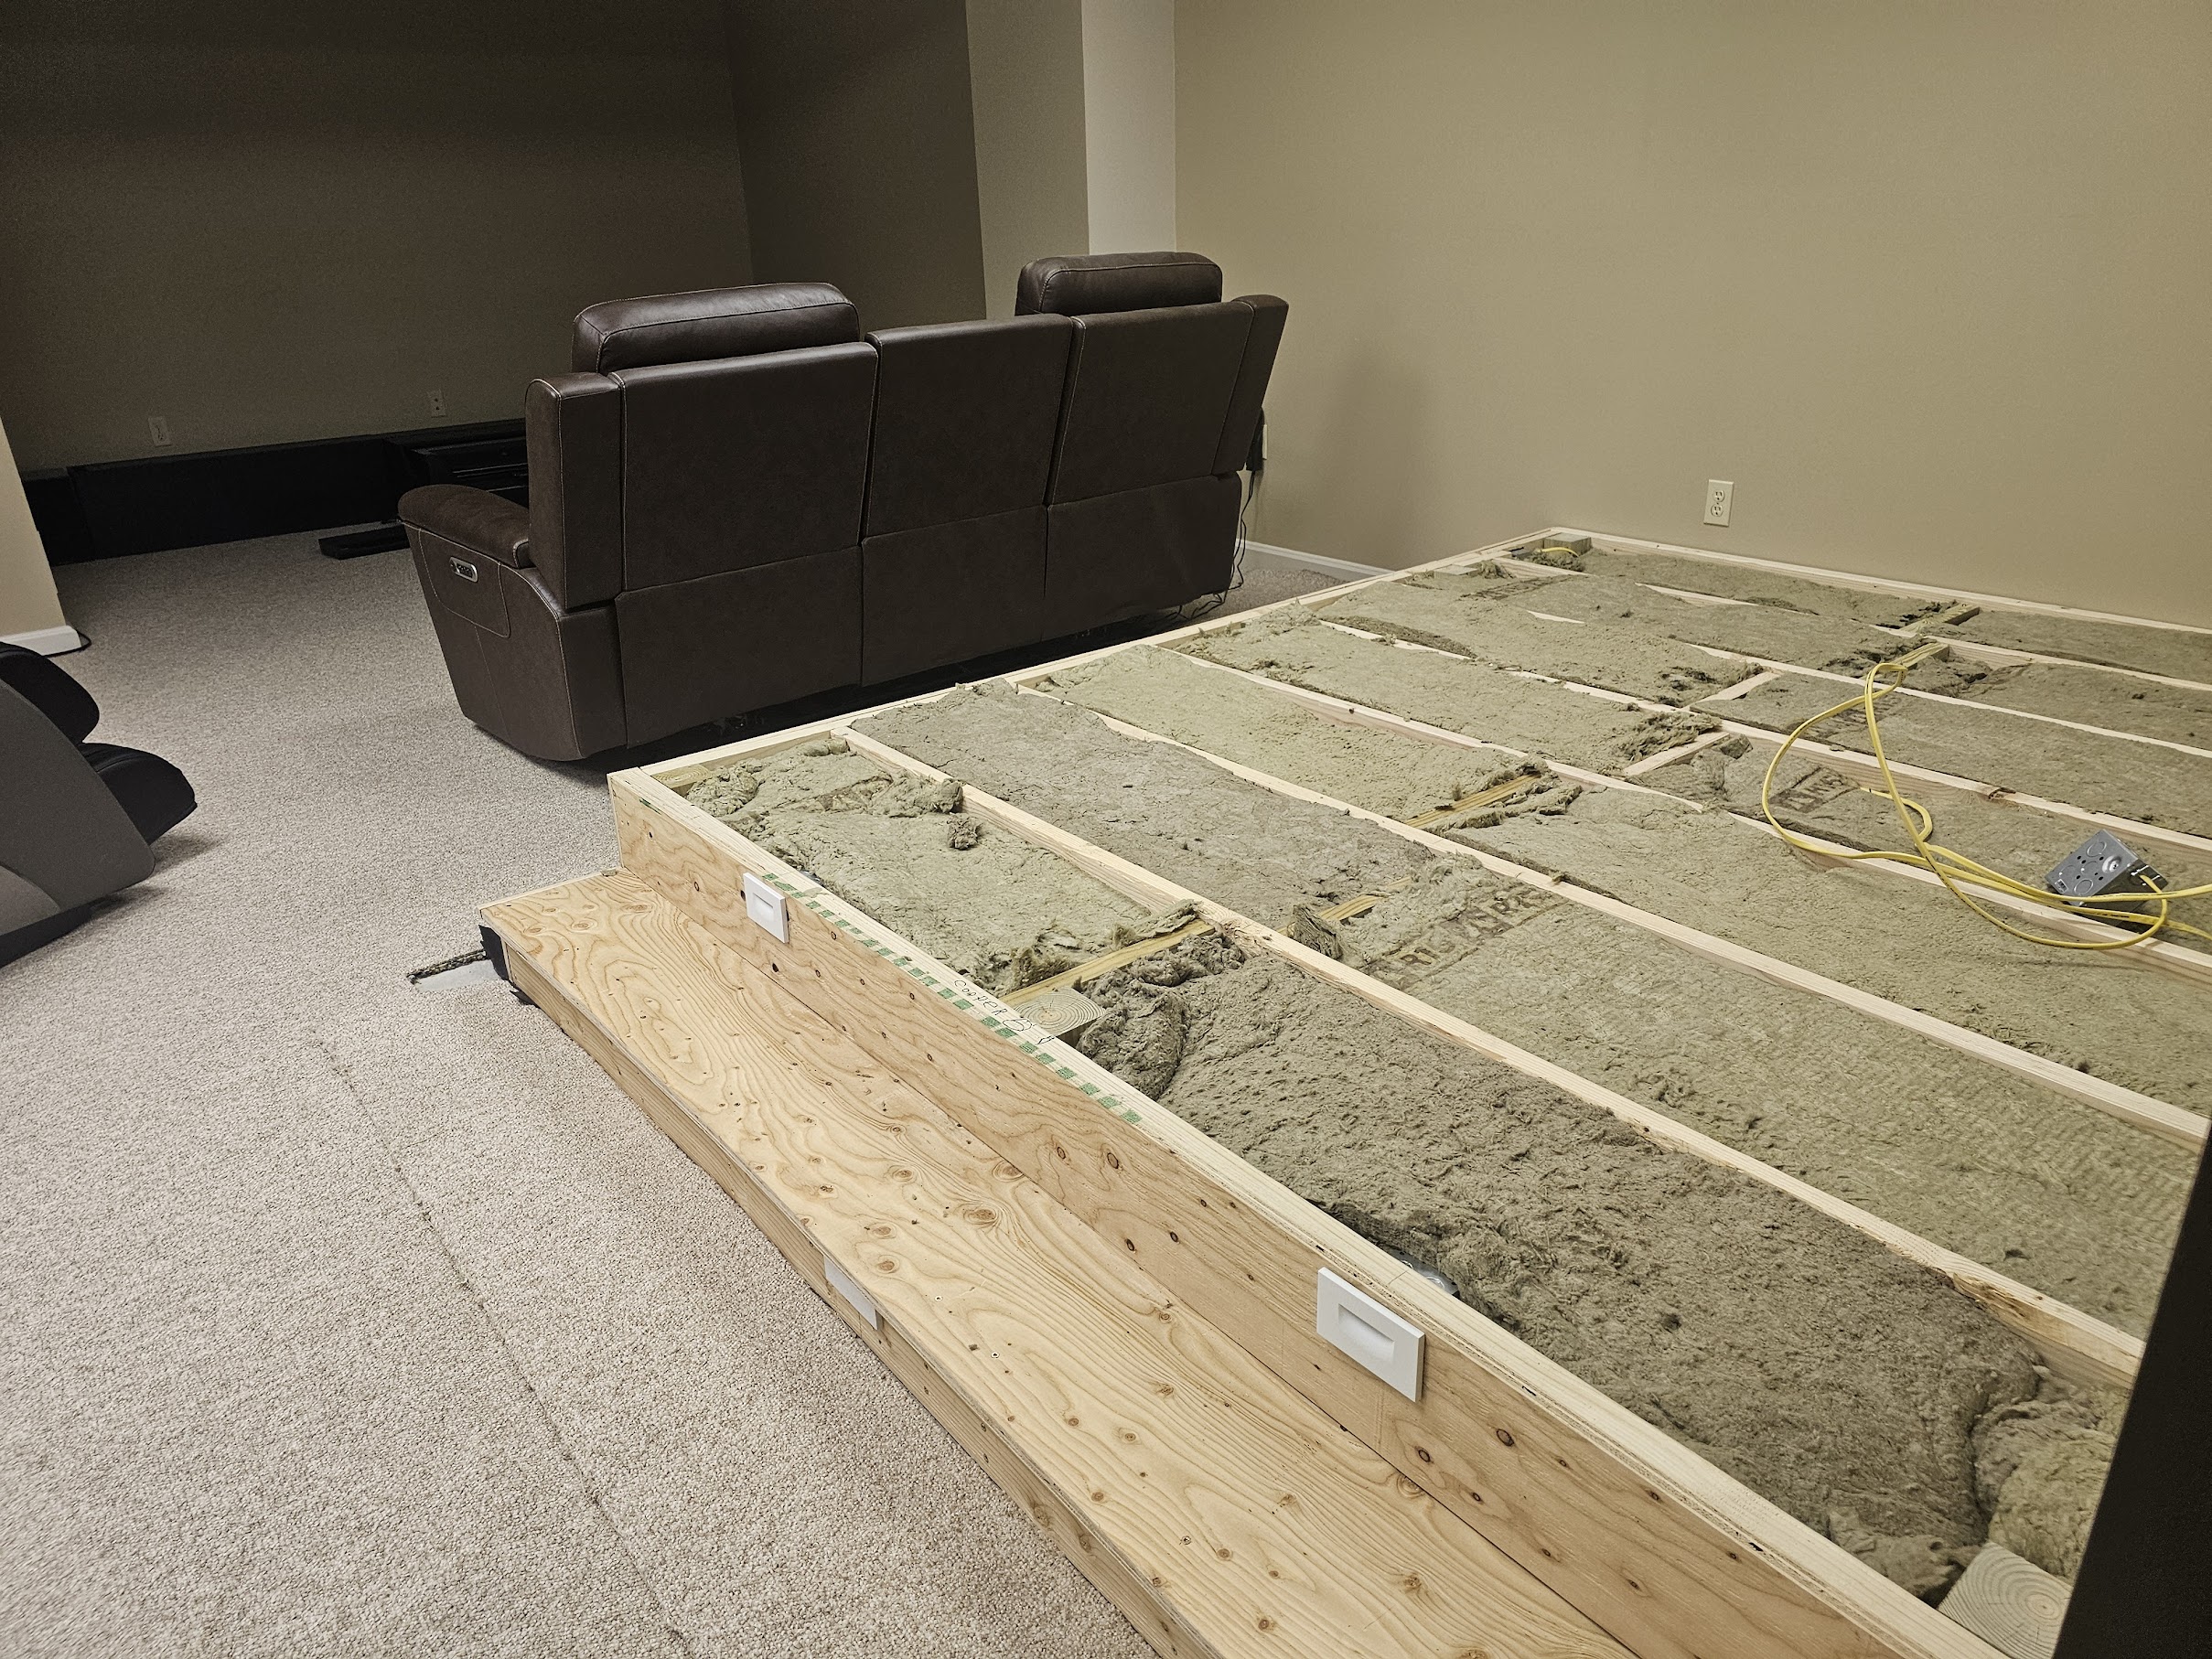
Wiring, Insulation & Step Lights
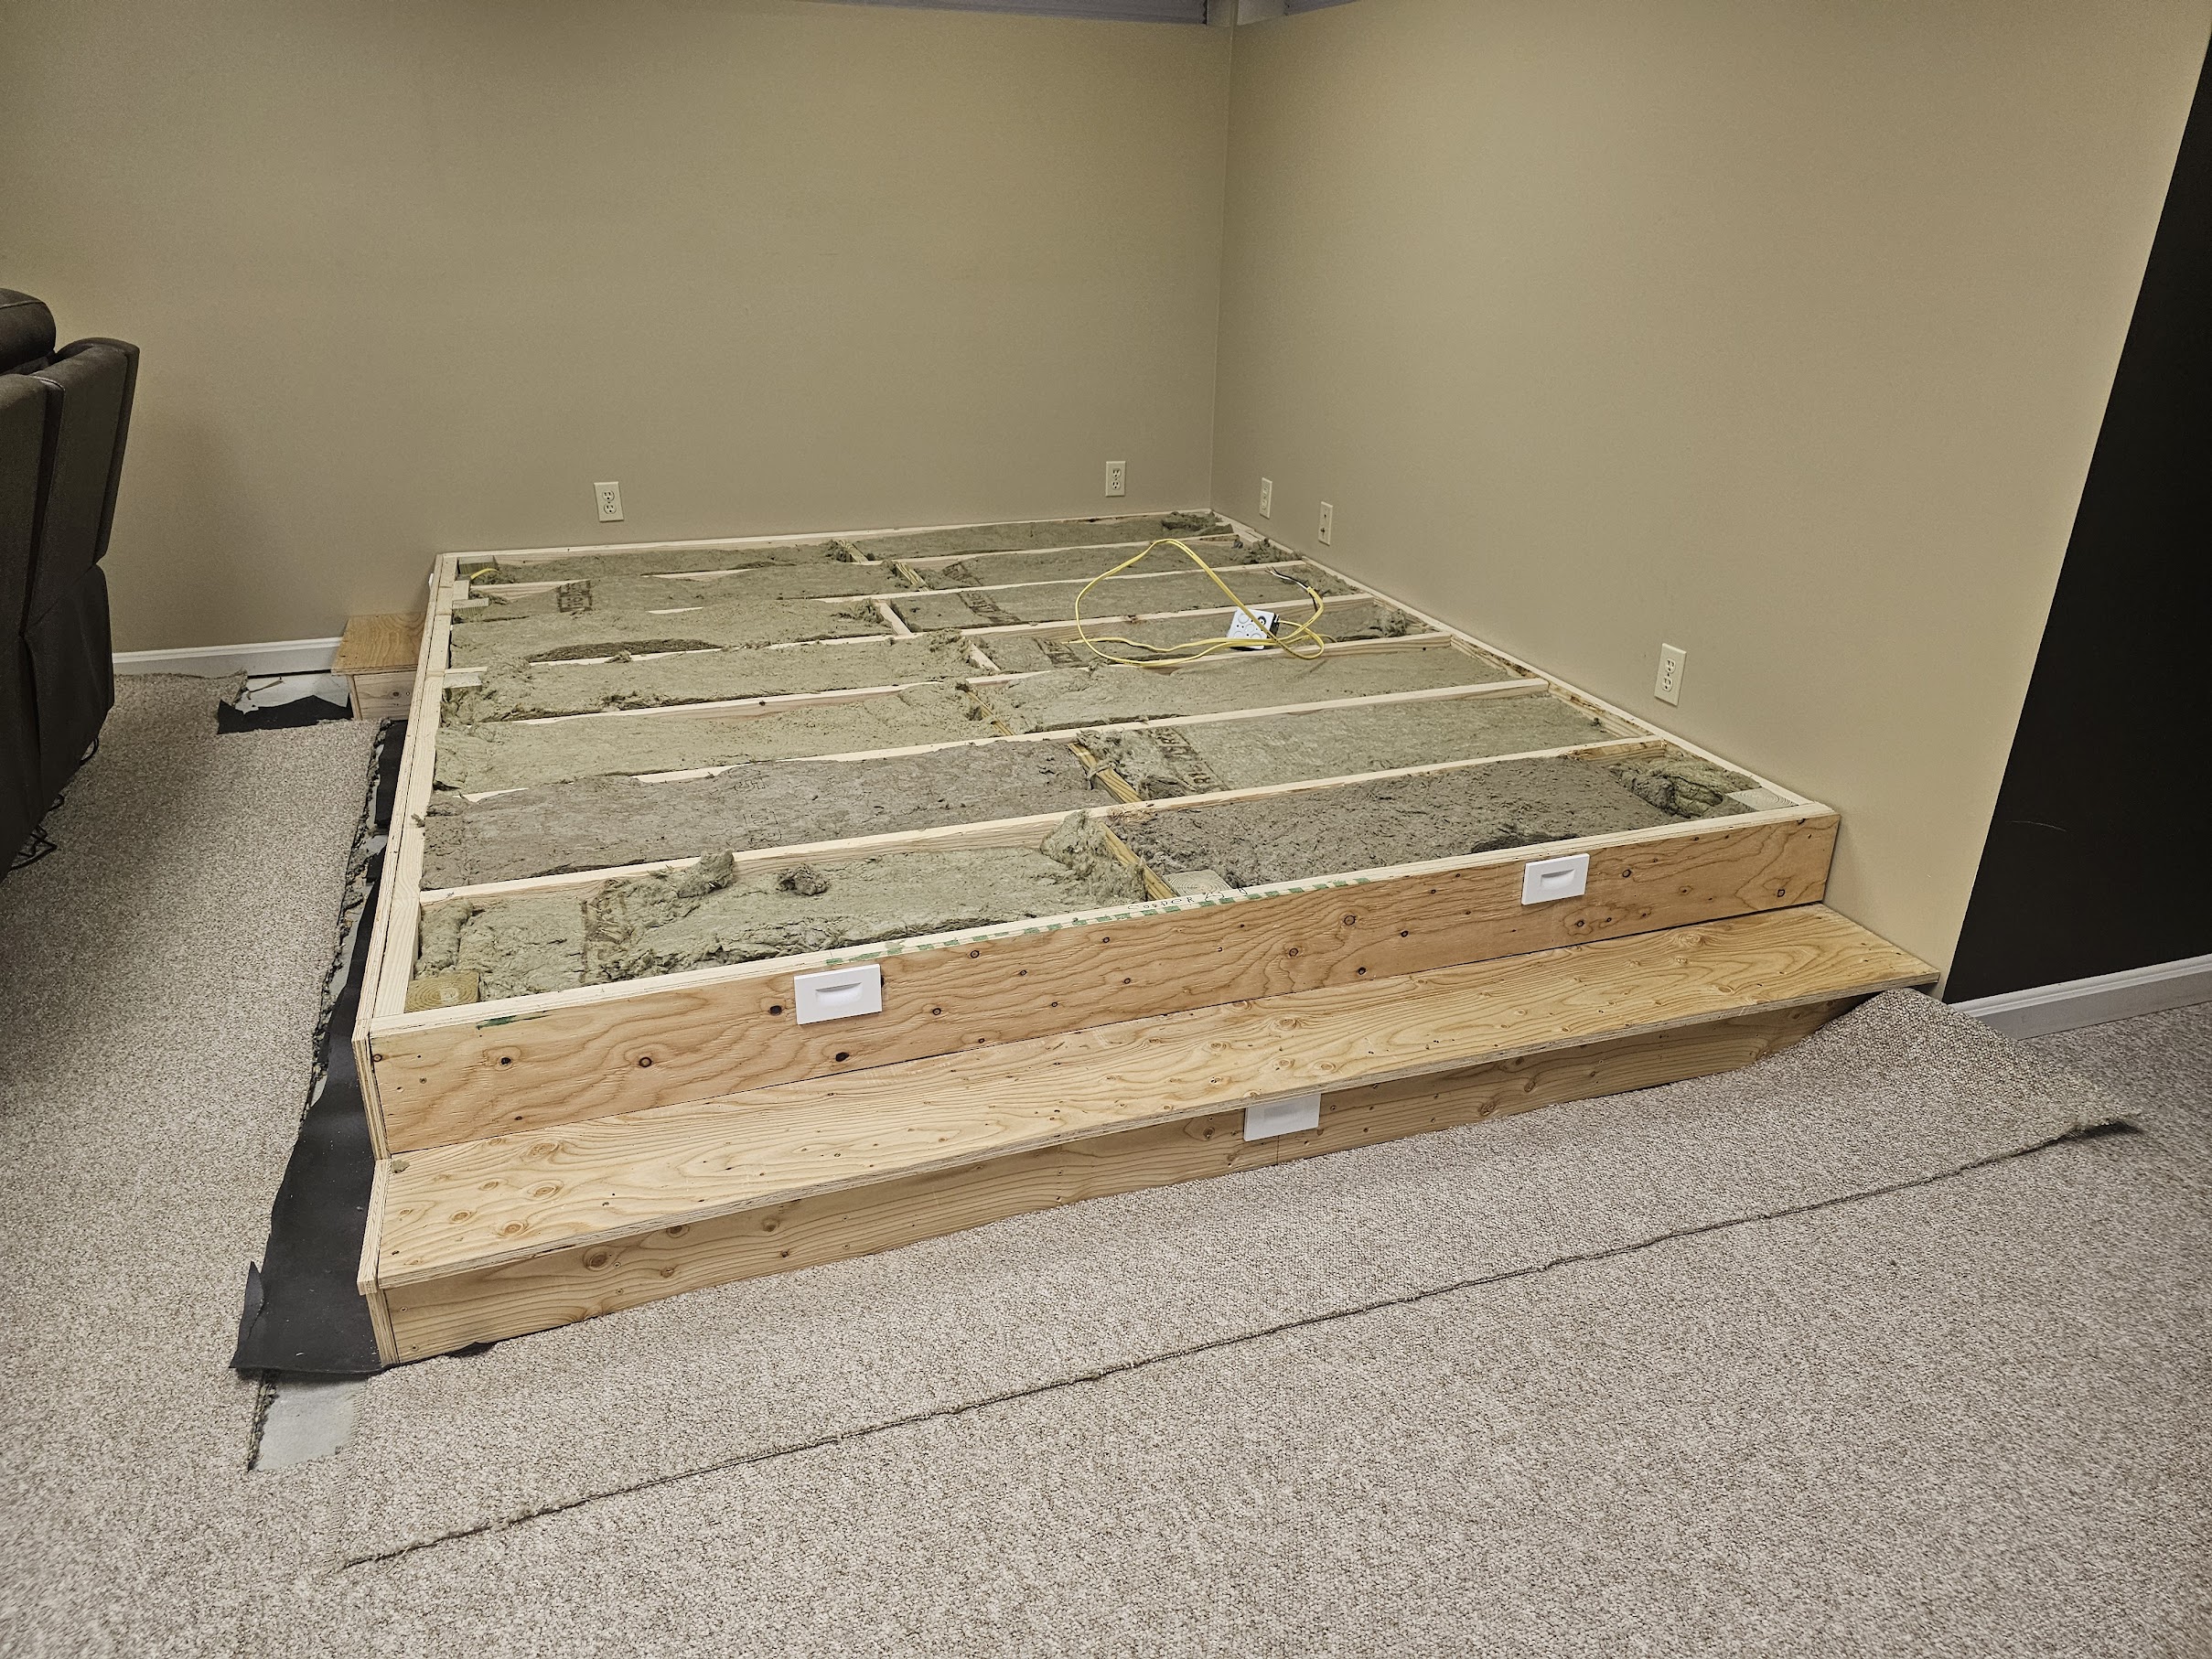
Everything that would ever need power ran inside the platform now, before the top went on. A receptacle on the front face for the front-row recliners. A second outlet on top, tucked under the back row, so powered chairs would have no visible cord dropping to the floor, just floating chairs with no plug in sight. RGB deck lights were cut into each riser and wired to a Shelly relay, tied into Home Assistant. They come on at dusk every night on their own. The entire cavity was packed with Rockwool, not for warmth, for sound. A platform this size sitting on carpet over a concrete slab can become a resonance box at high bass levels. The Rockwool killed that. Steps were framed on the left and front so the platform is accessible from either direction. Cooper's name went on a joist before it was sealed in.
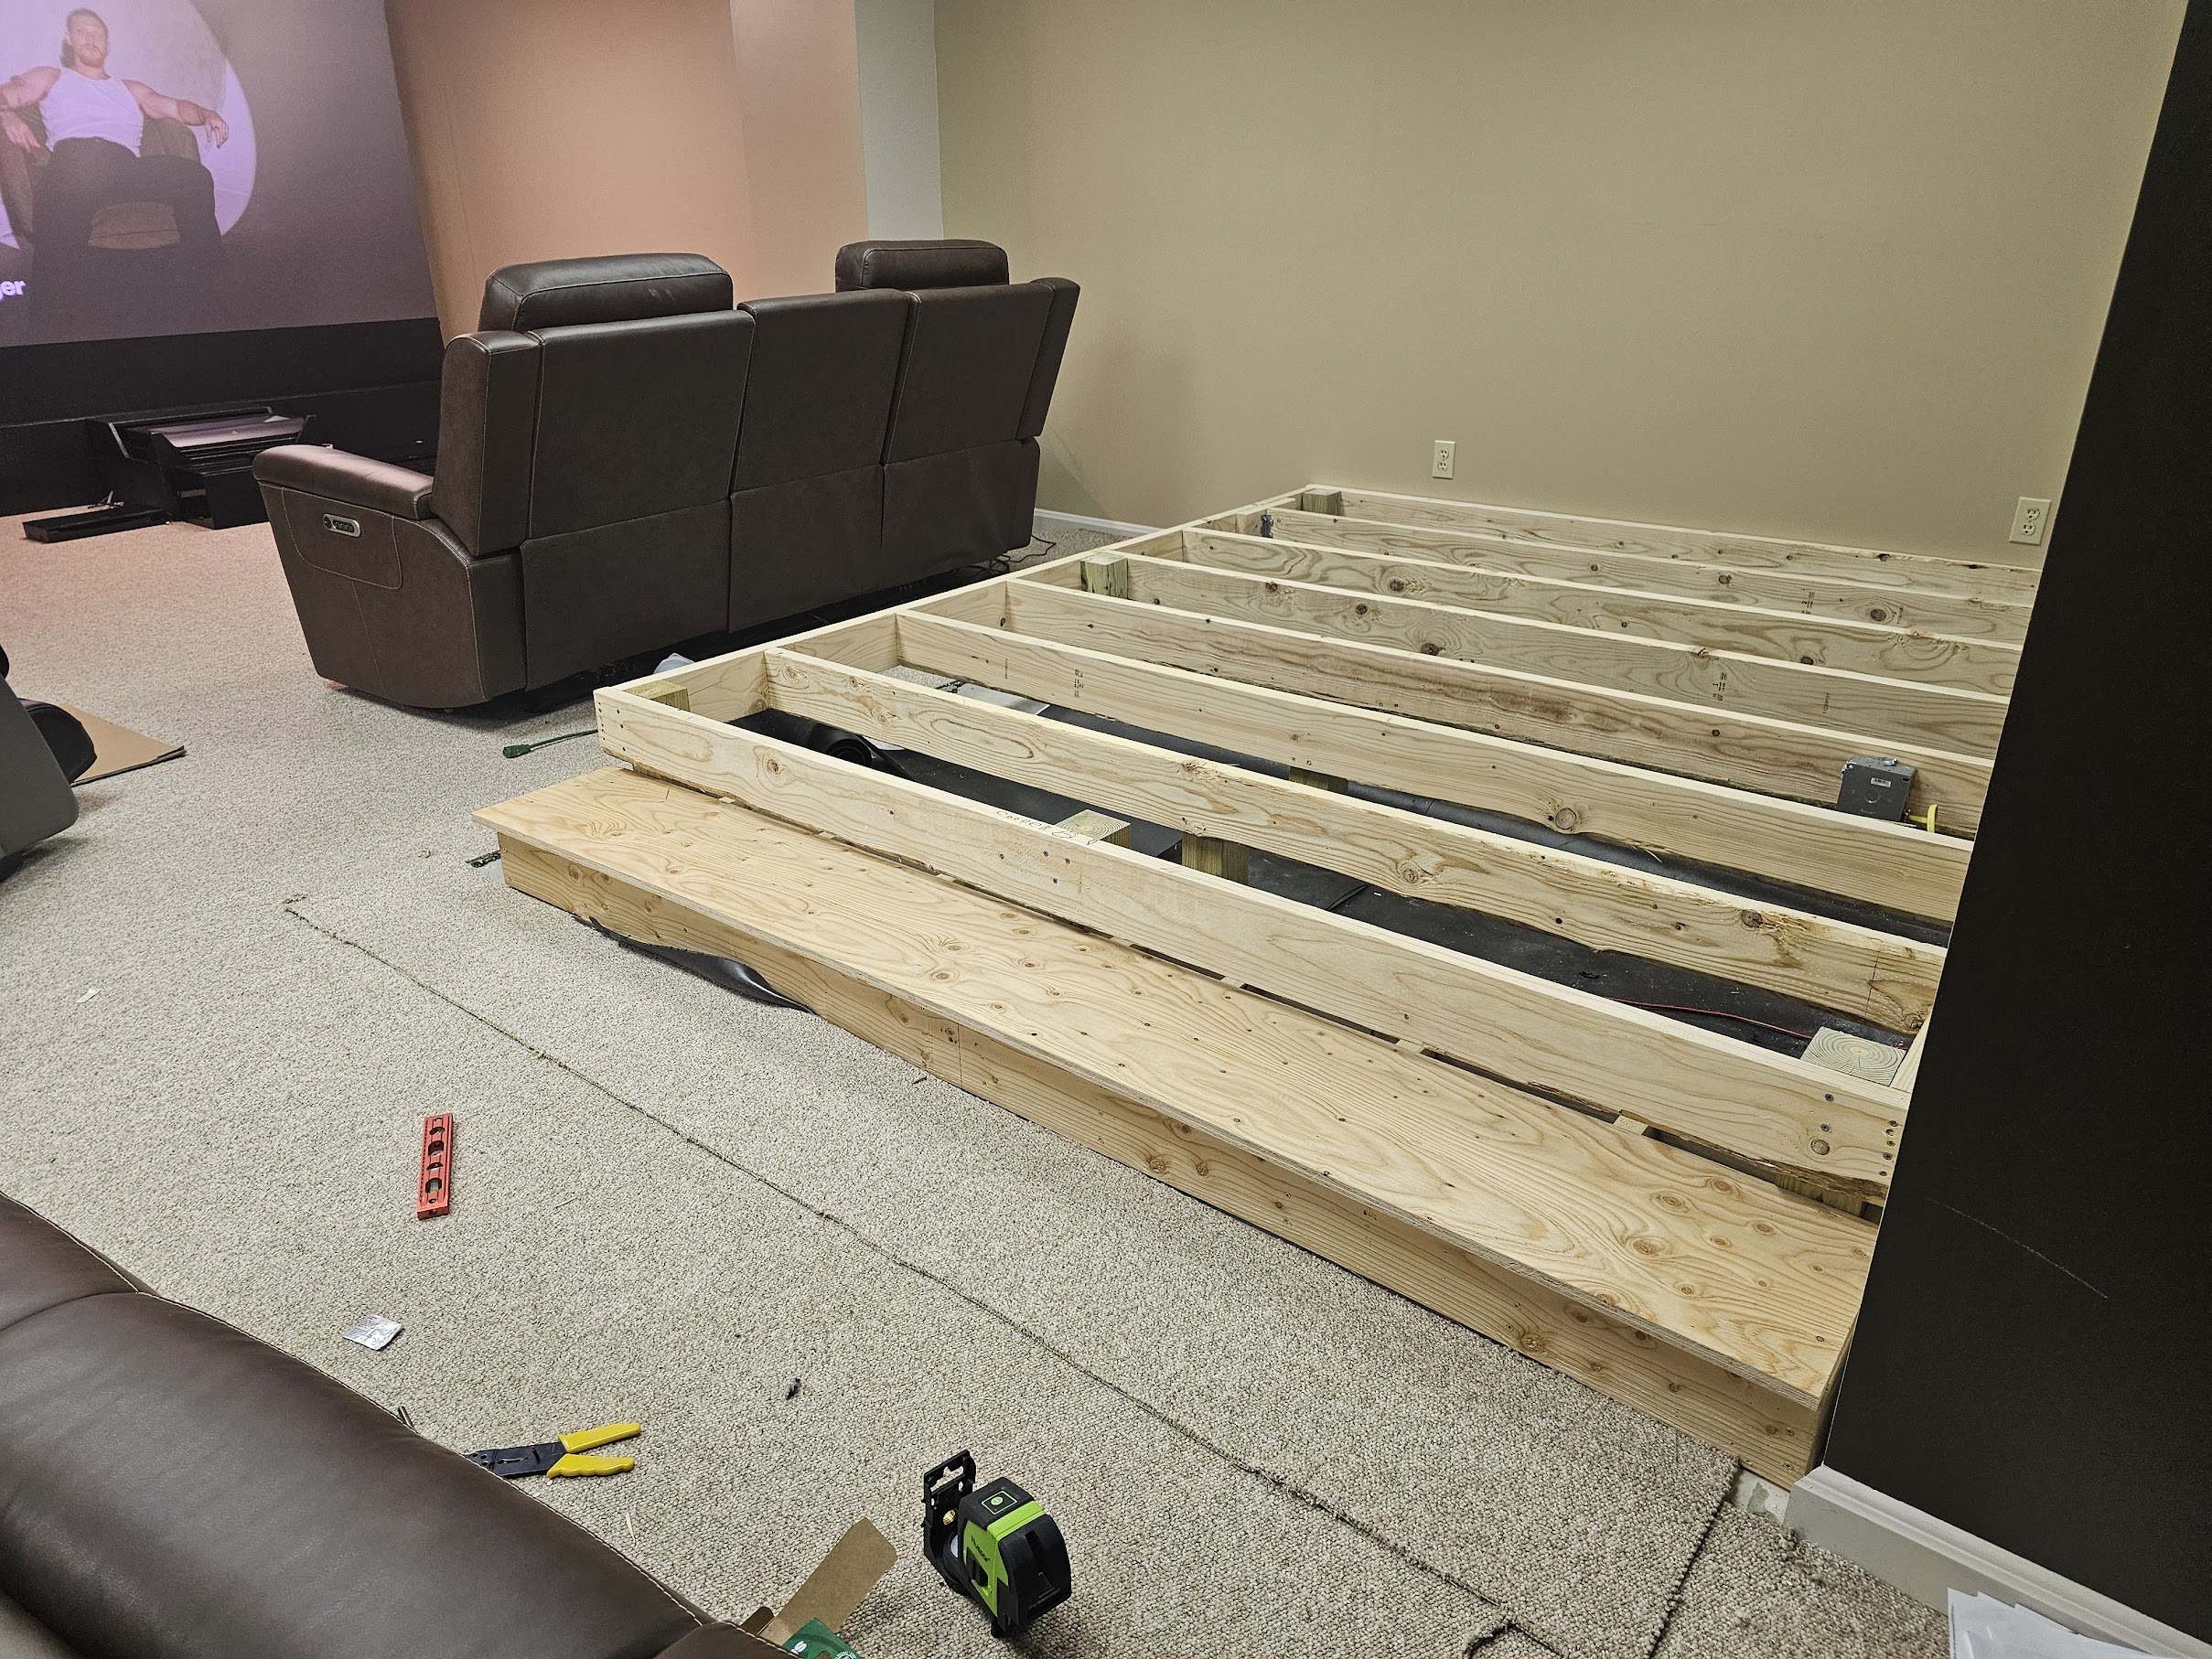 Steps framed, movie running while work continues
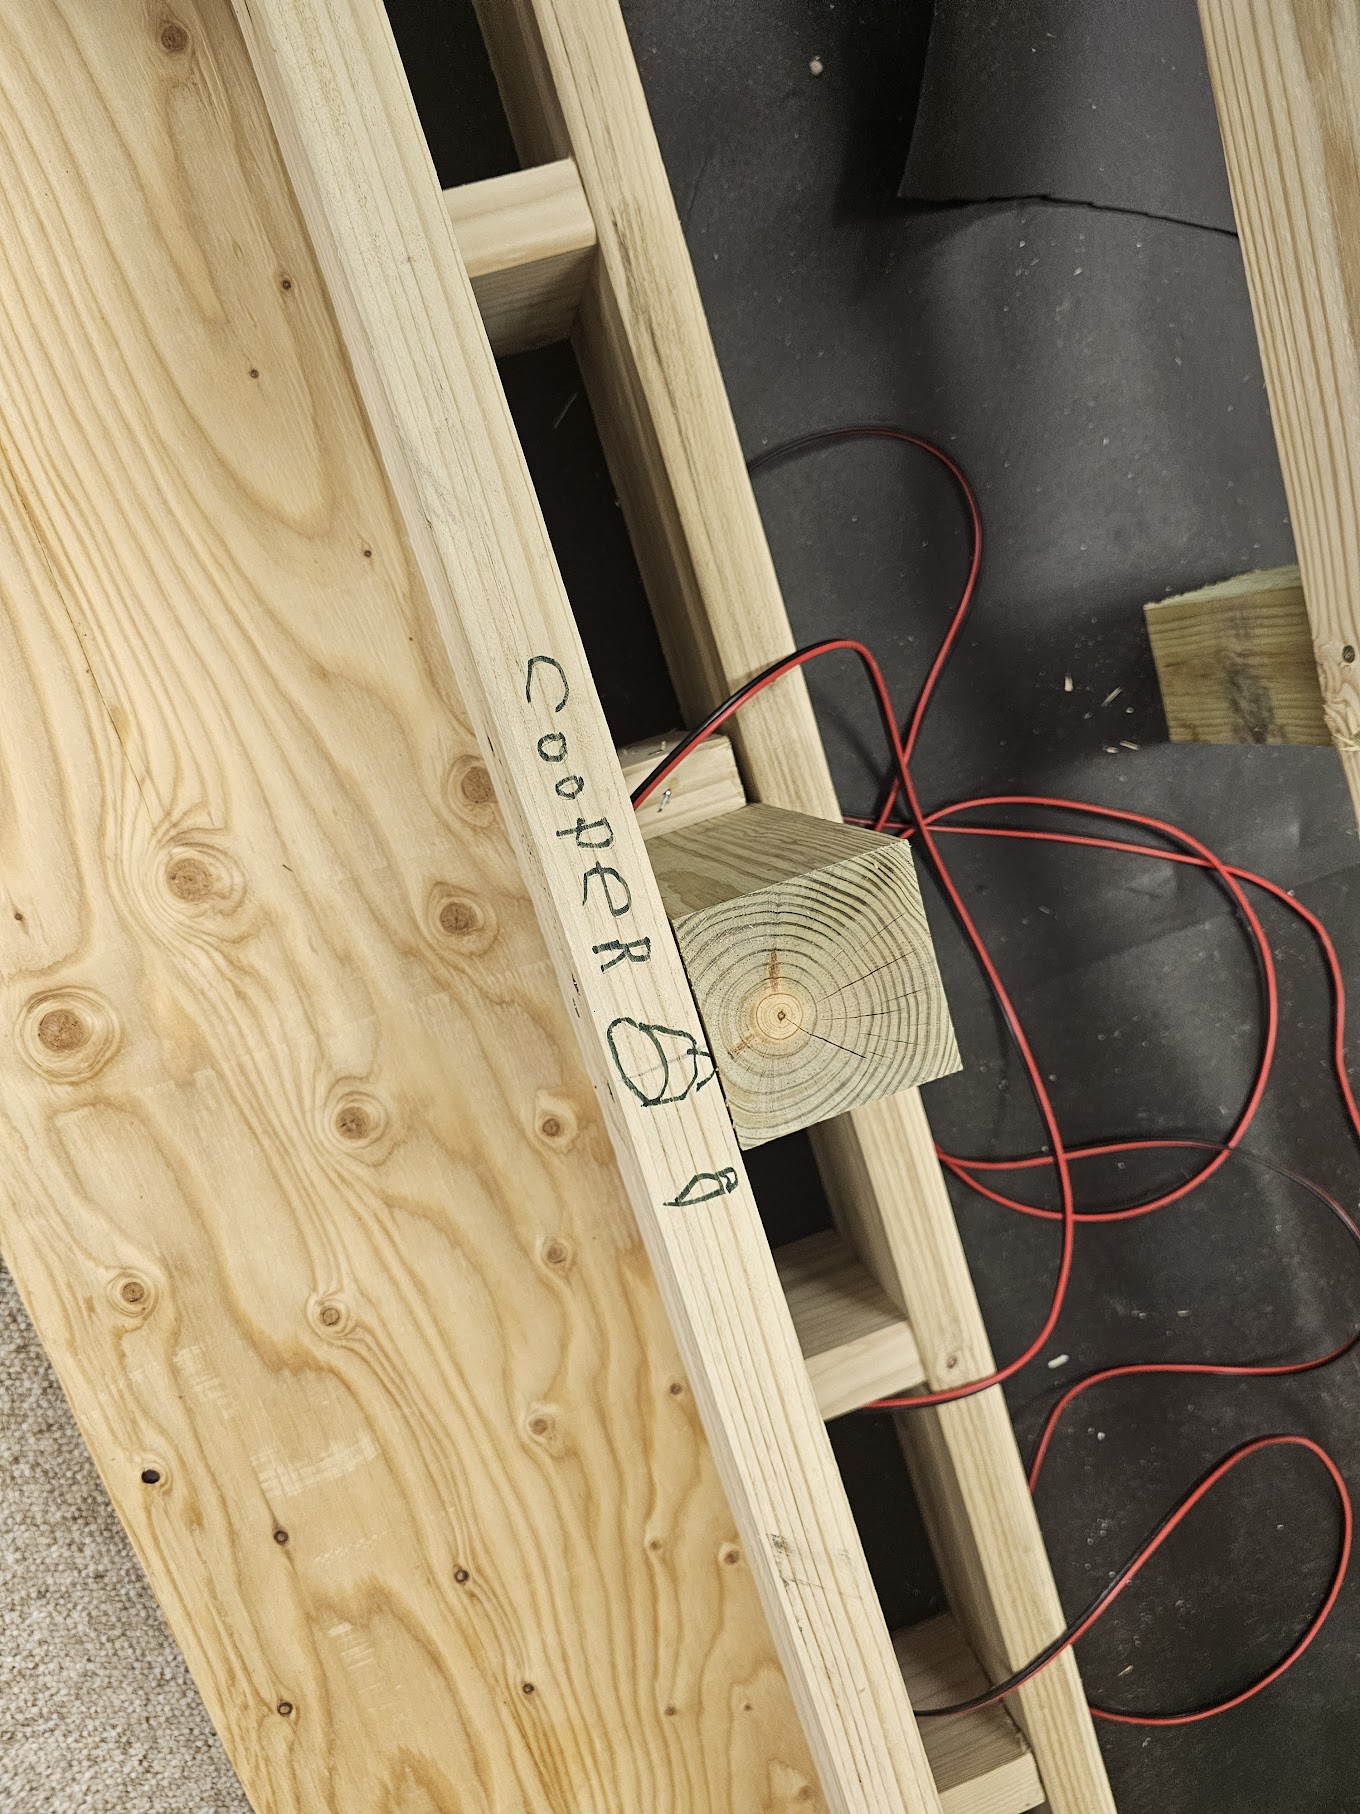 "Cooper ♡", sealed inside the platform permanently
 Step riser plywood, wiring routed through the cavity
 Last look before it's sealed in
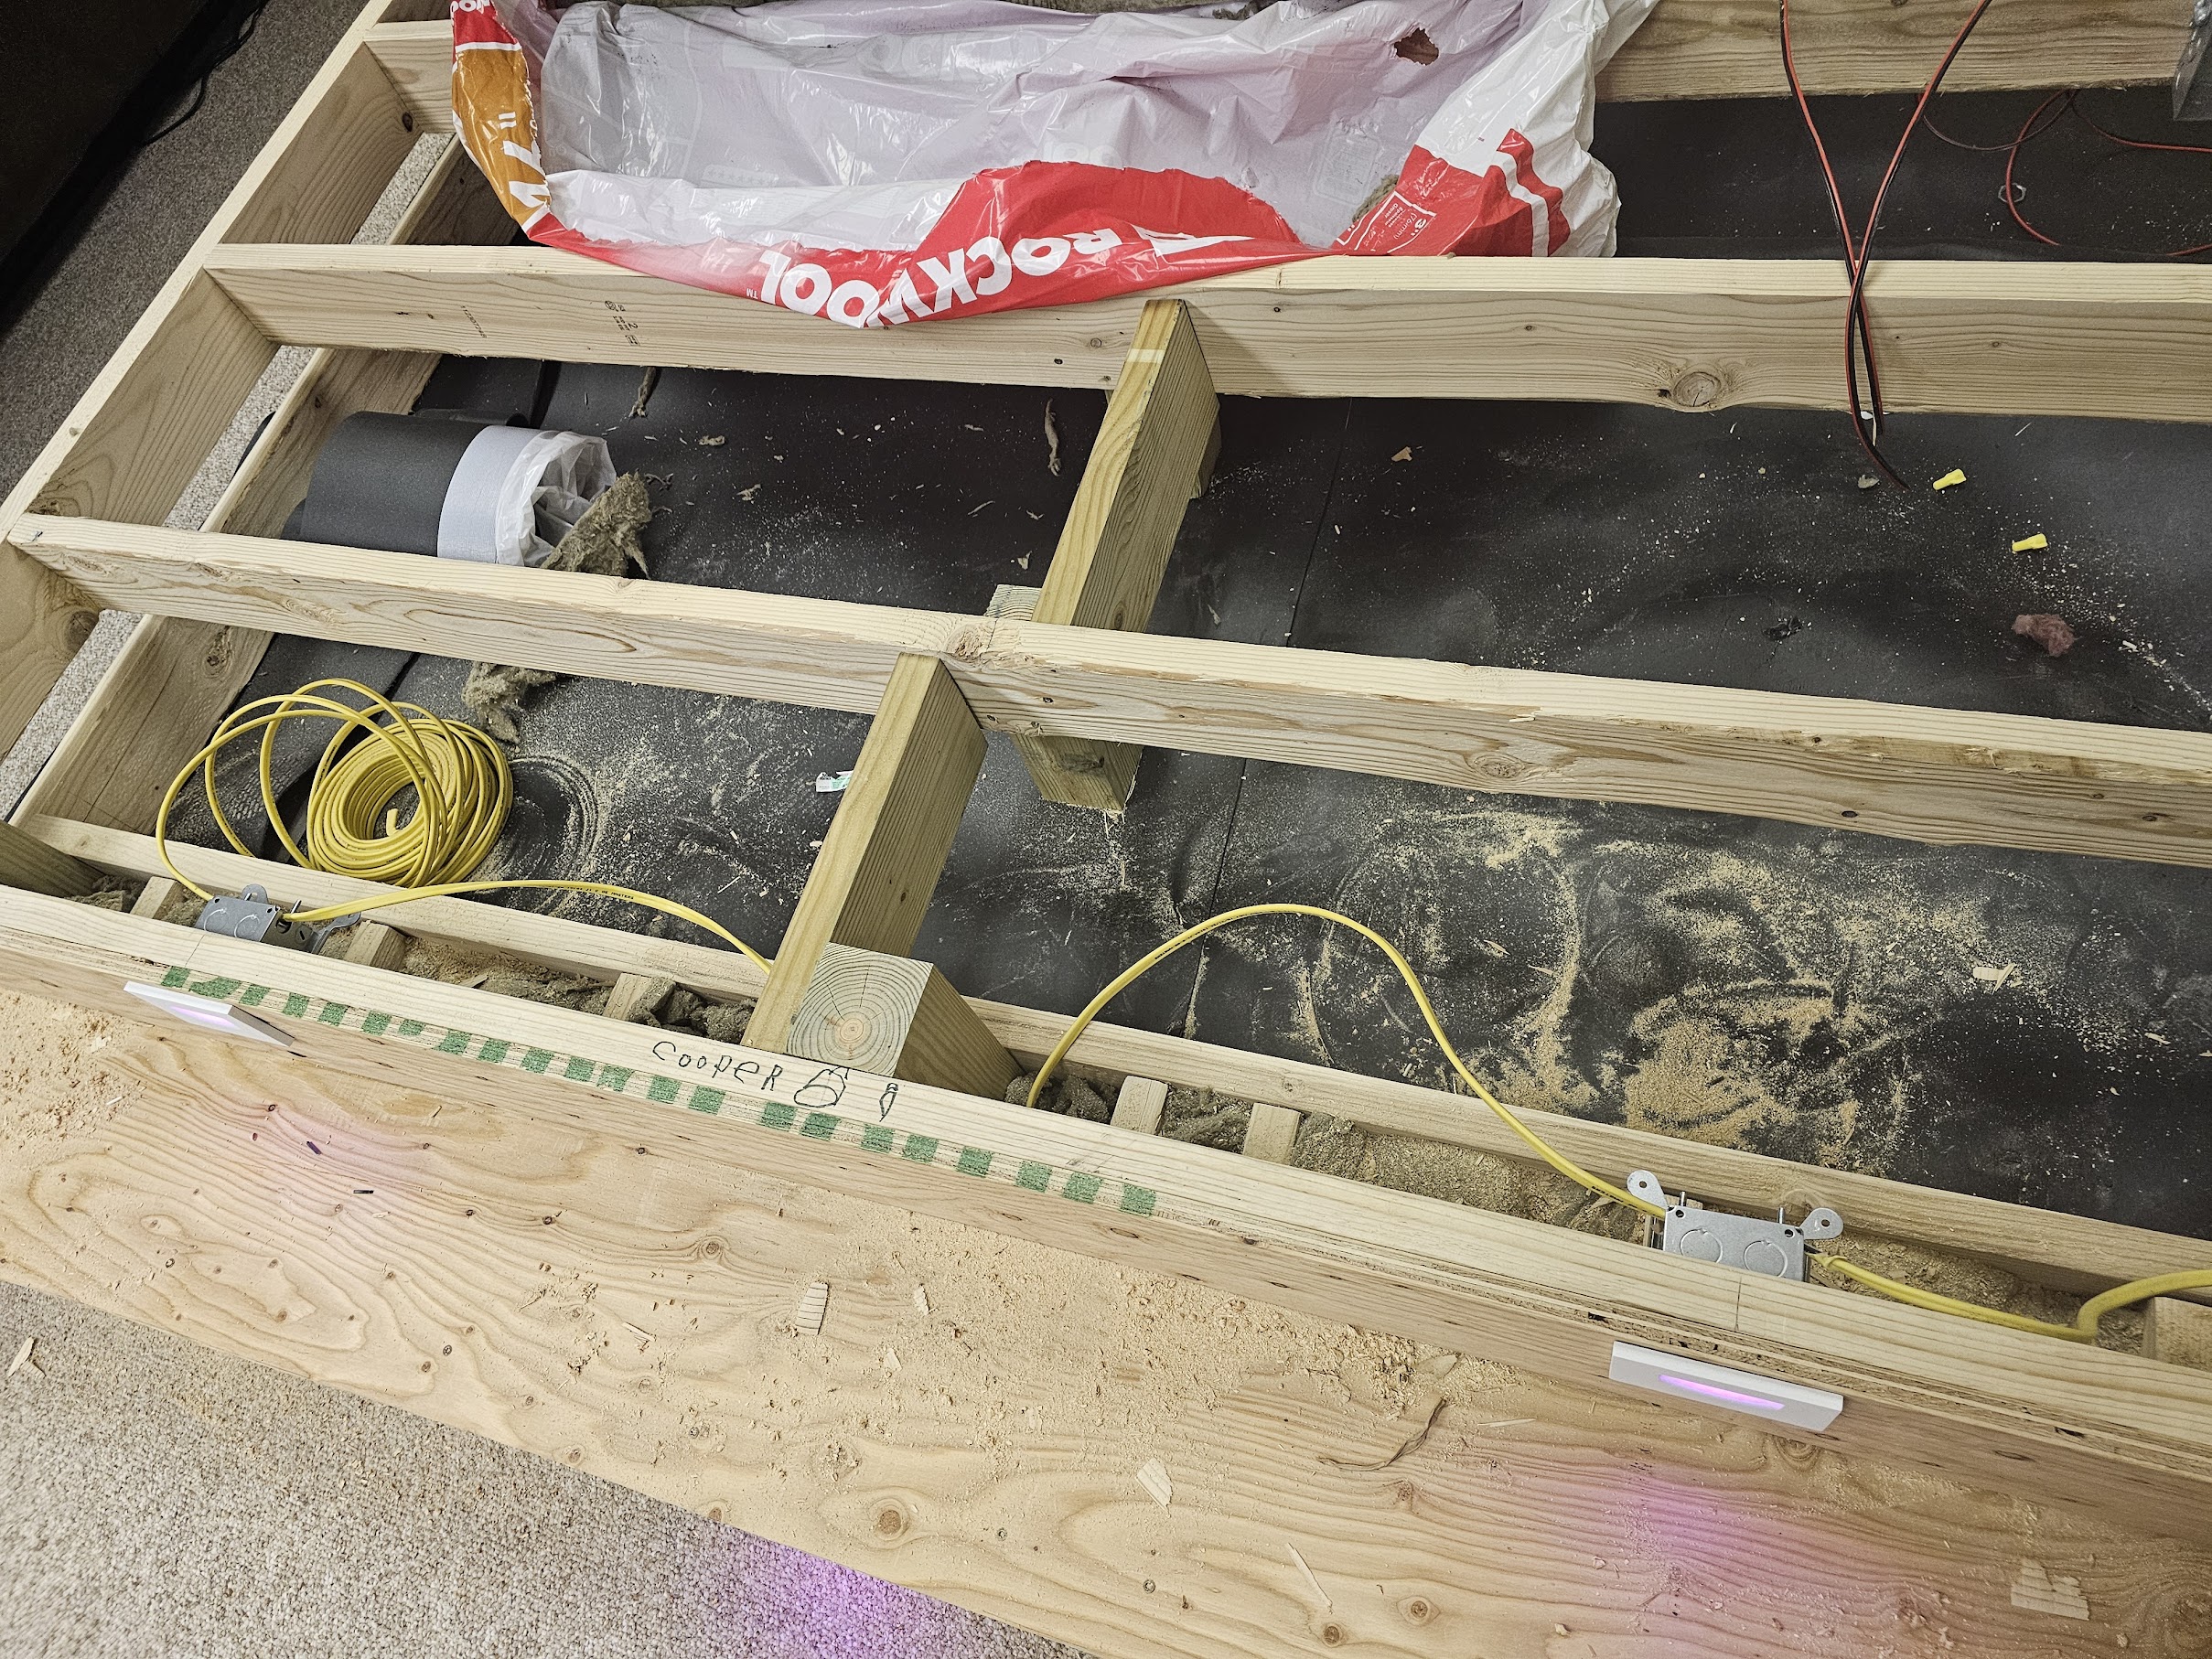 Rockwool in, LED step light mounts cut and set
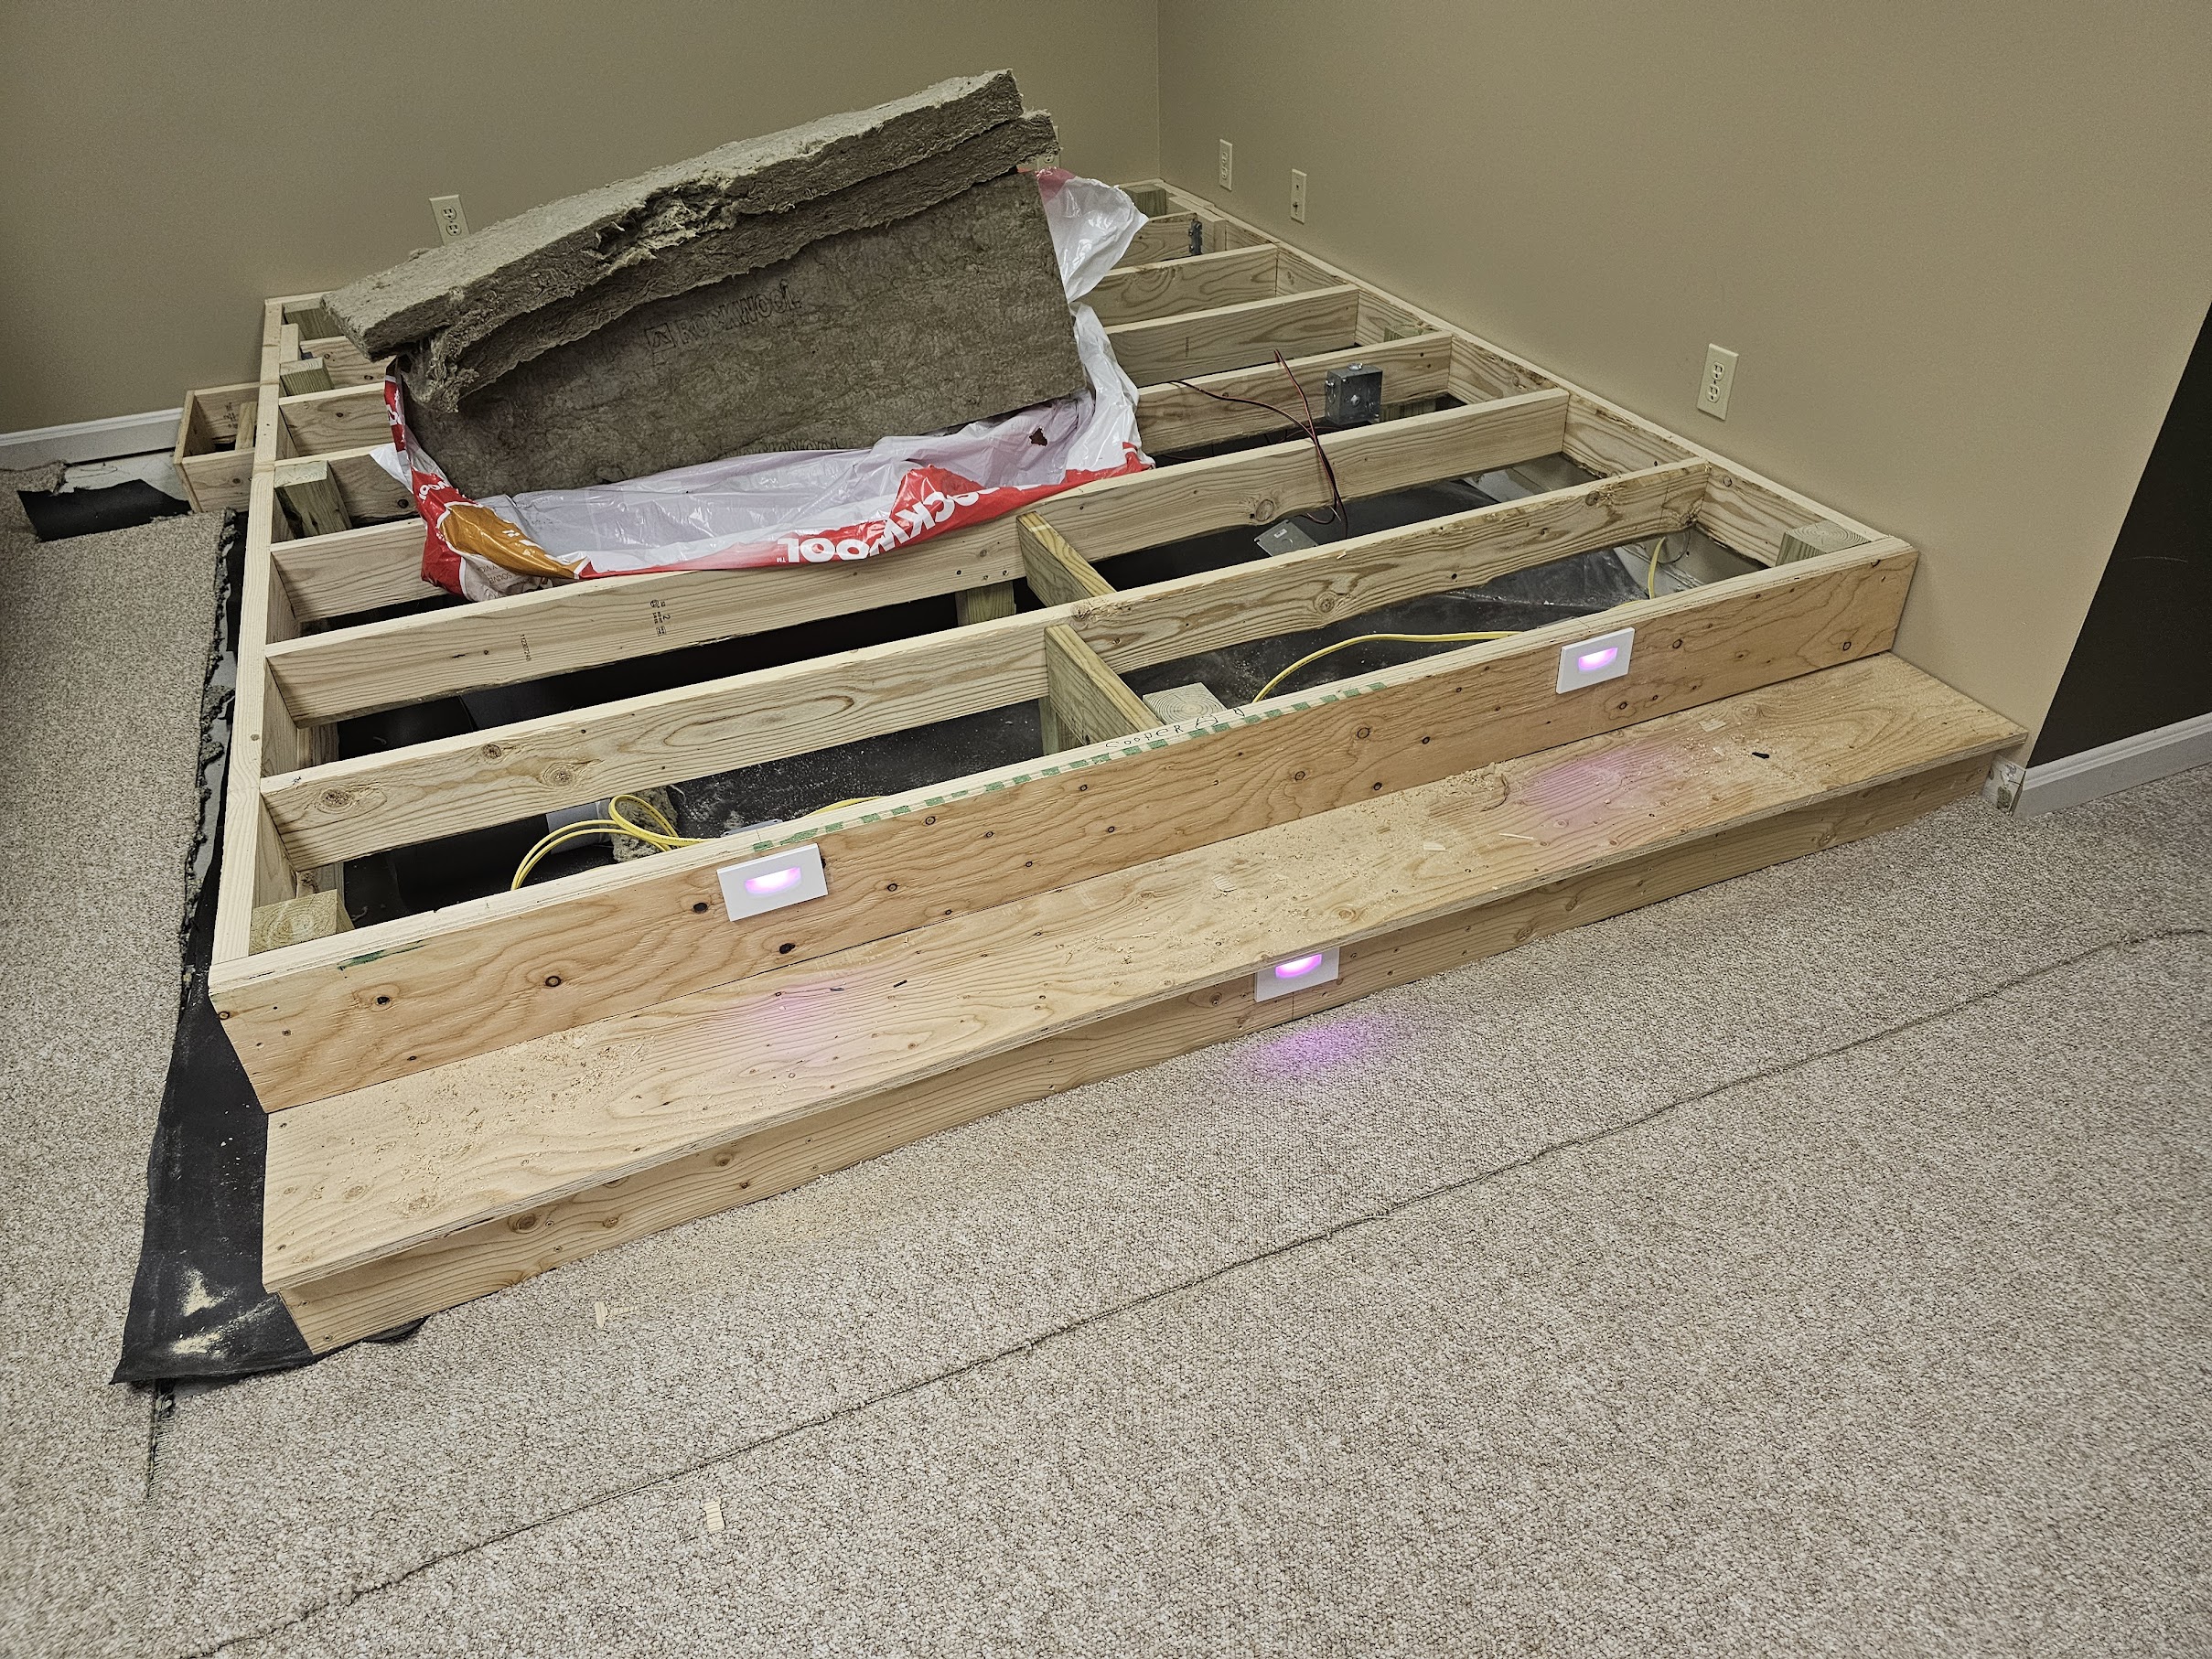 Fully packed with Rockwool, step lights already live
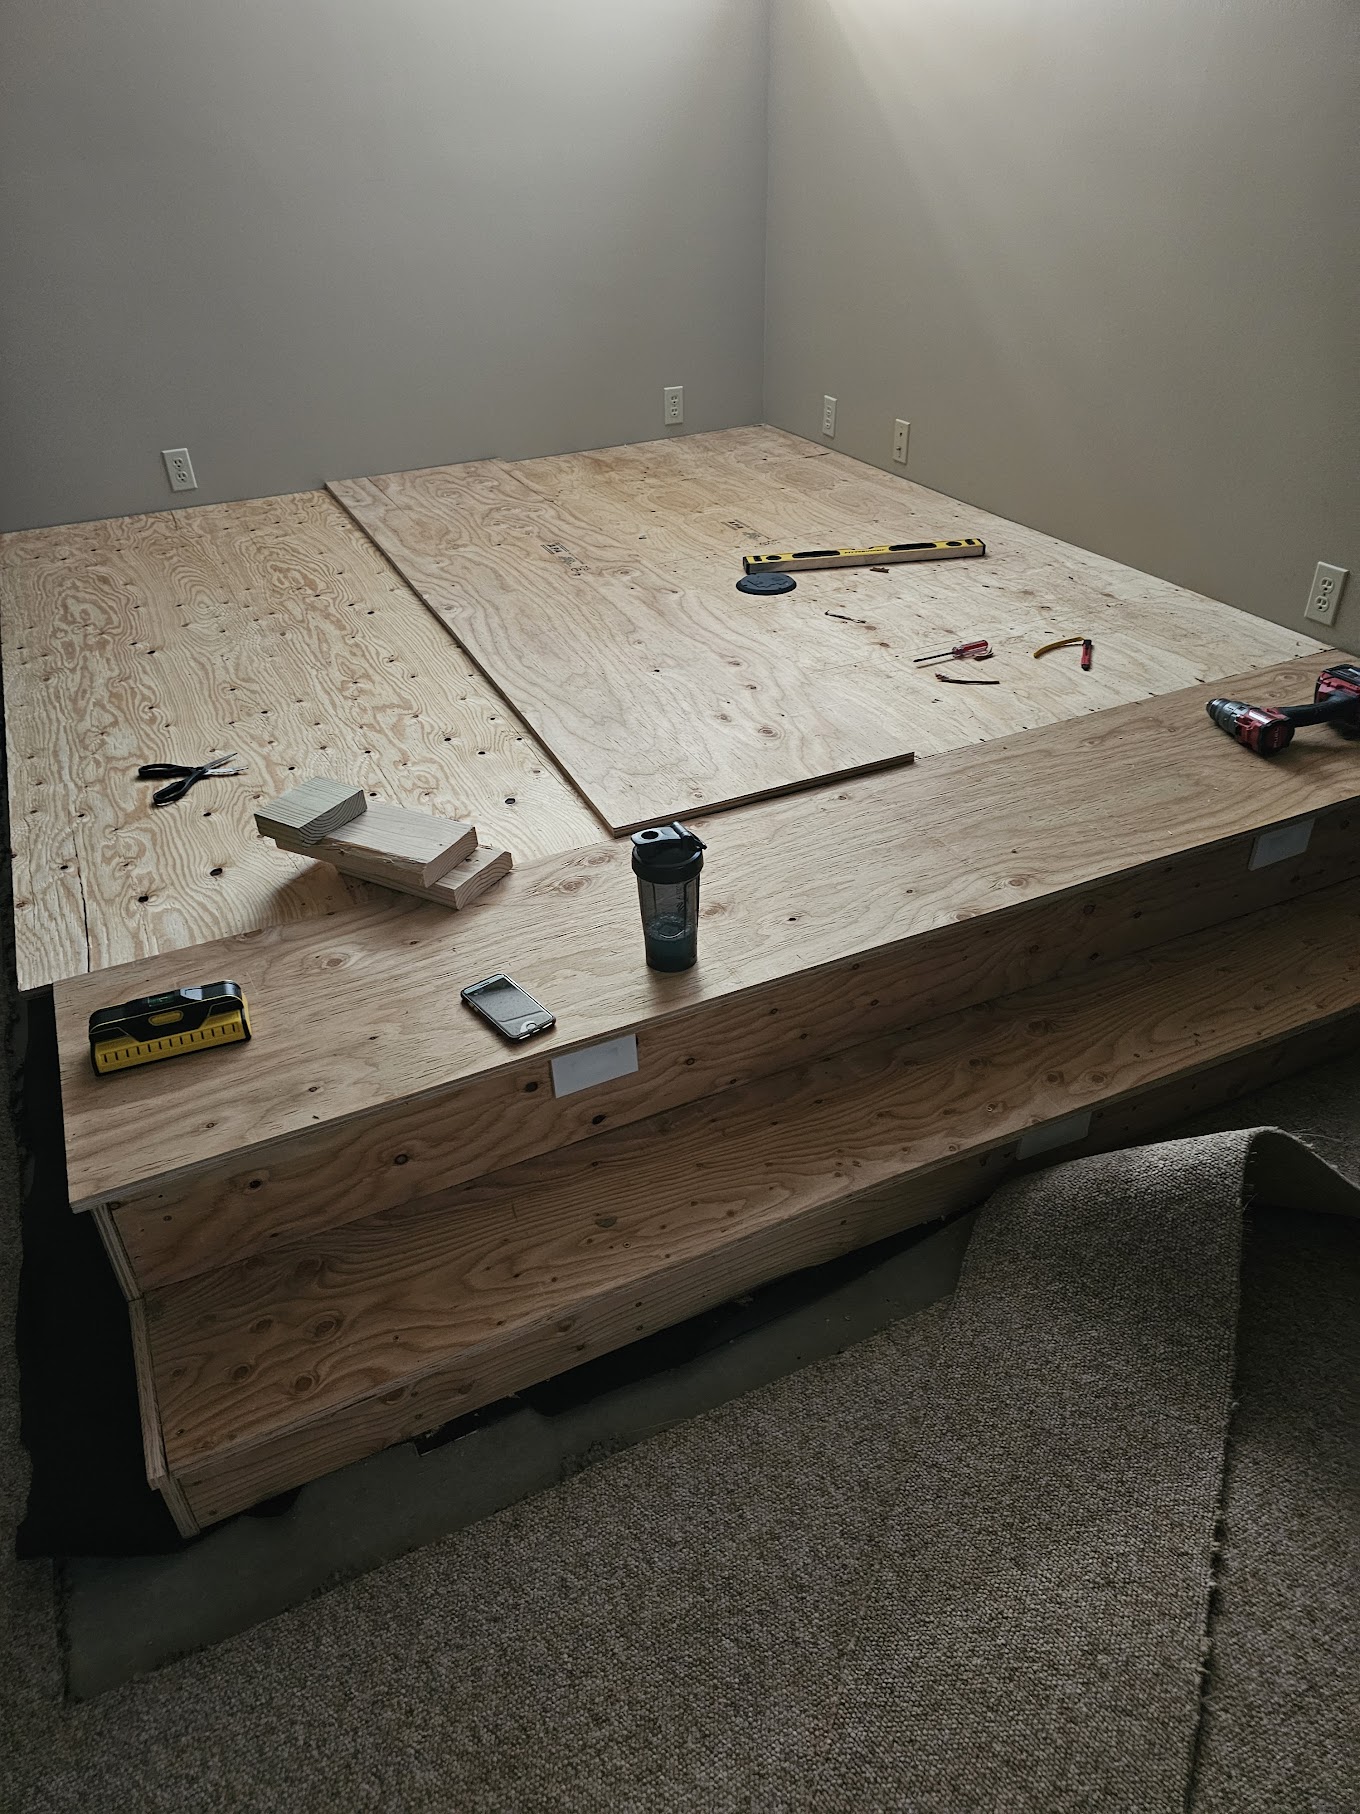
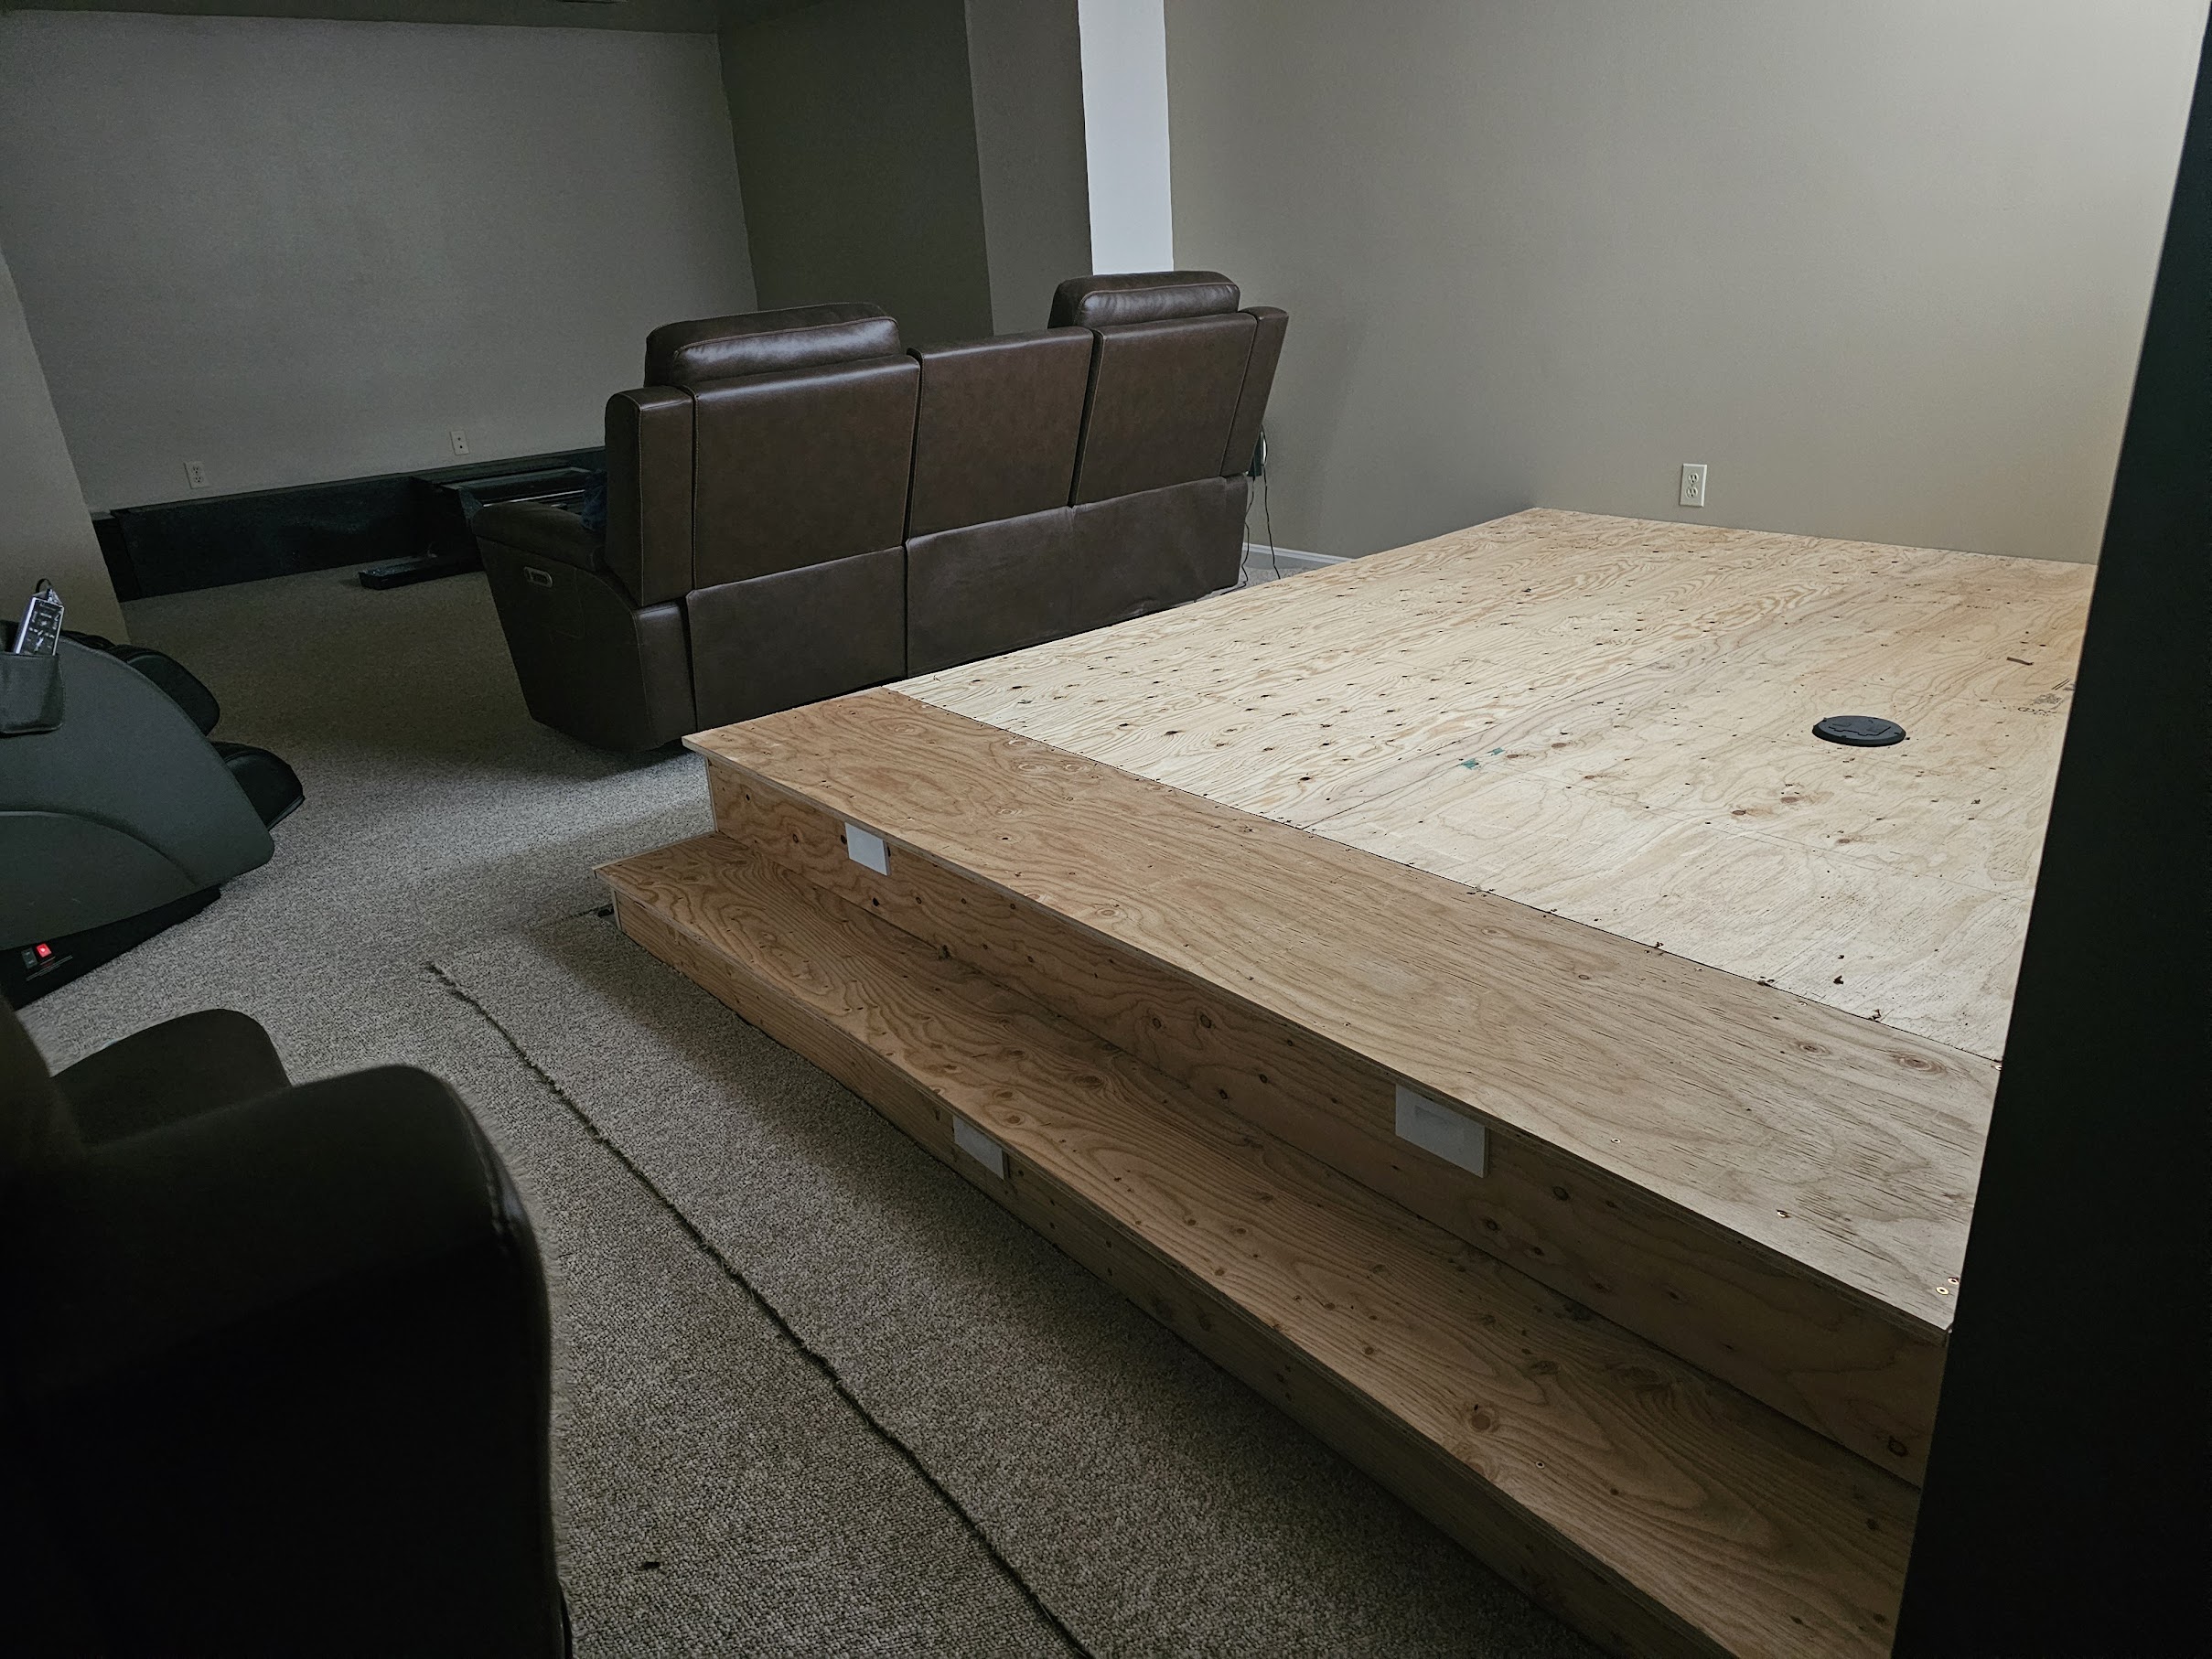
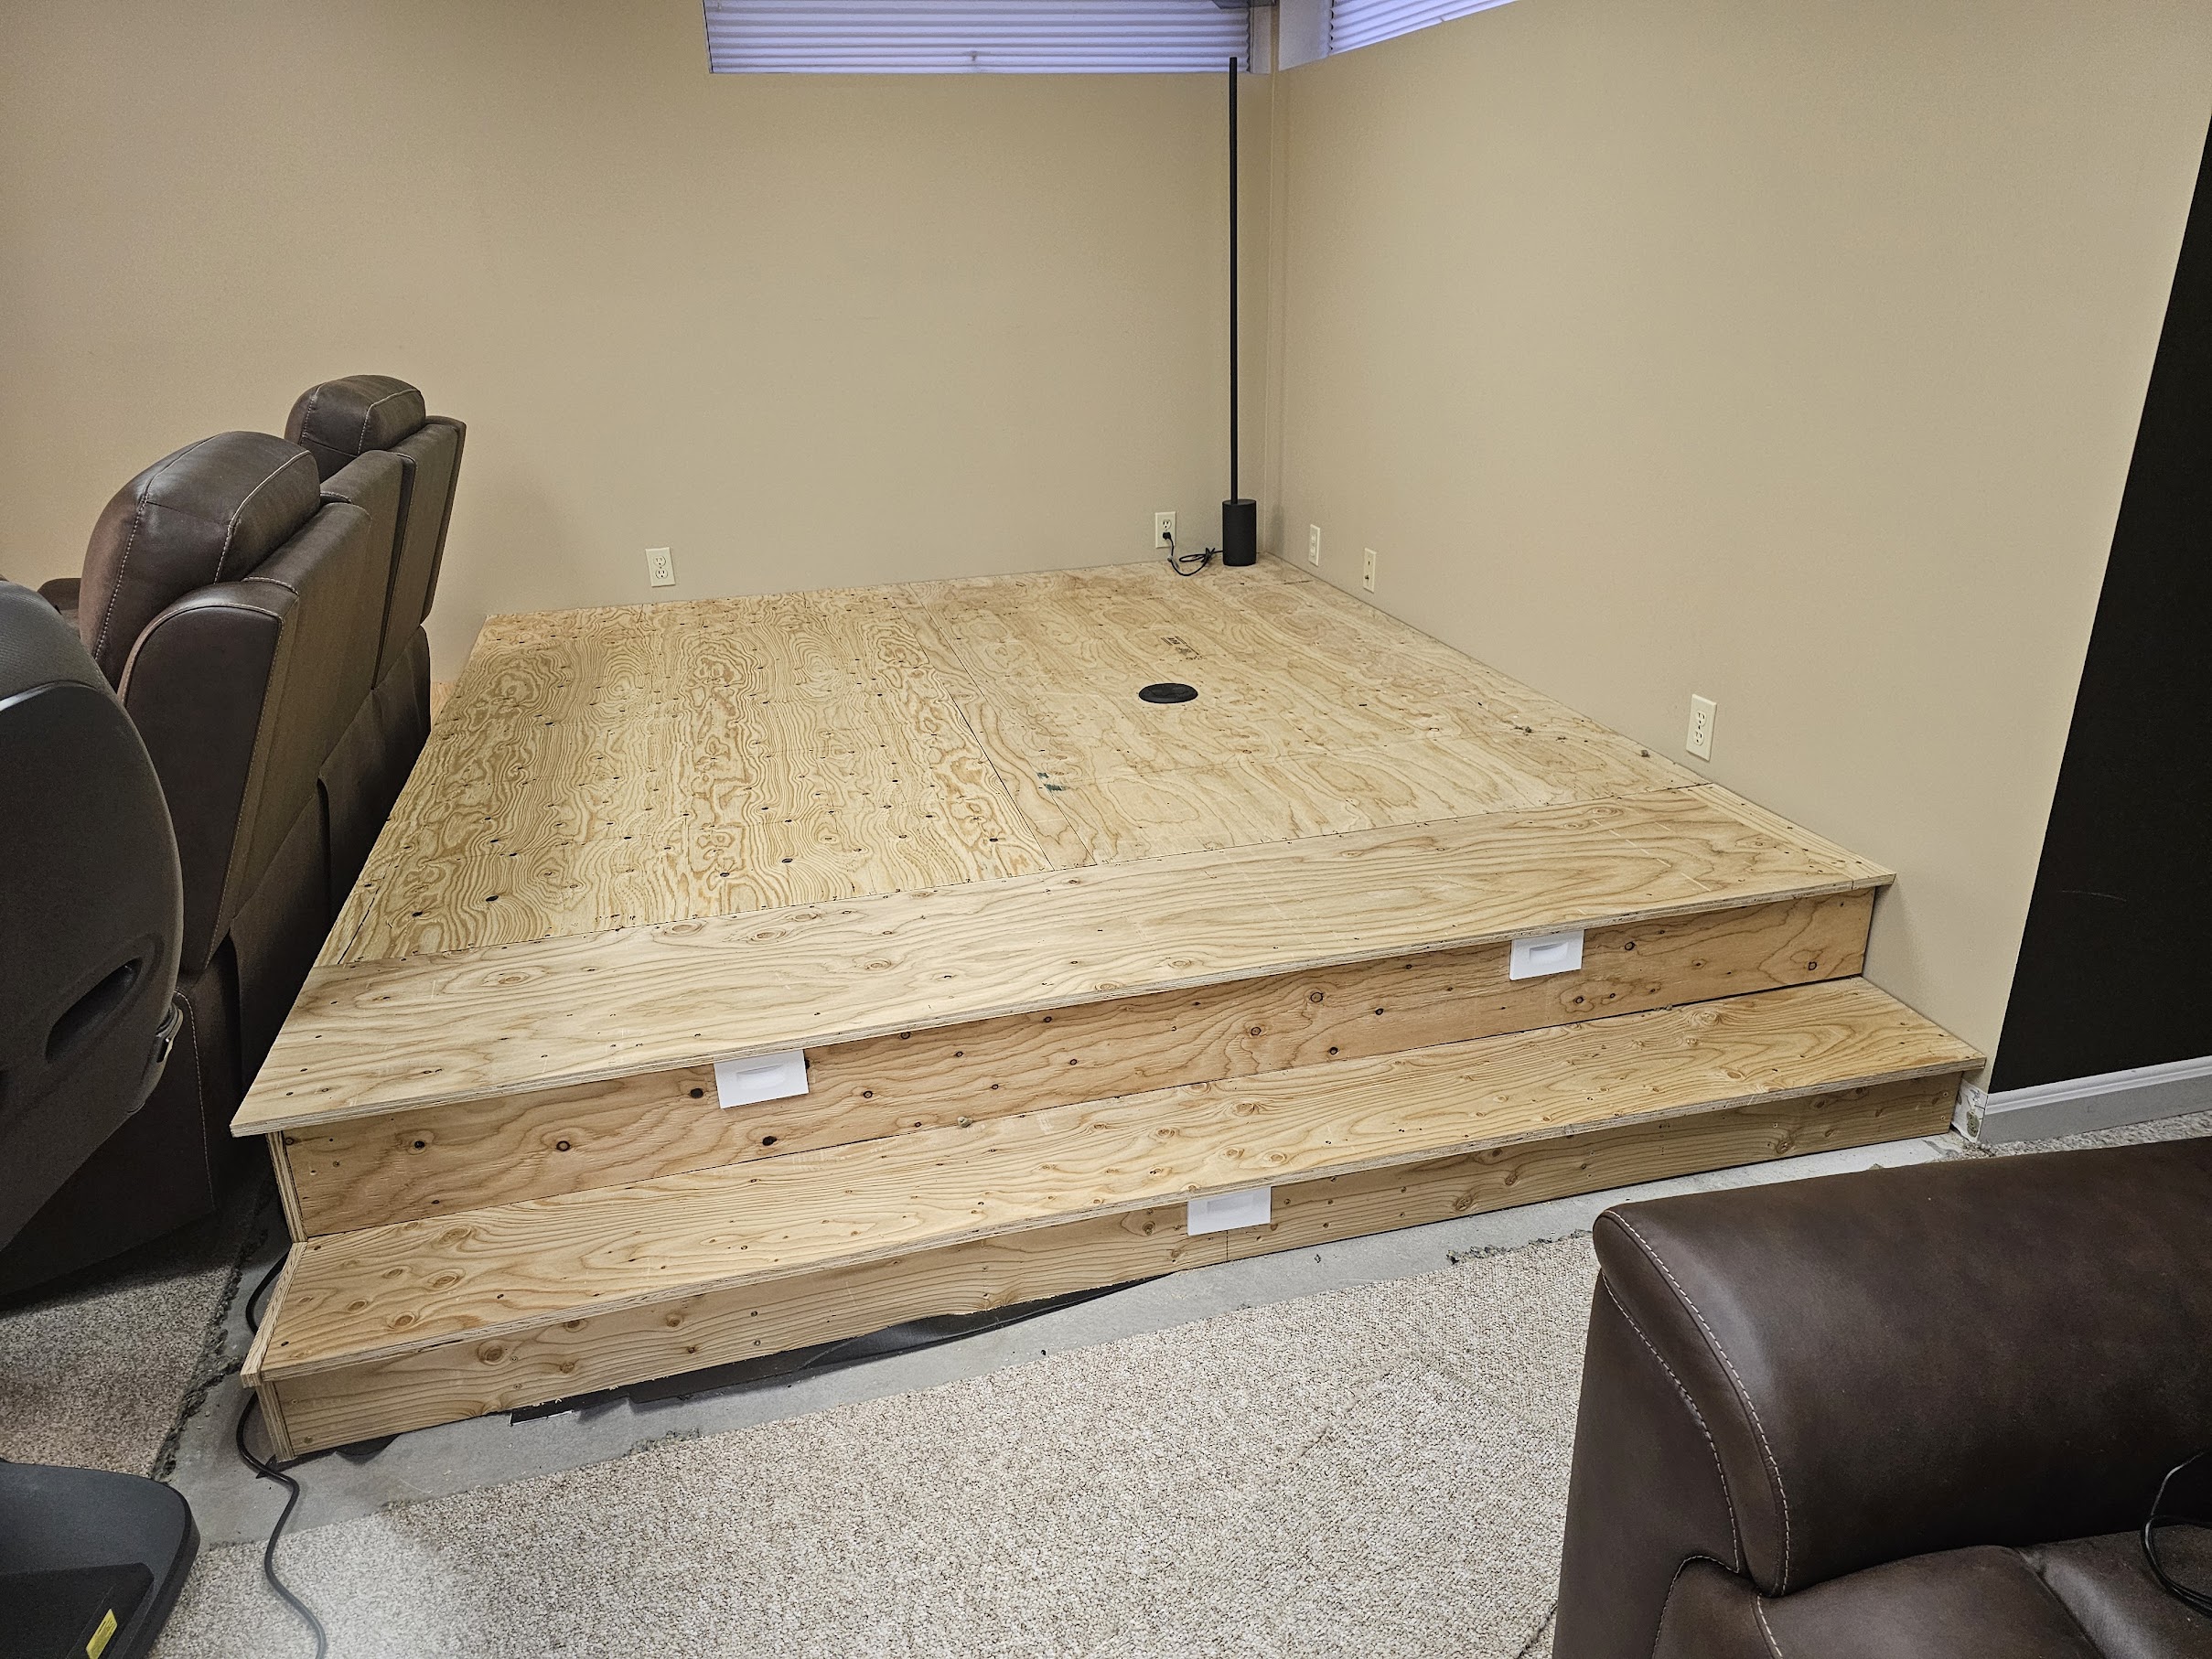
Subfloor
Plywood sheeted across the top and steps, screwed down into the joists. A wire pass-through grommet was cut centered in the top surface to bring power up from below to the second-row recliners, no cord runs along the floor, no cord runs up the back of the chair. Just a black grommet flush with the surface, invisible once the chairs are placed. The full platform footprint was visible here for the first time as a finished structure: two-tier, steps on left and front, ready for carpet.
 Plywood subfloor going down, February 2025
 Wide view, full scale of the platform finally visible
 Subfloor complete, dark walls going in behind it
 From the front, steps done, grommet cut in the top
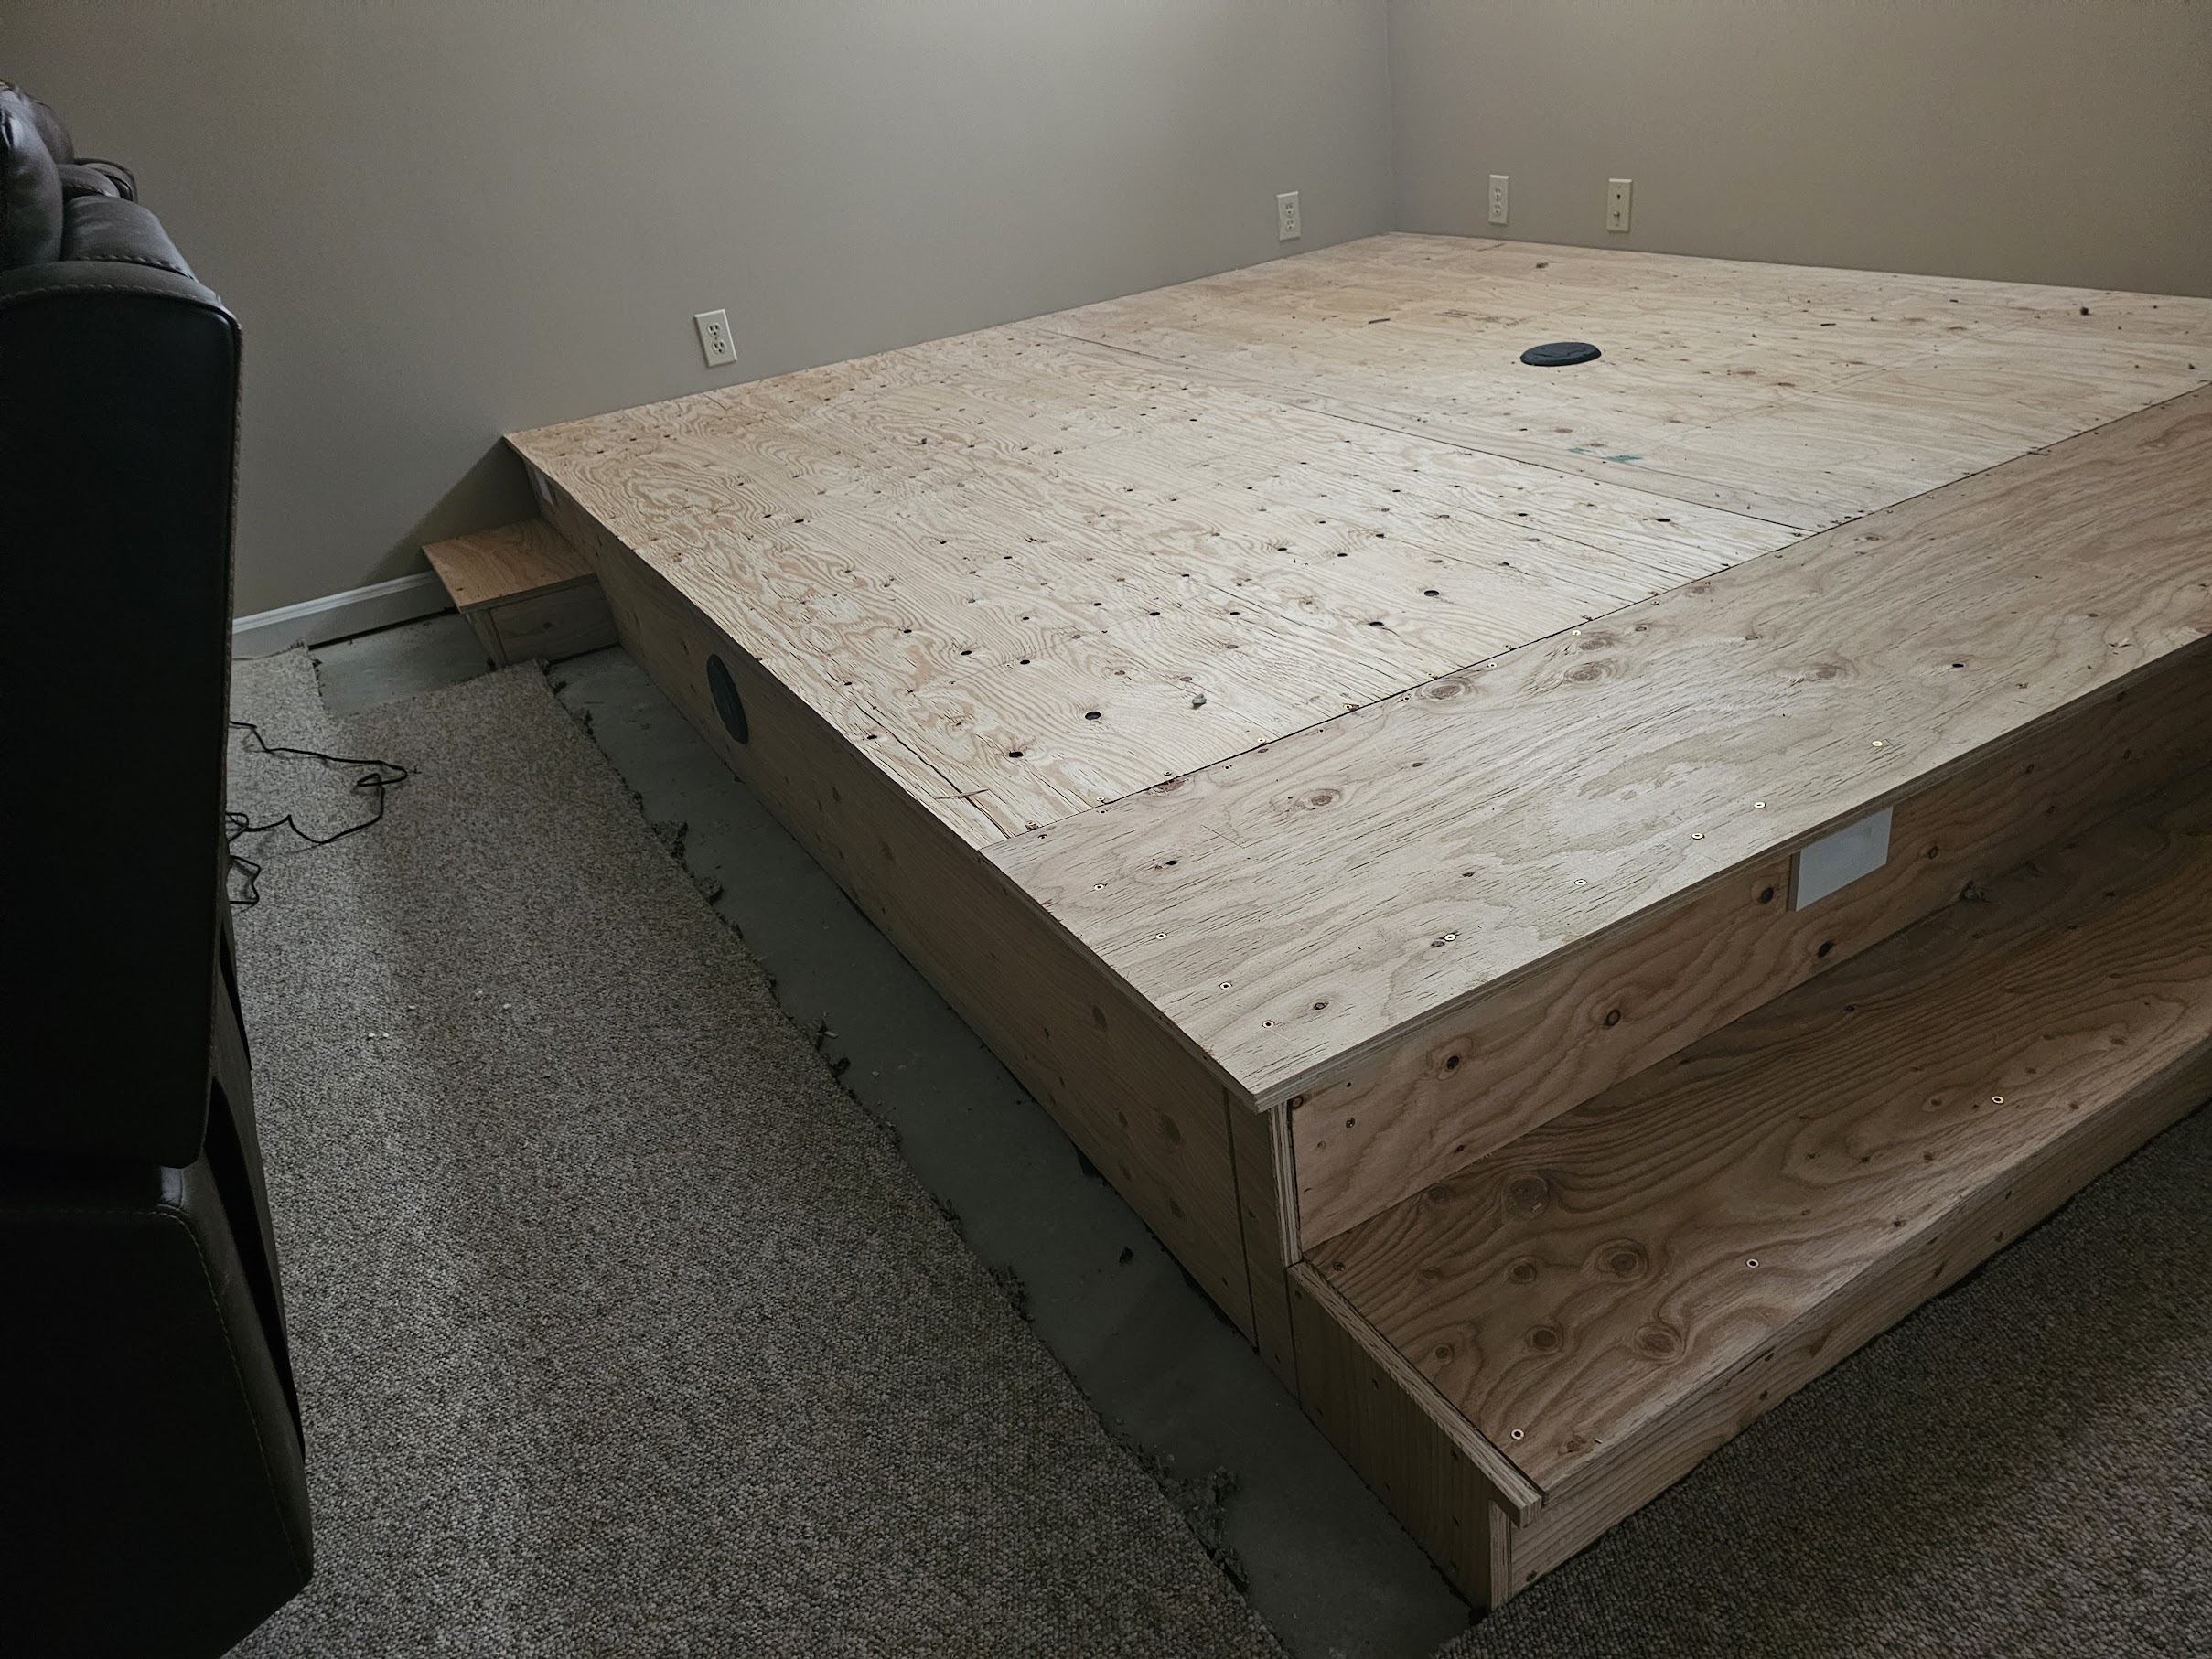 Corner view, two tiers, steps on left and front
 Pre-carpet, platform fully sheeted and standing
 The grommet, chair power runs up from below, invisible
Carpet & Seating
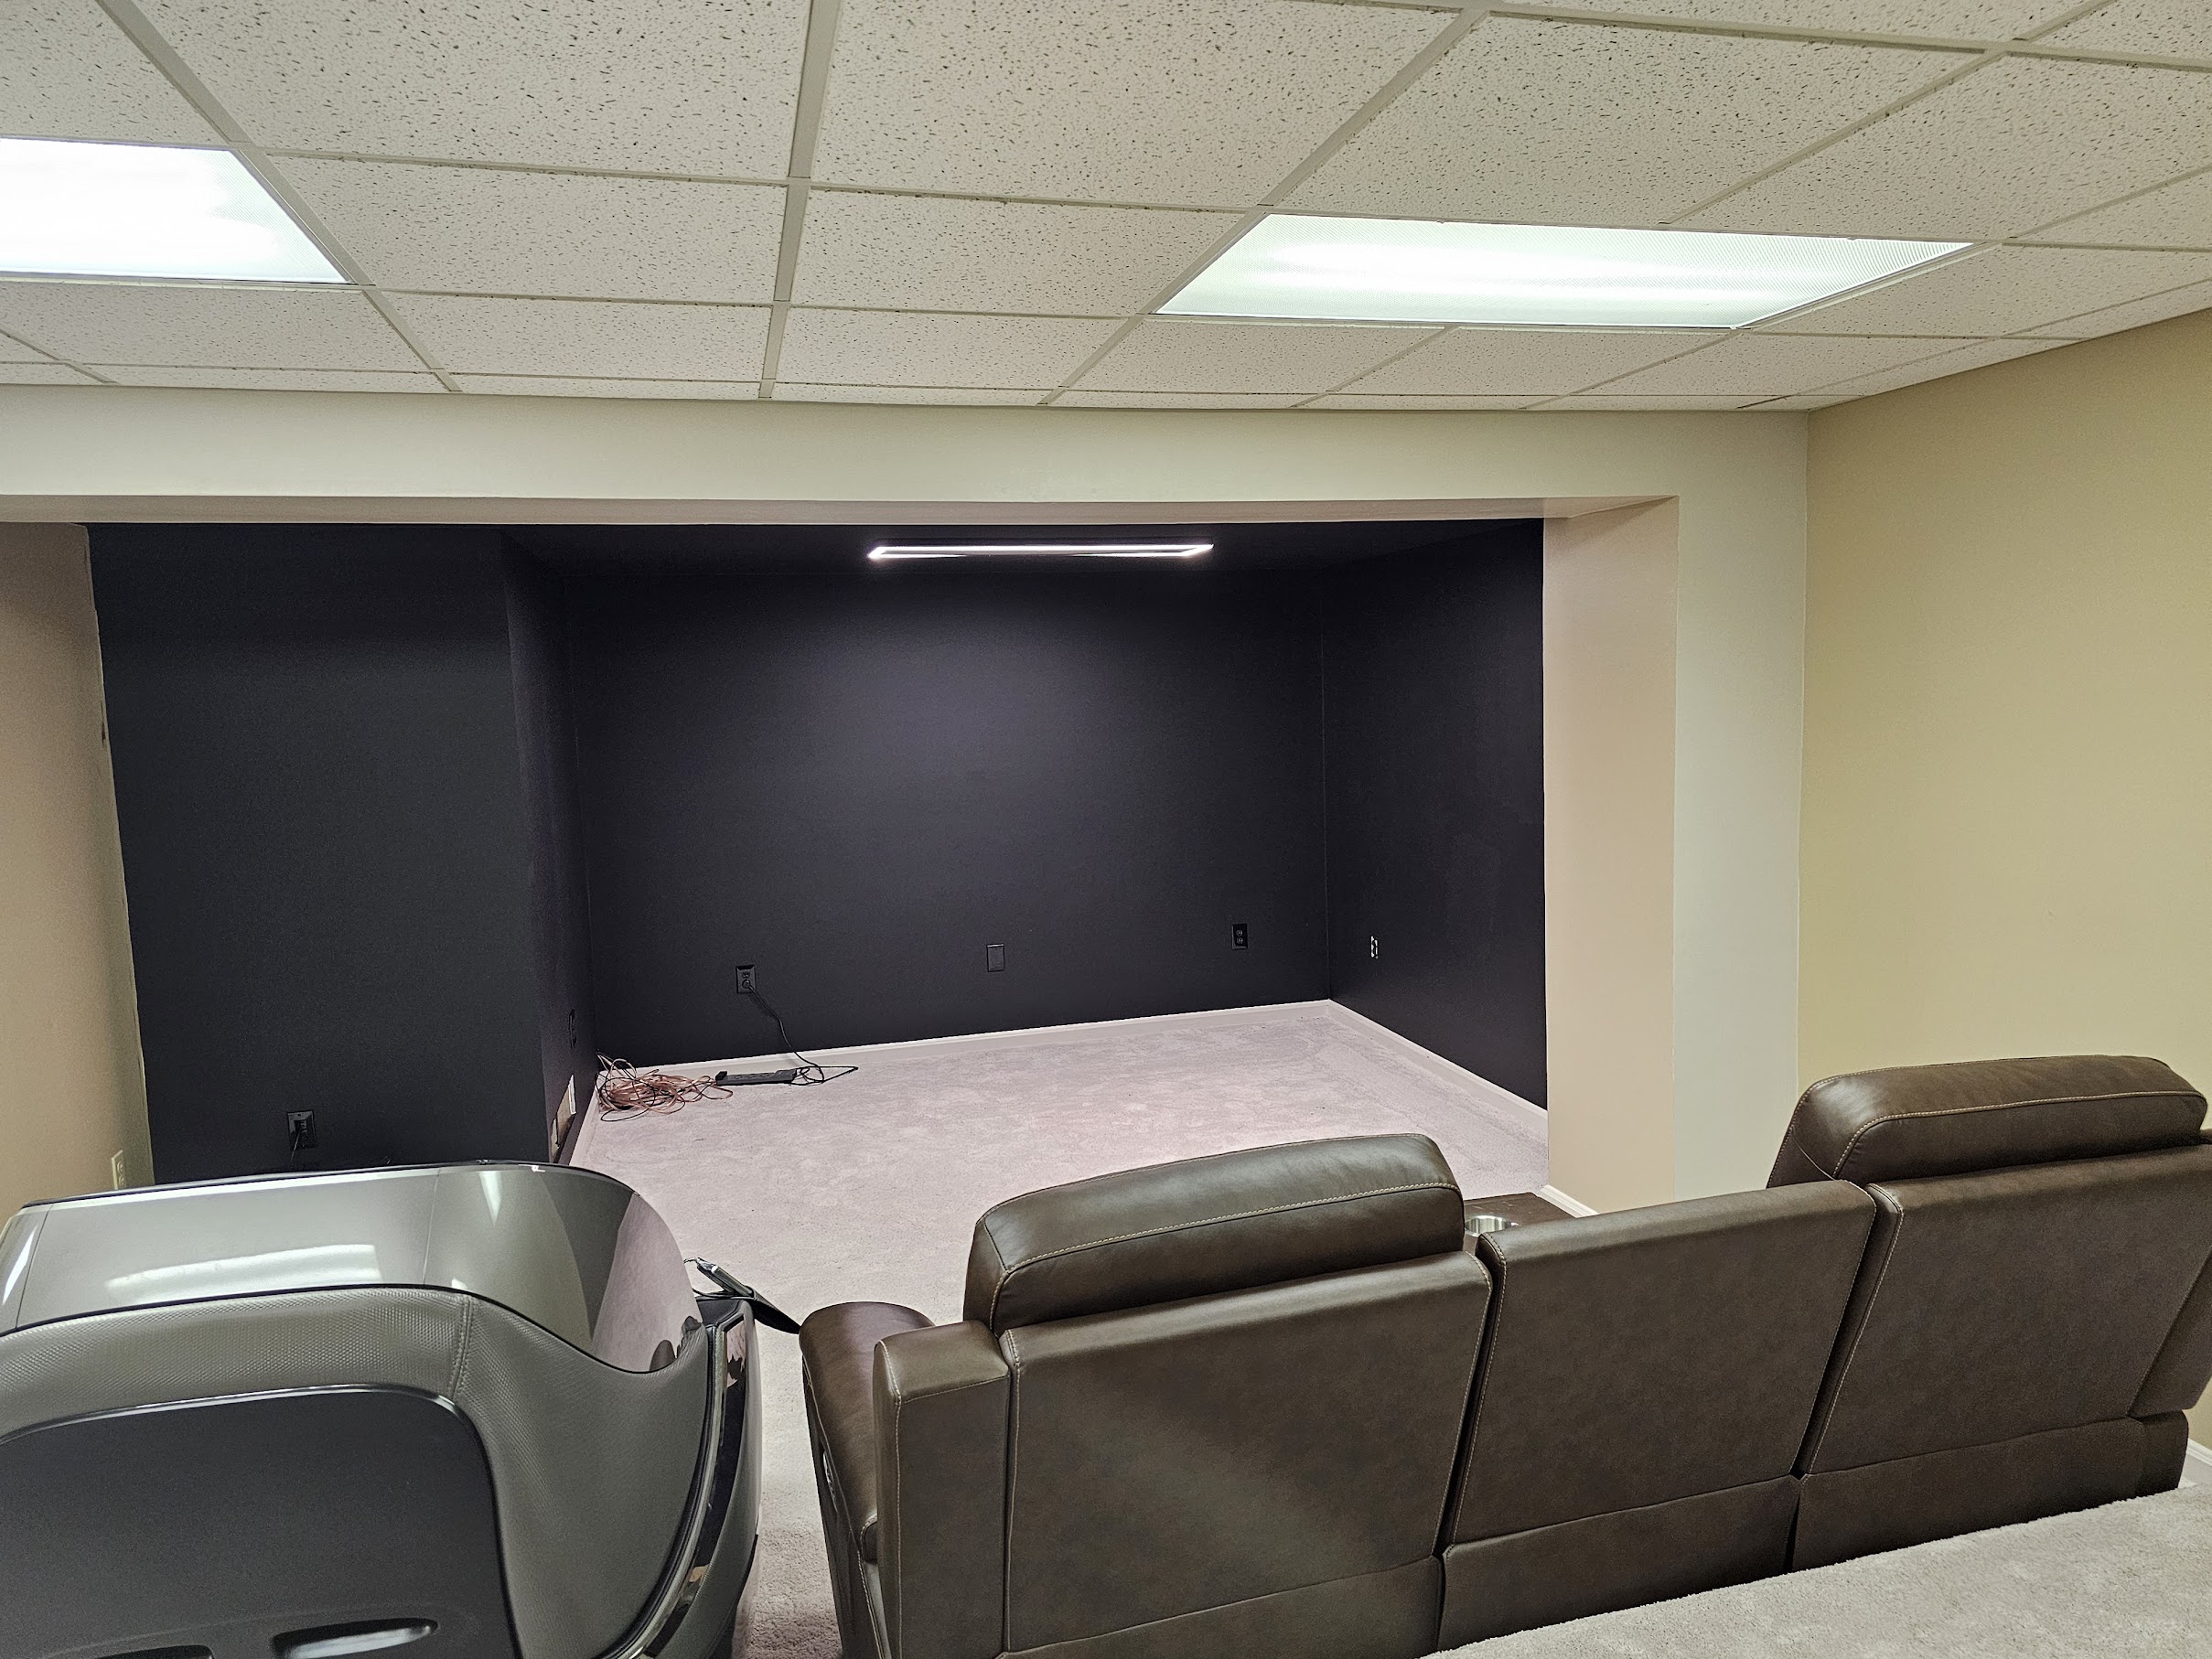
Professionally carpeted throughout, platform surface, steps, and risers. The Shelly-controlled RGB deck lights shine through the carpet seams at each step edge, coming on automatically at dusk. The recliners went on the platform: the zero-gravity massage chair in front, the power leather recliners in the back row. Both rows plug in invisibly, no cords on the floor, no cords visible at the chairs. The platform became stadium seating. The front of the room was still bare, but the seating situation was solved.
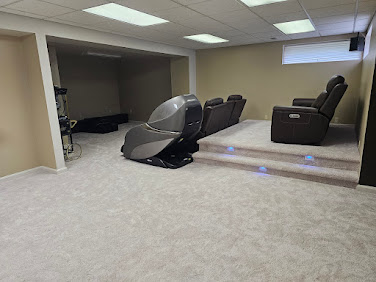 Carpeted, LED step lights on, seating placed
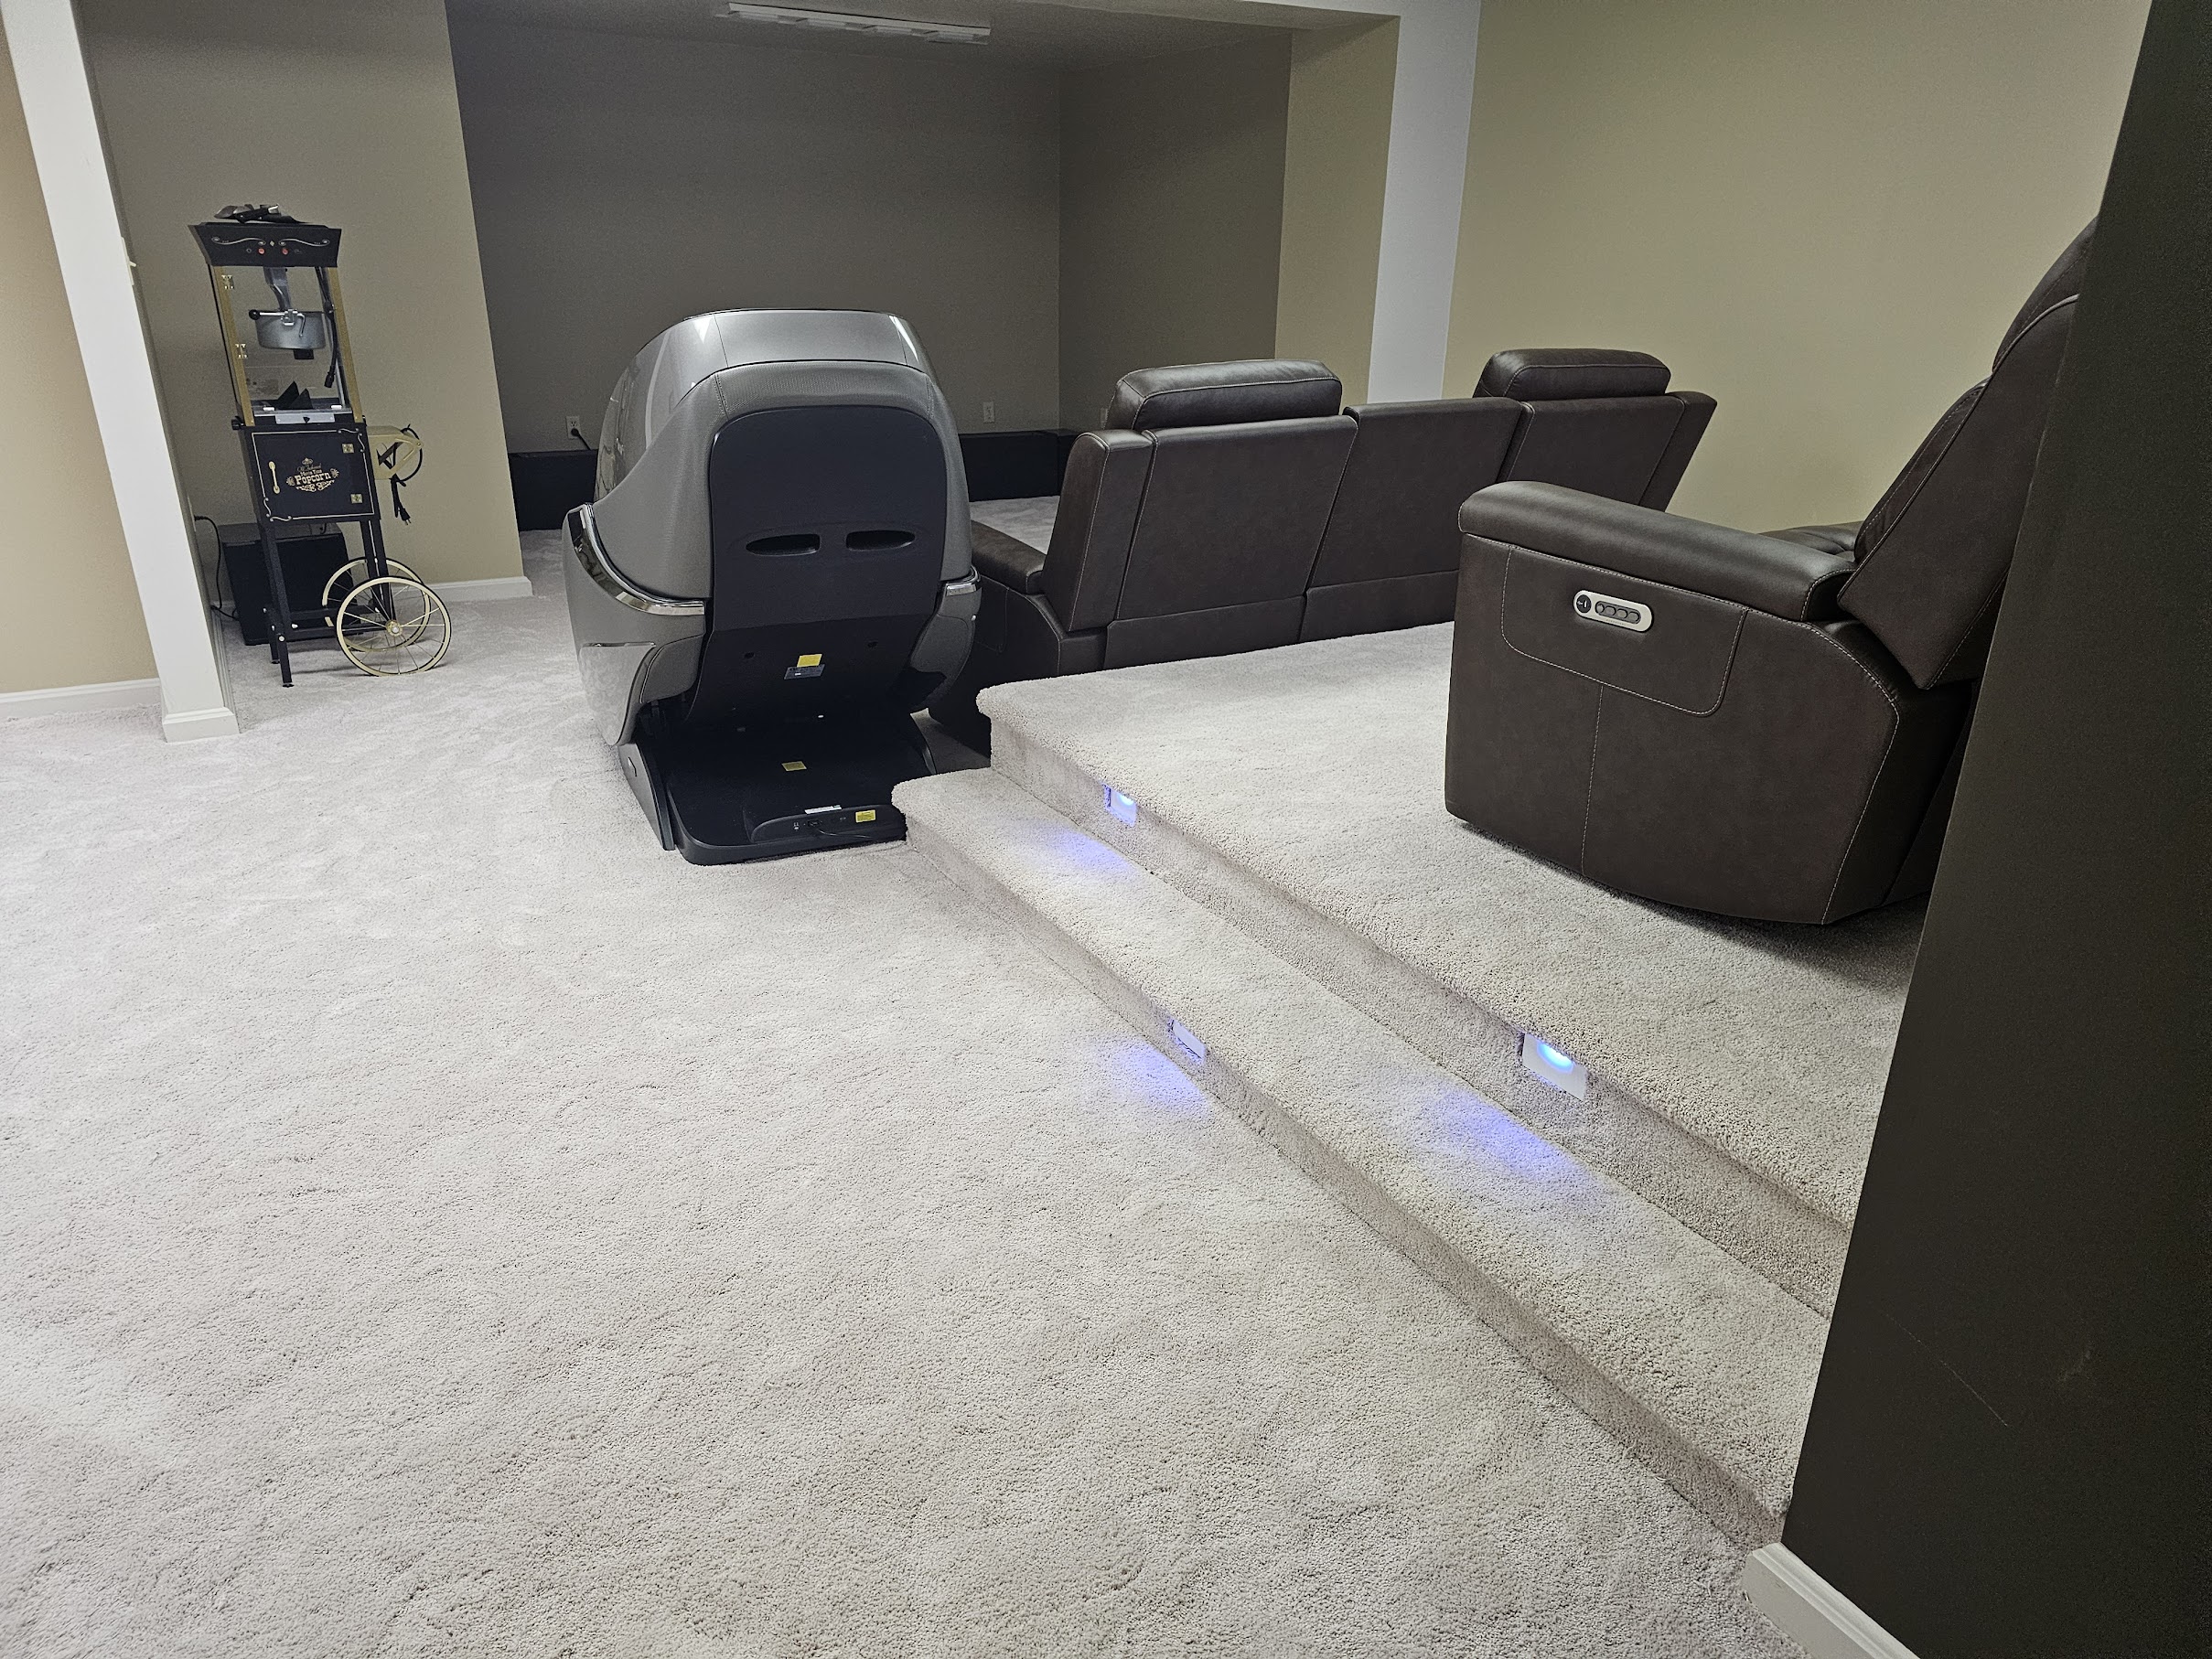 From the platform, step lights, popcorn machine, screen nook
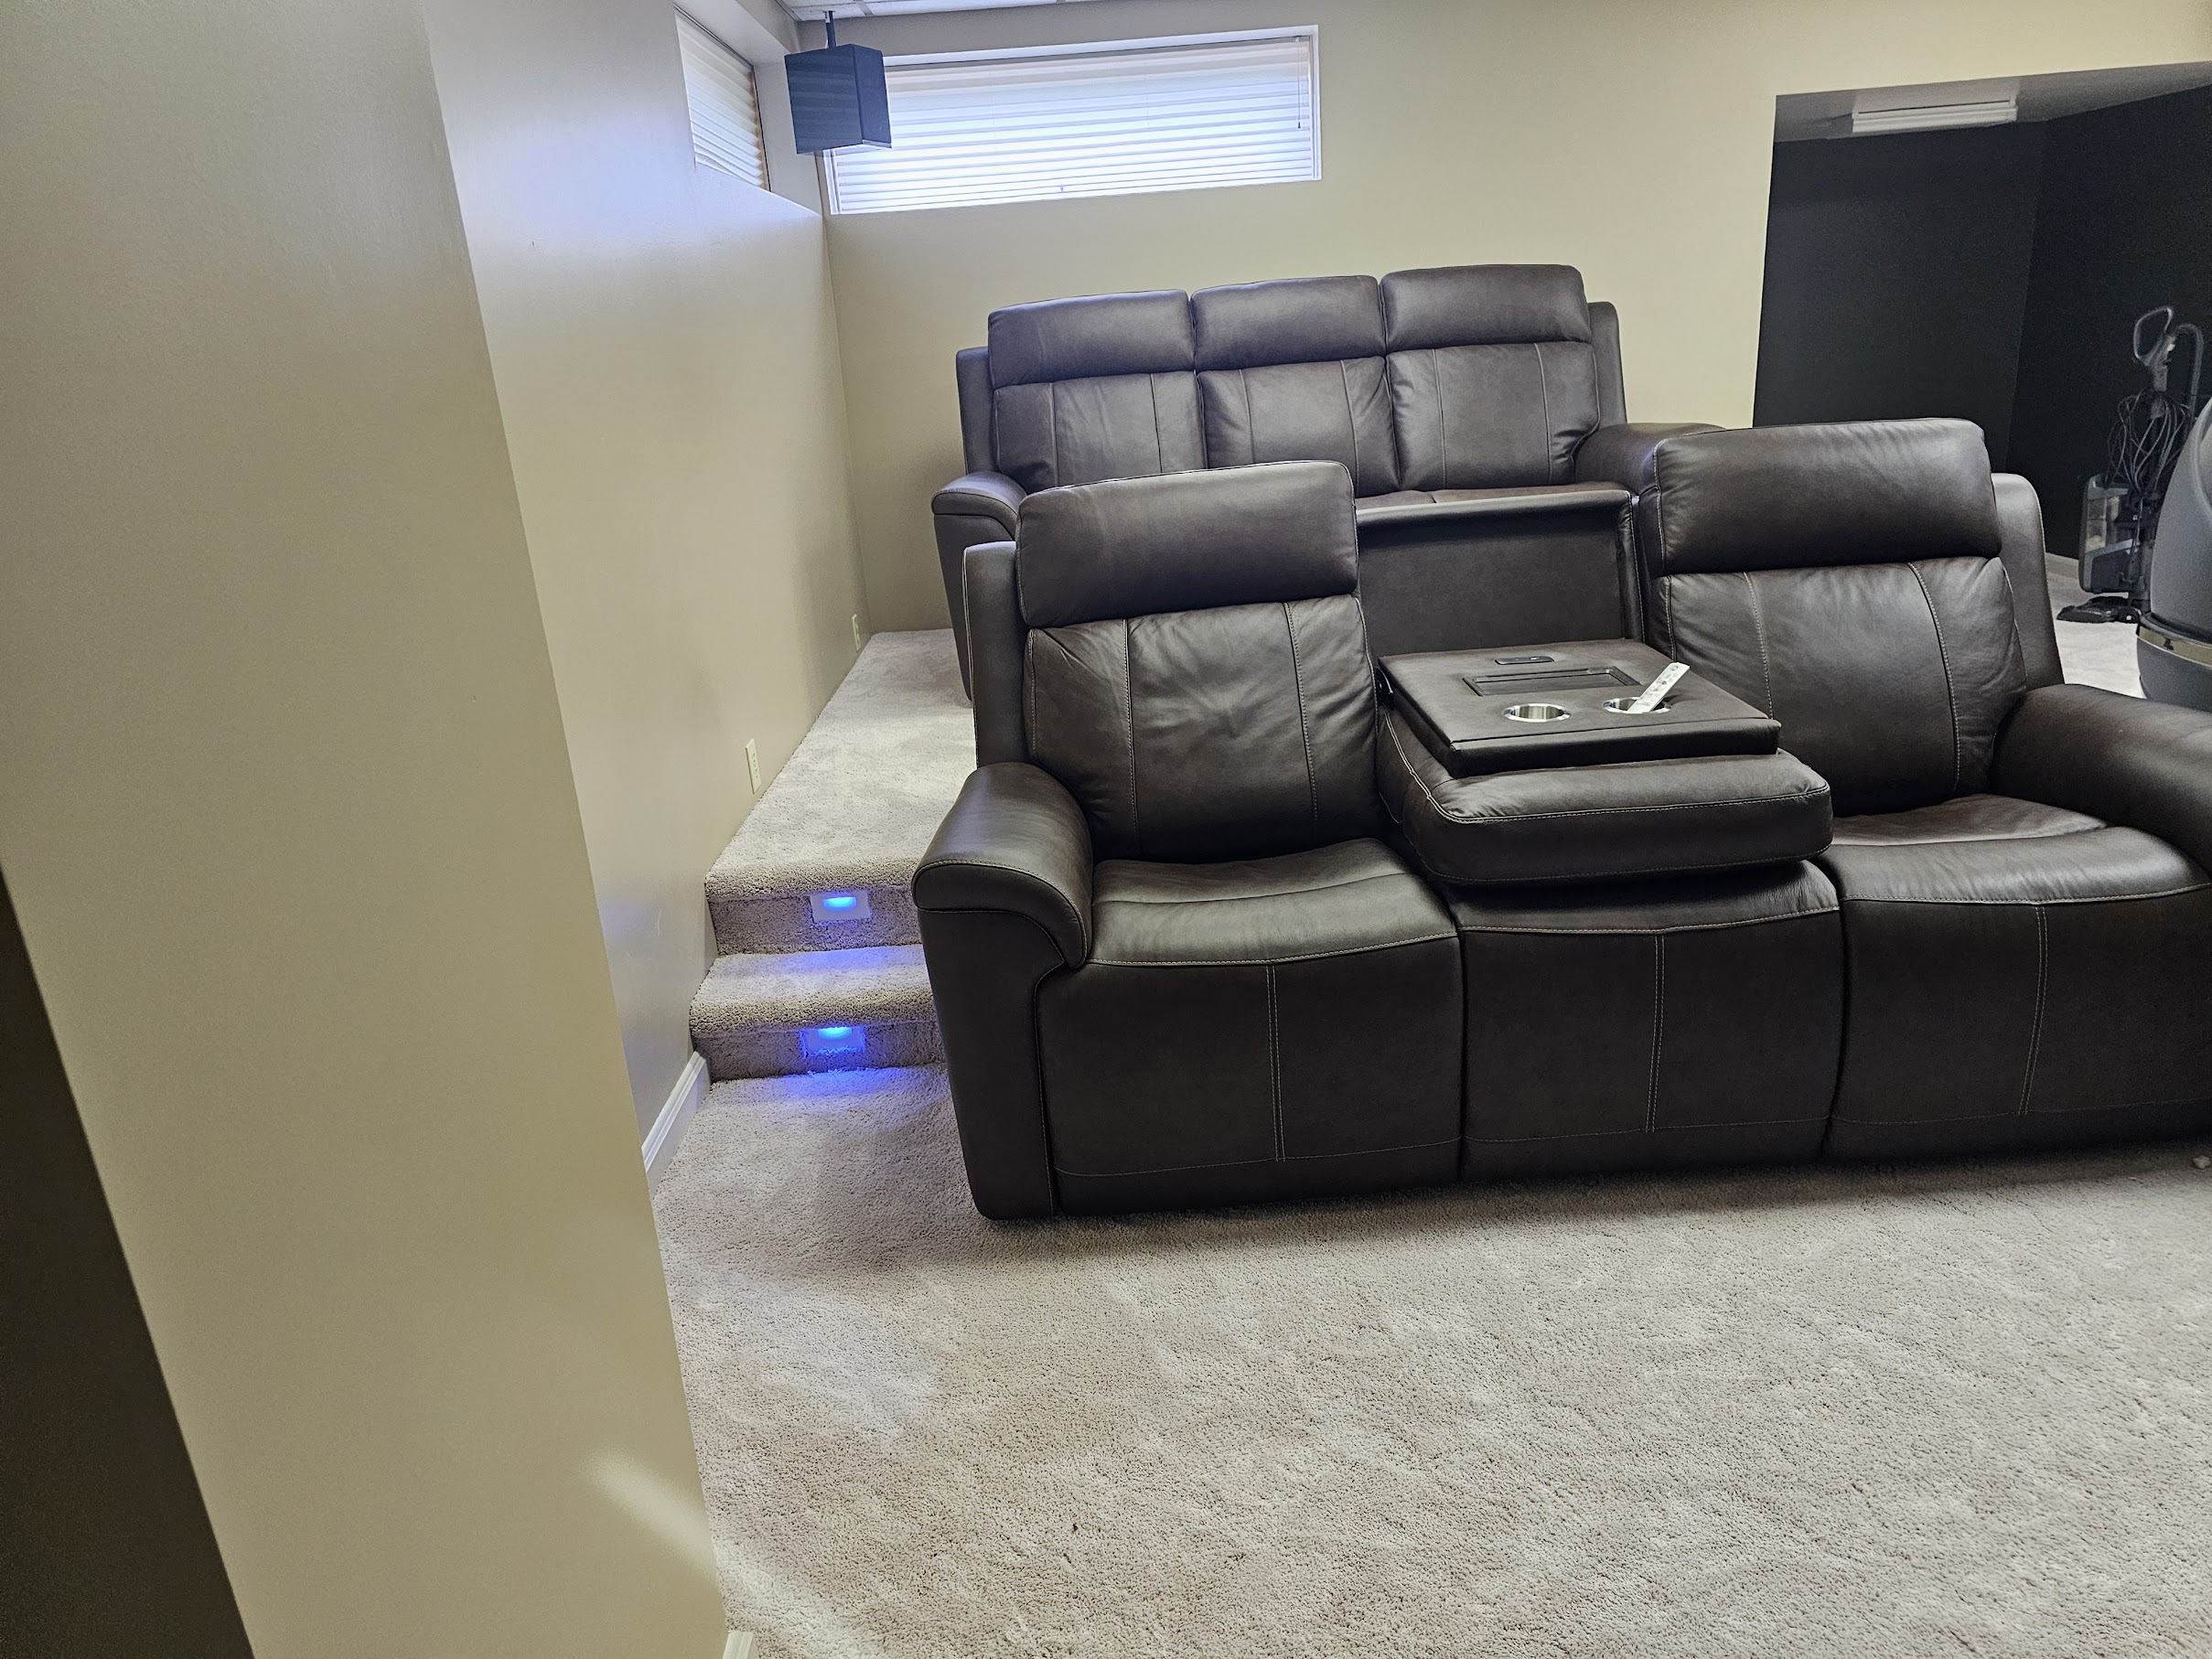 Rear view, the platform is now a proper theater back row
Black Room, Smart Switches & Acoustic Treatment
The carpeted platform was right, but the light-coloured room walls created glare and killed the theater feel entirely. The screen nook got painted full matte black, walls, ceiling, every surface. The old can light was swapped for a matte black low-profile LED bar. Every outlet and vent cover in the nook was replaced with black. The difference was immediate. On the switch side: what was a standard 2-gang box became 4 physical controls. Two of the switches are wired to a Shelly relay, they send commands to Home Assistant rather than directly switching anything. One raises and lowers the screen, one controls the step lights. Physical switches that look like any other switch, backed by full smart home logic. A Bambu slatted accent wall went in on the left side of the main room, requiring a gang extender to bring the switch plate flush with the new wall surface, and a black switch plate to match. Every detail was resolved before calling any phase done.
 Painting the screen nook, November 2025
 Full matte black, new LED bar at the ceiling line
 From the back row, seating area meets black screen room
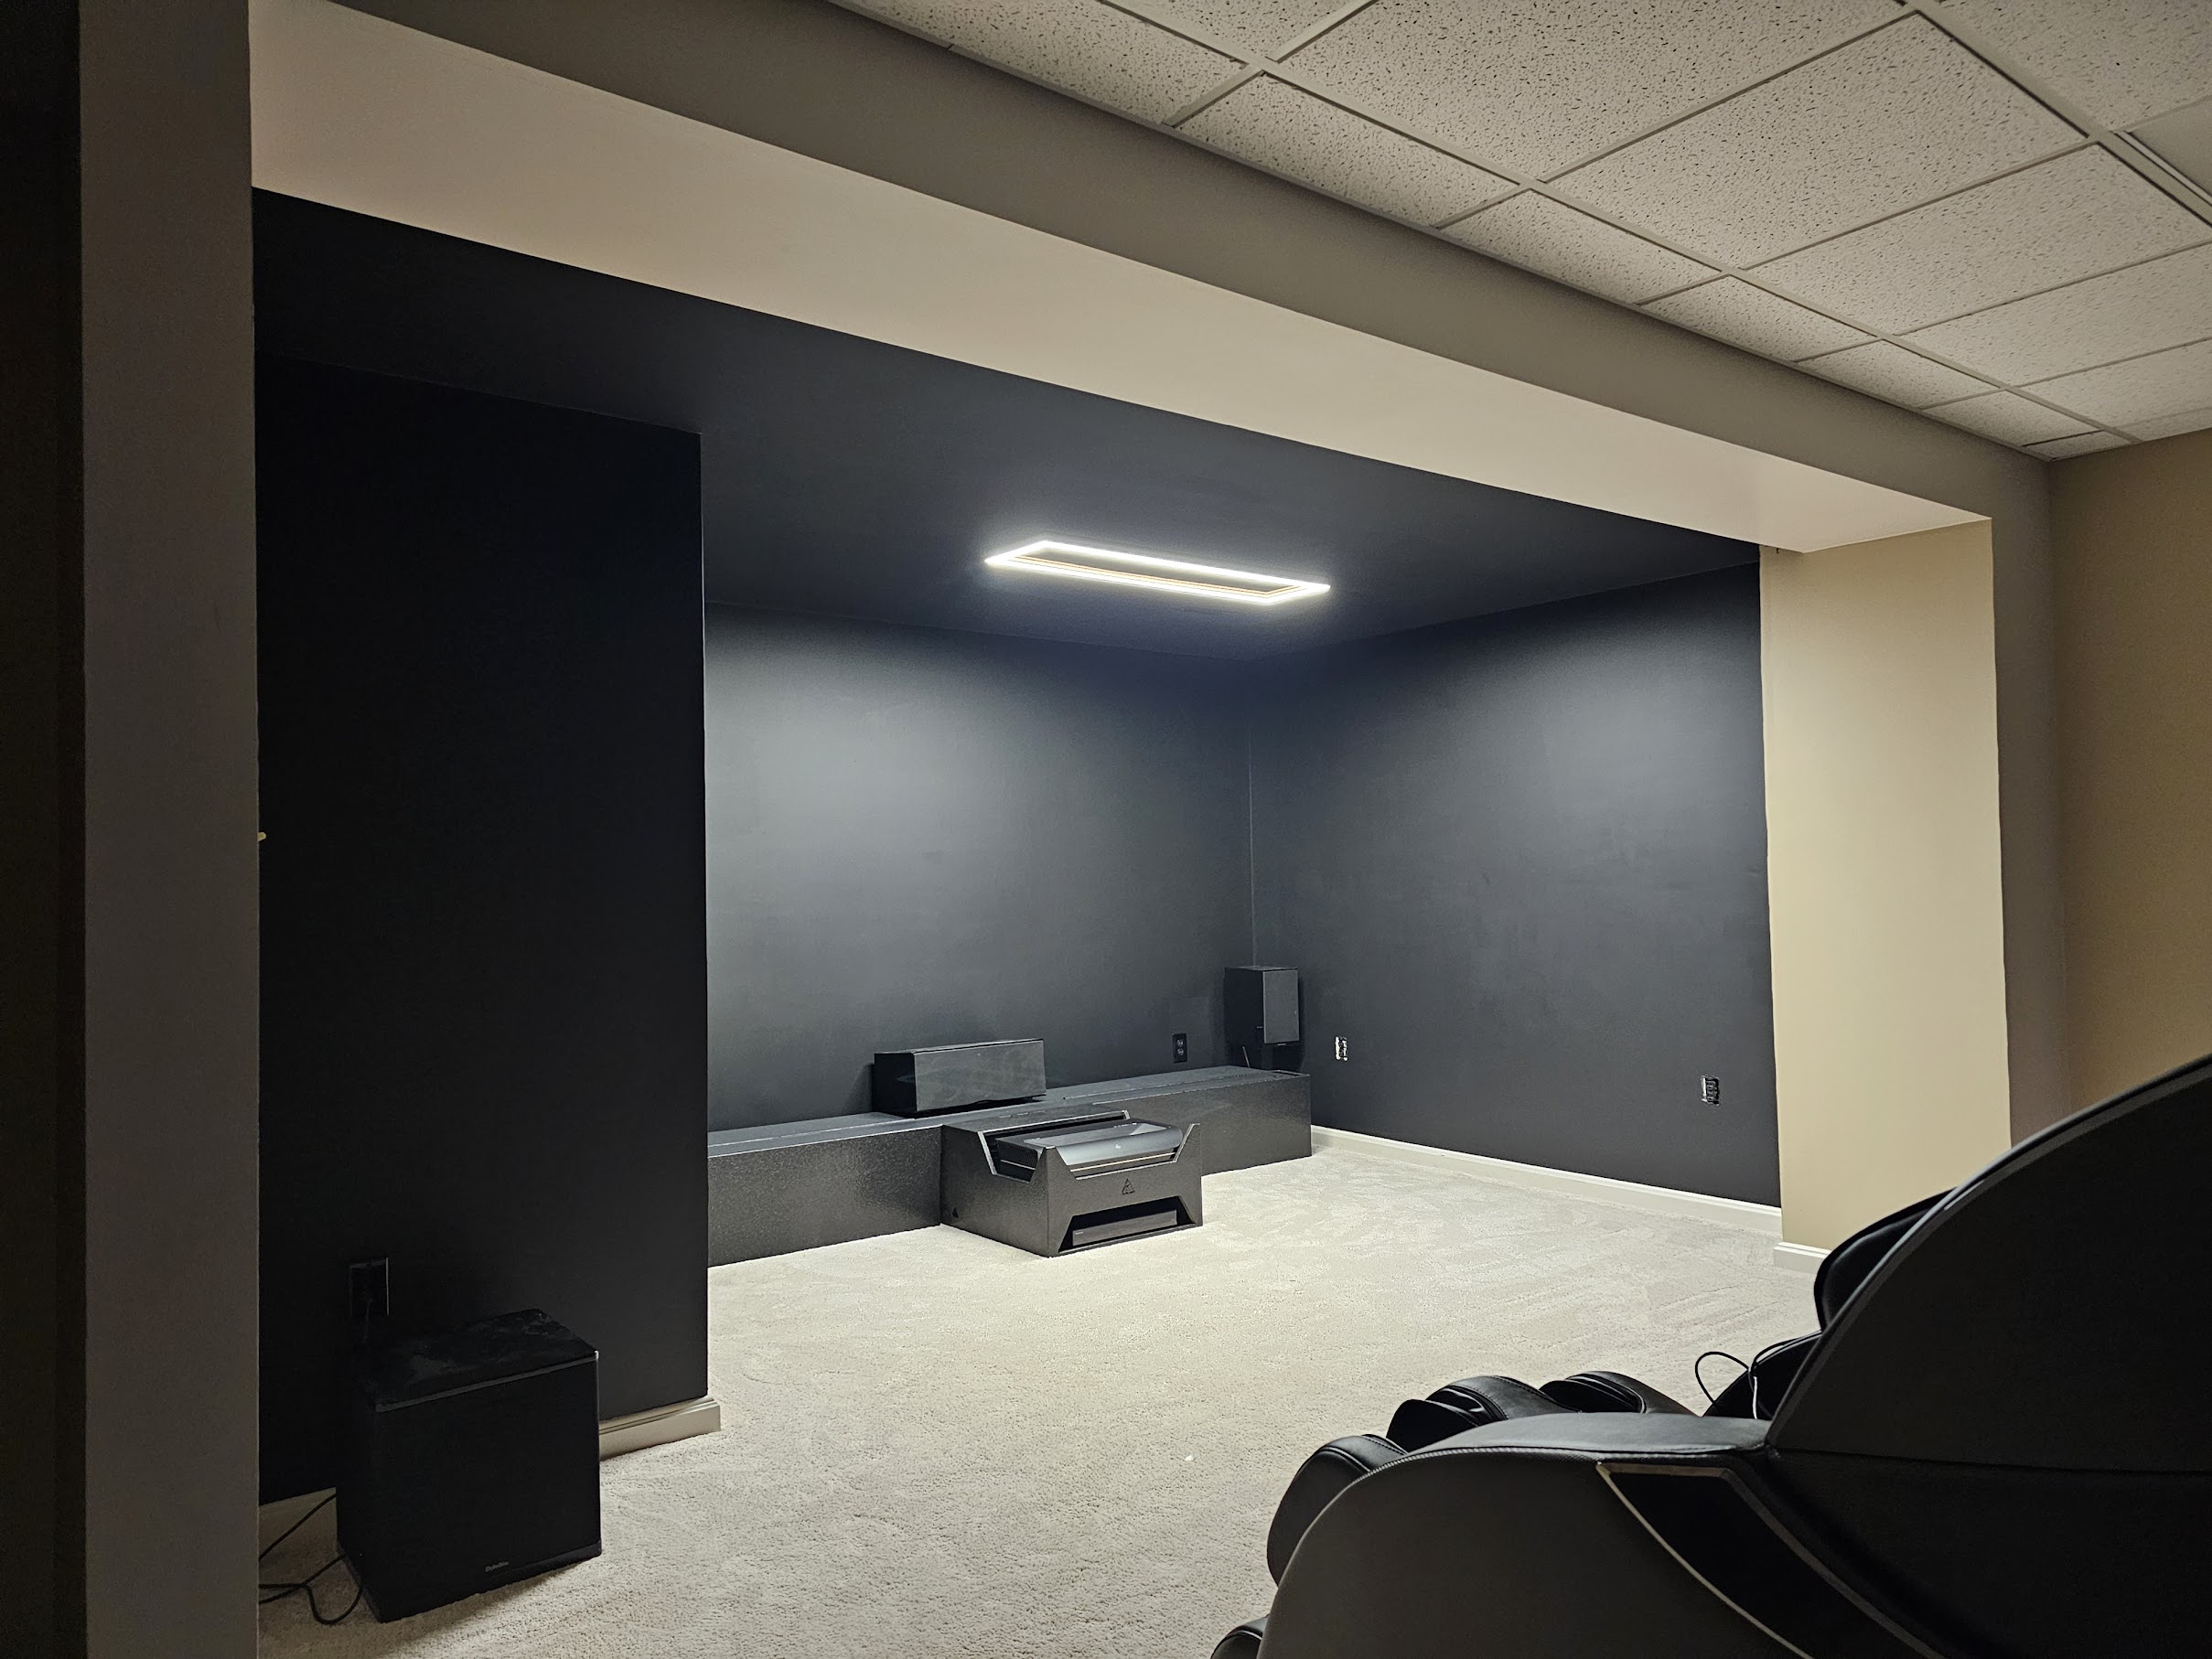 Equipment staged in the nook, screen table going in
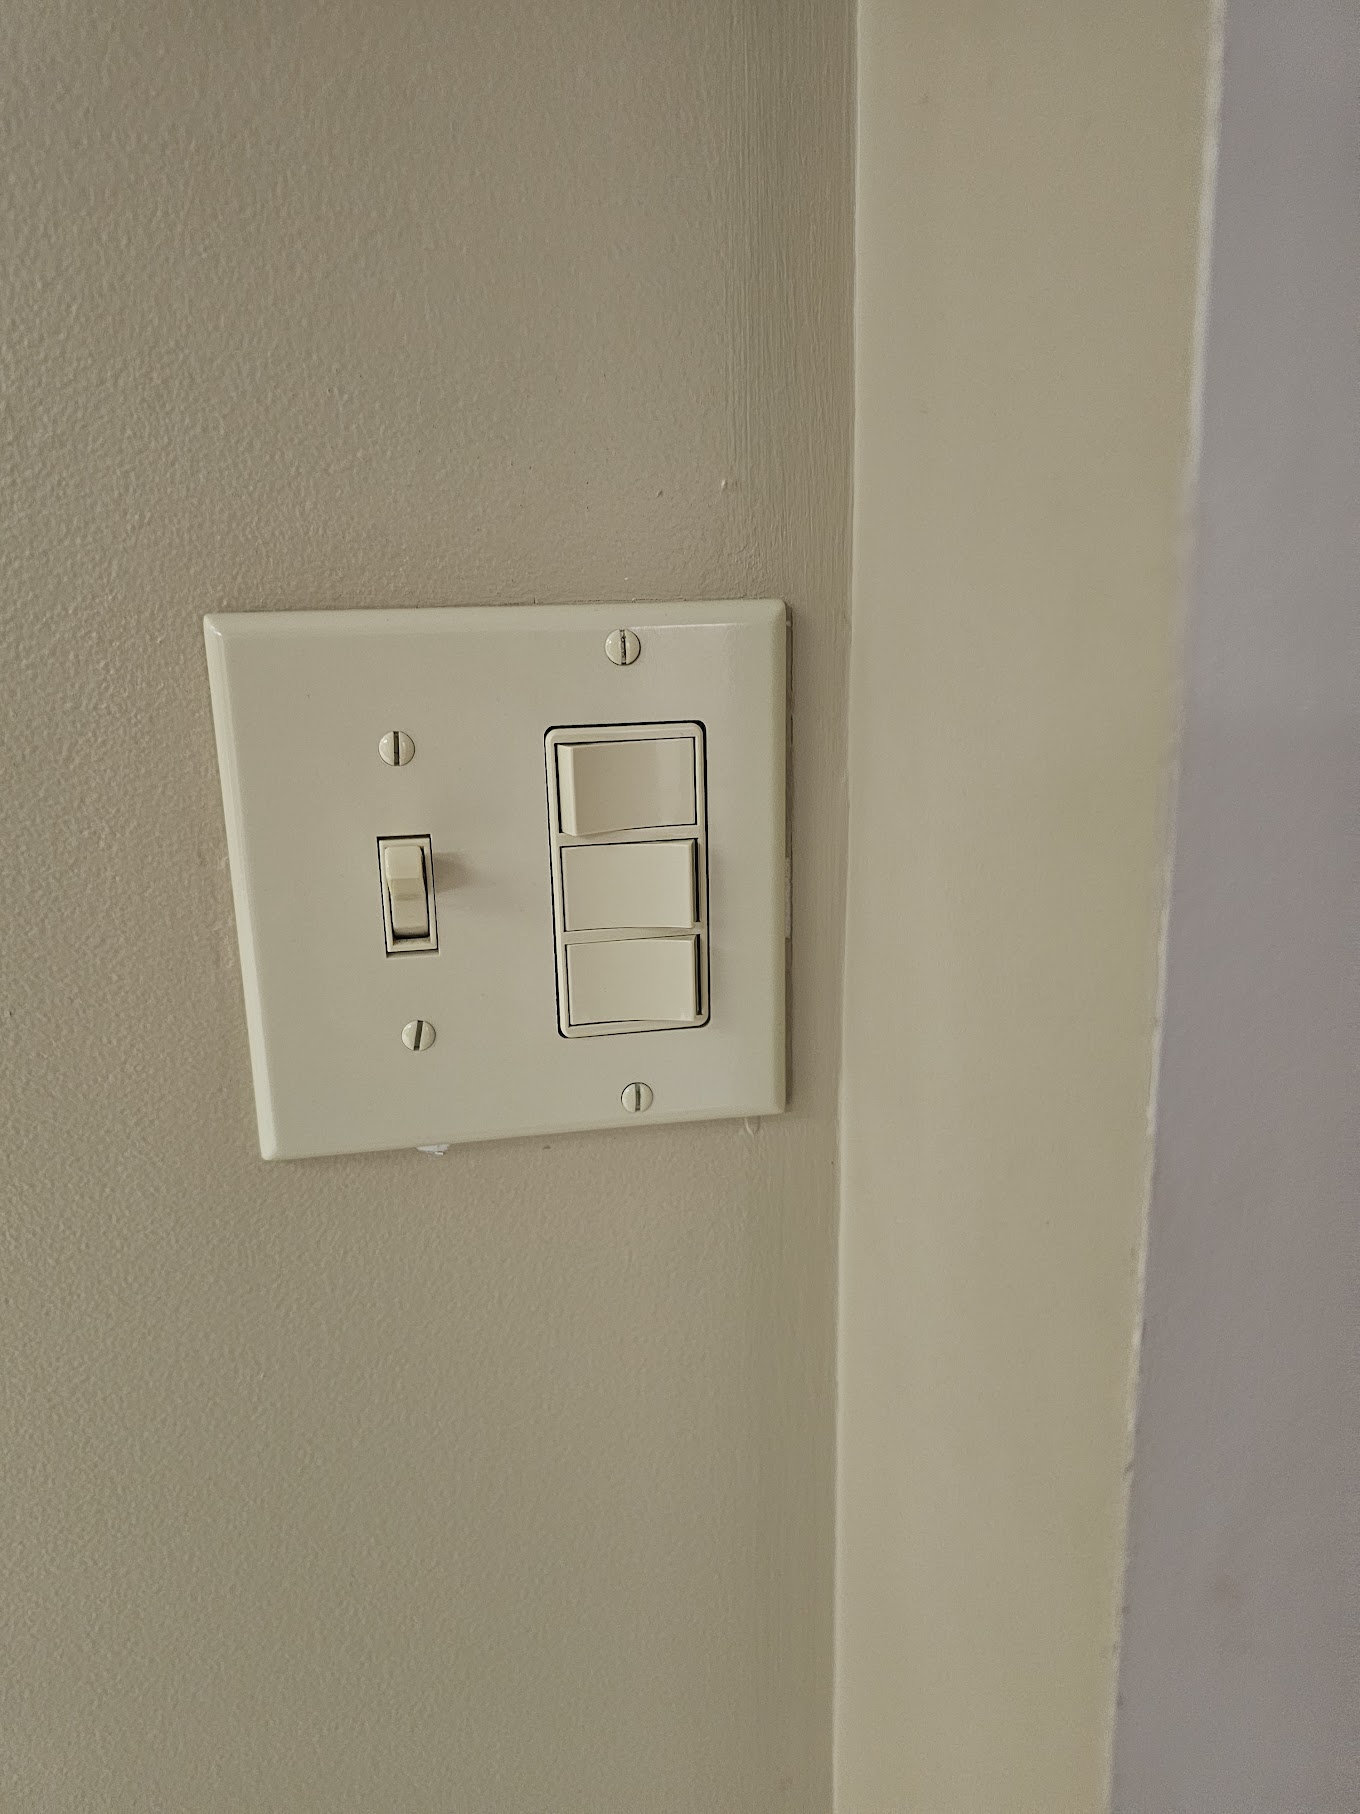 4 switches, 1 gang box, 2 are Shelly smart triggers
 Daytime finished view, slatted wall, black nook, everything in
First Movie Night
Lights out, screen up, bass on. This is what it was supposed to be. The room is done enough, which is a deliberate stopping point, not a finished one. More is in the works.
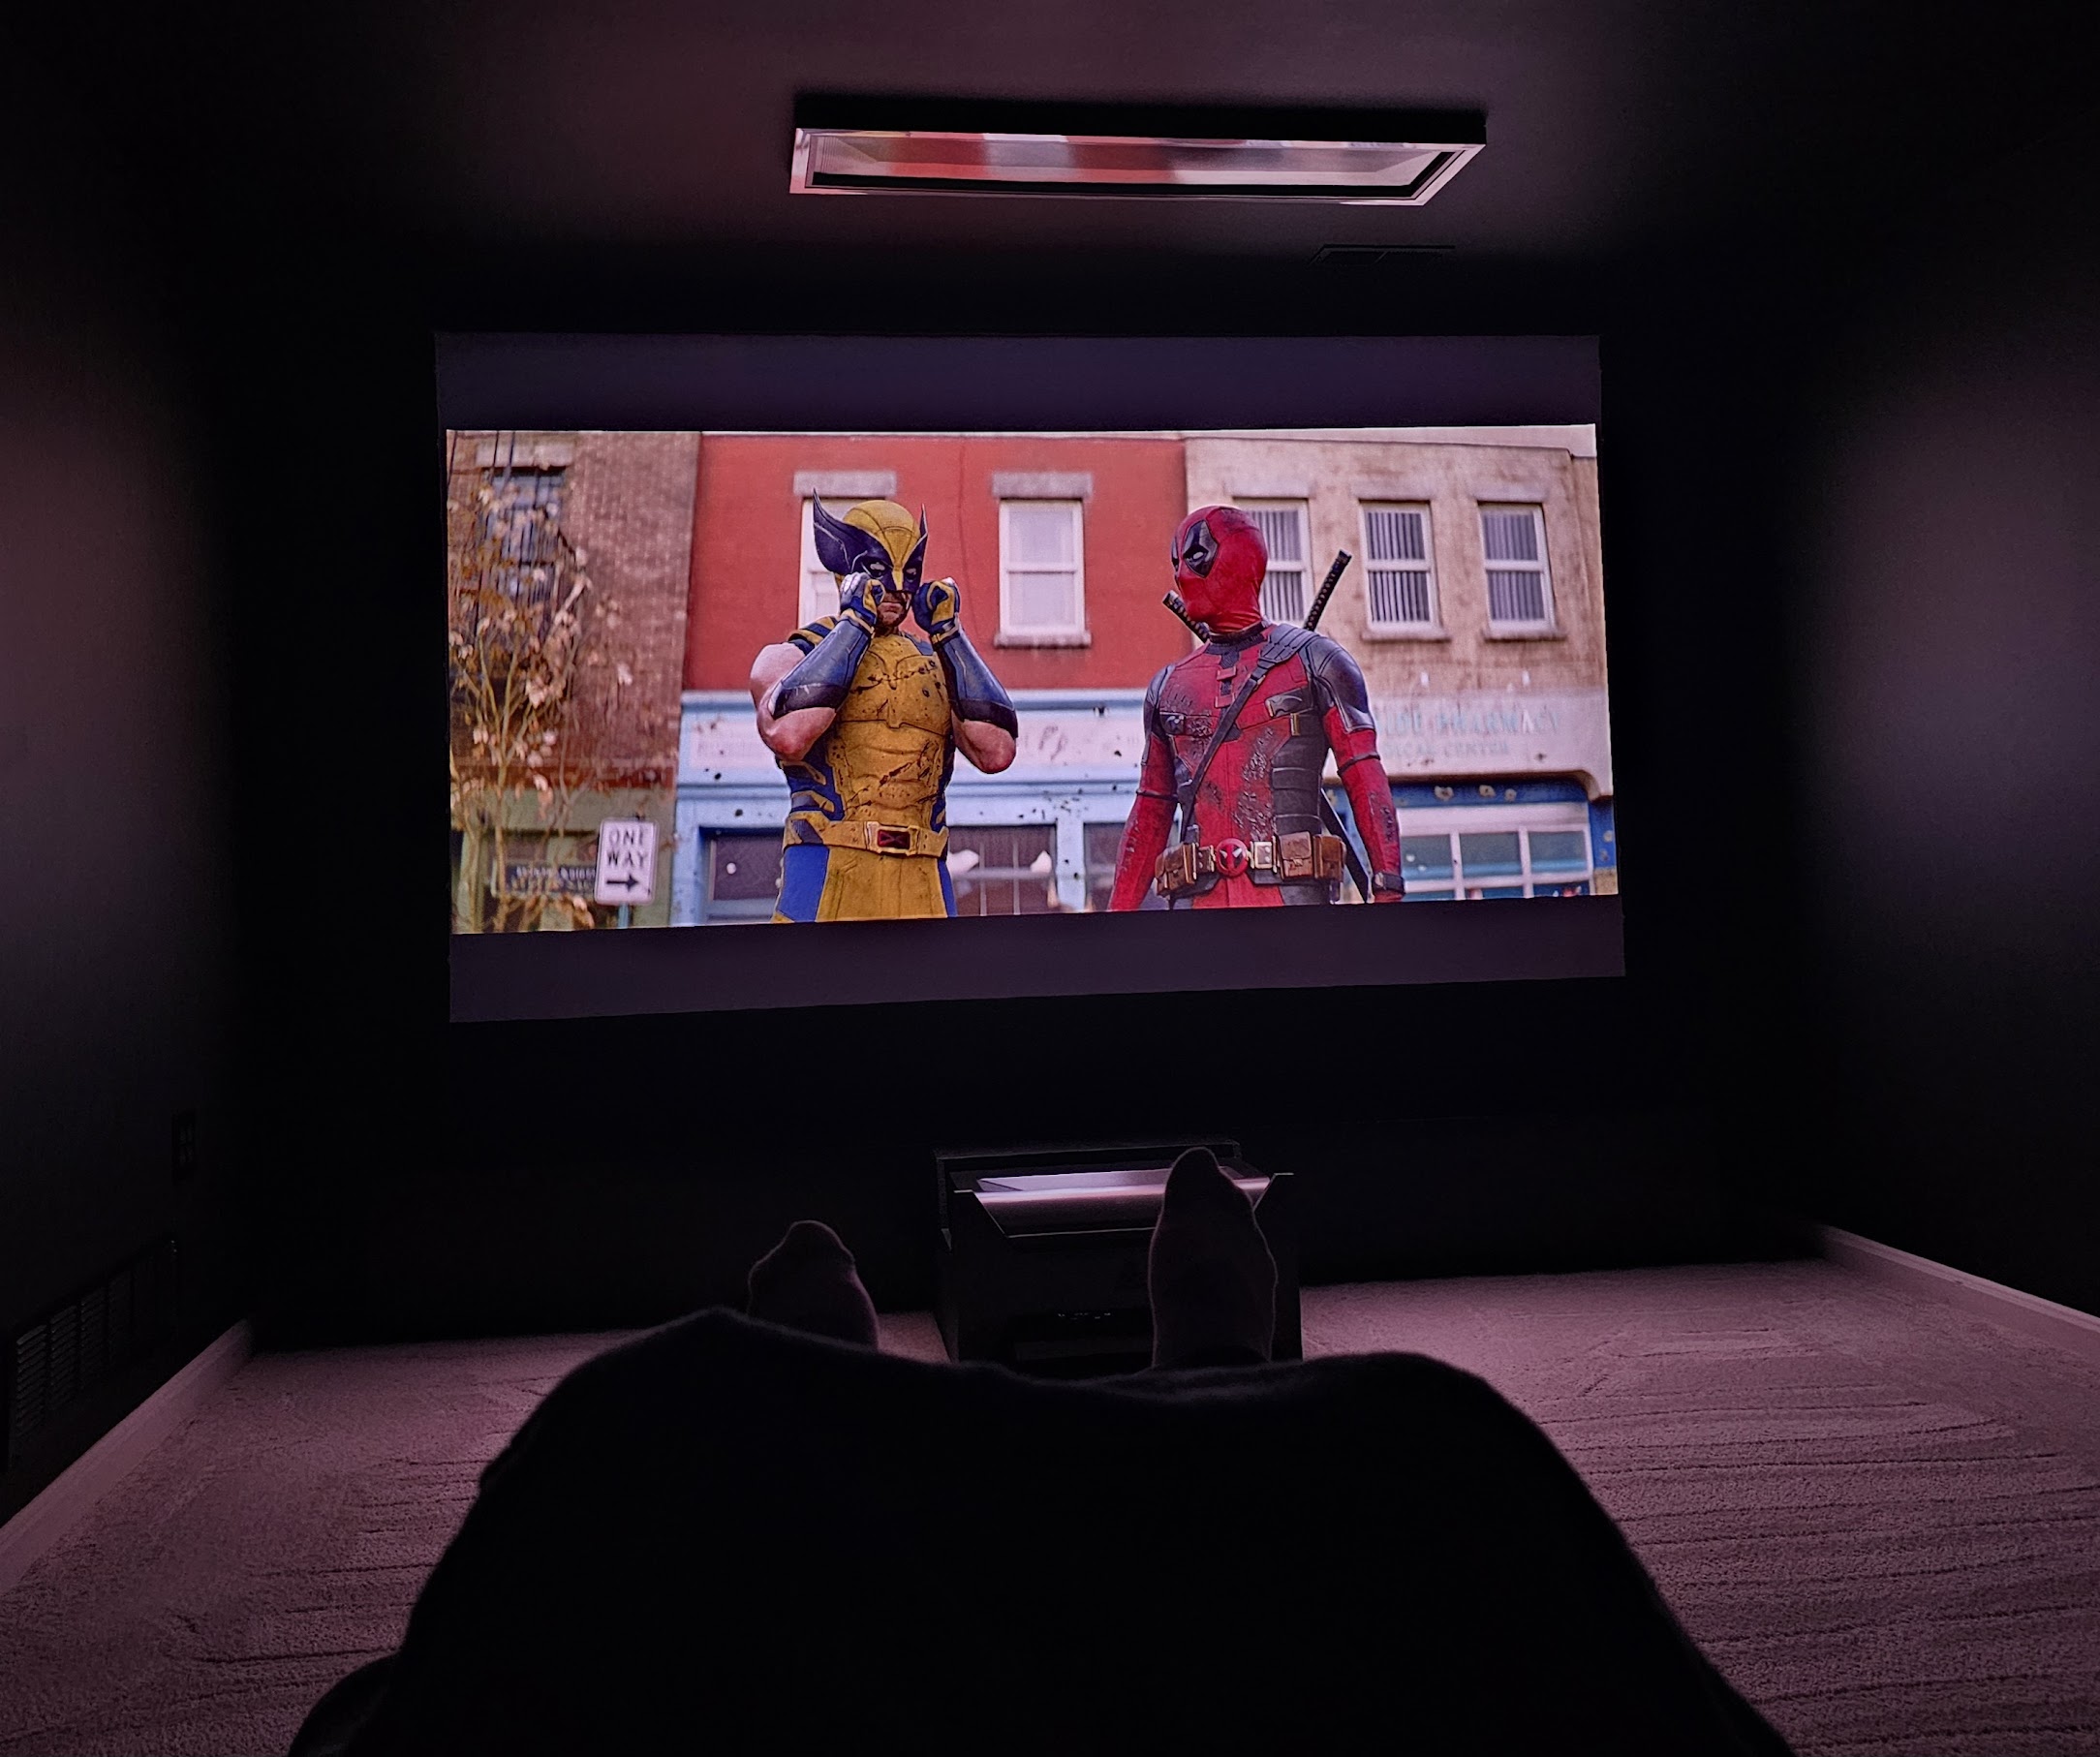 First movie night, Deadpool & Wolverine, 120 inches
What's Next
Future Vision
The room is done enough to use and enjoy. These are the next phases, some planned, some already in motion.
Retro Gaming Nook
The nook on the opposite side of the room is already painted black. An arcade cabinet and digital pinball machine fit in there. Retro gaming corner coming.
Second Screen
A TV on the side wall for overflow seating, showing movie posters and coming-soon art normally, switchable to mirror the main screen when the room is full.
Sconce Lighting
Wall sconces flanking the seating, wired into the Home Assistant setup. Likely on a dimmer Shelly to keep them from overpowering the screen.
Audio Upgrades
The B&W setup is excellent. There are always better bookshelves and a better center. The upgrade path is clear, just not today.
Poker / Dining Table
The main room space can accommodate a poker table that doubles as a dining surface. A room that looks this good should work harder when the screen is down.