Built Work · 2018–Ongoing
Home Gym
Two houses. One build that never really stopped. Safer to lift alone here than anywhere else.
House 1
First Build: Before & After
Drag the handle to compare.
House 2
New House: Before & After
Drag the handle to compare.
Project Walkthrough
Phase by Phase
The Initial Build
The first gym went into a tight spare room, not built for it, but made to work. A rack went in, a bar, plates, and dumbbells. The space was a puzzle from day one. Every piece of equipment had to earn its spot. The constraint was the point: it forced intentional choices about what actually mattered for training. The floor got a proper lifting platform too: two stacked 4×8 sheets of plywood for a solid base, a vertical center piece over them, and horse stall mats on each side to handle bar drops without destroying the floor. Built right from the start.
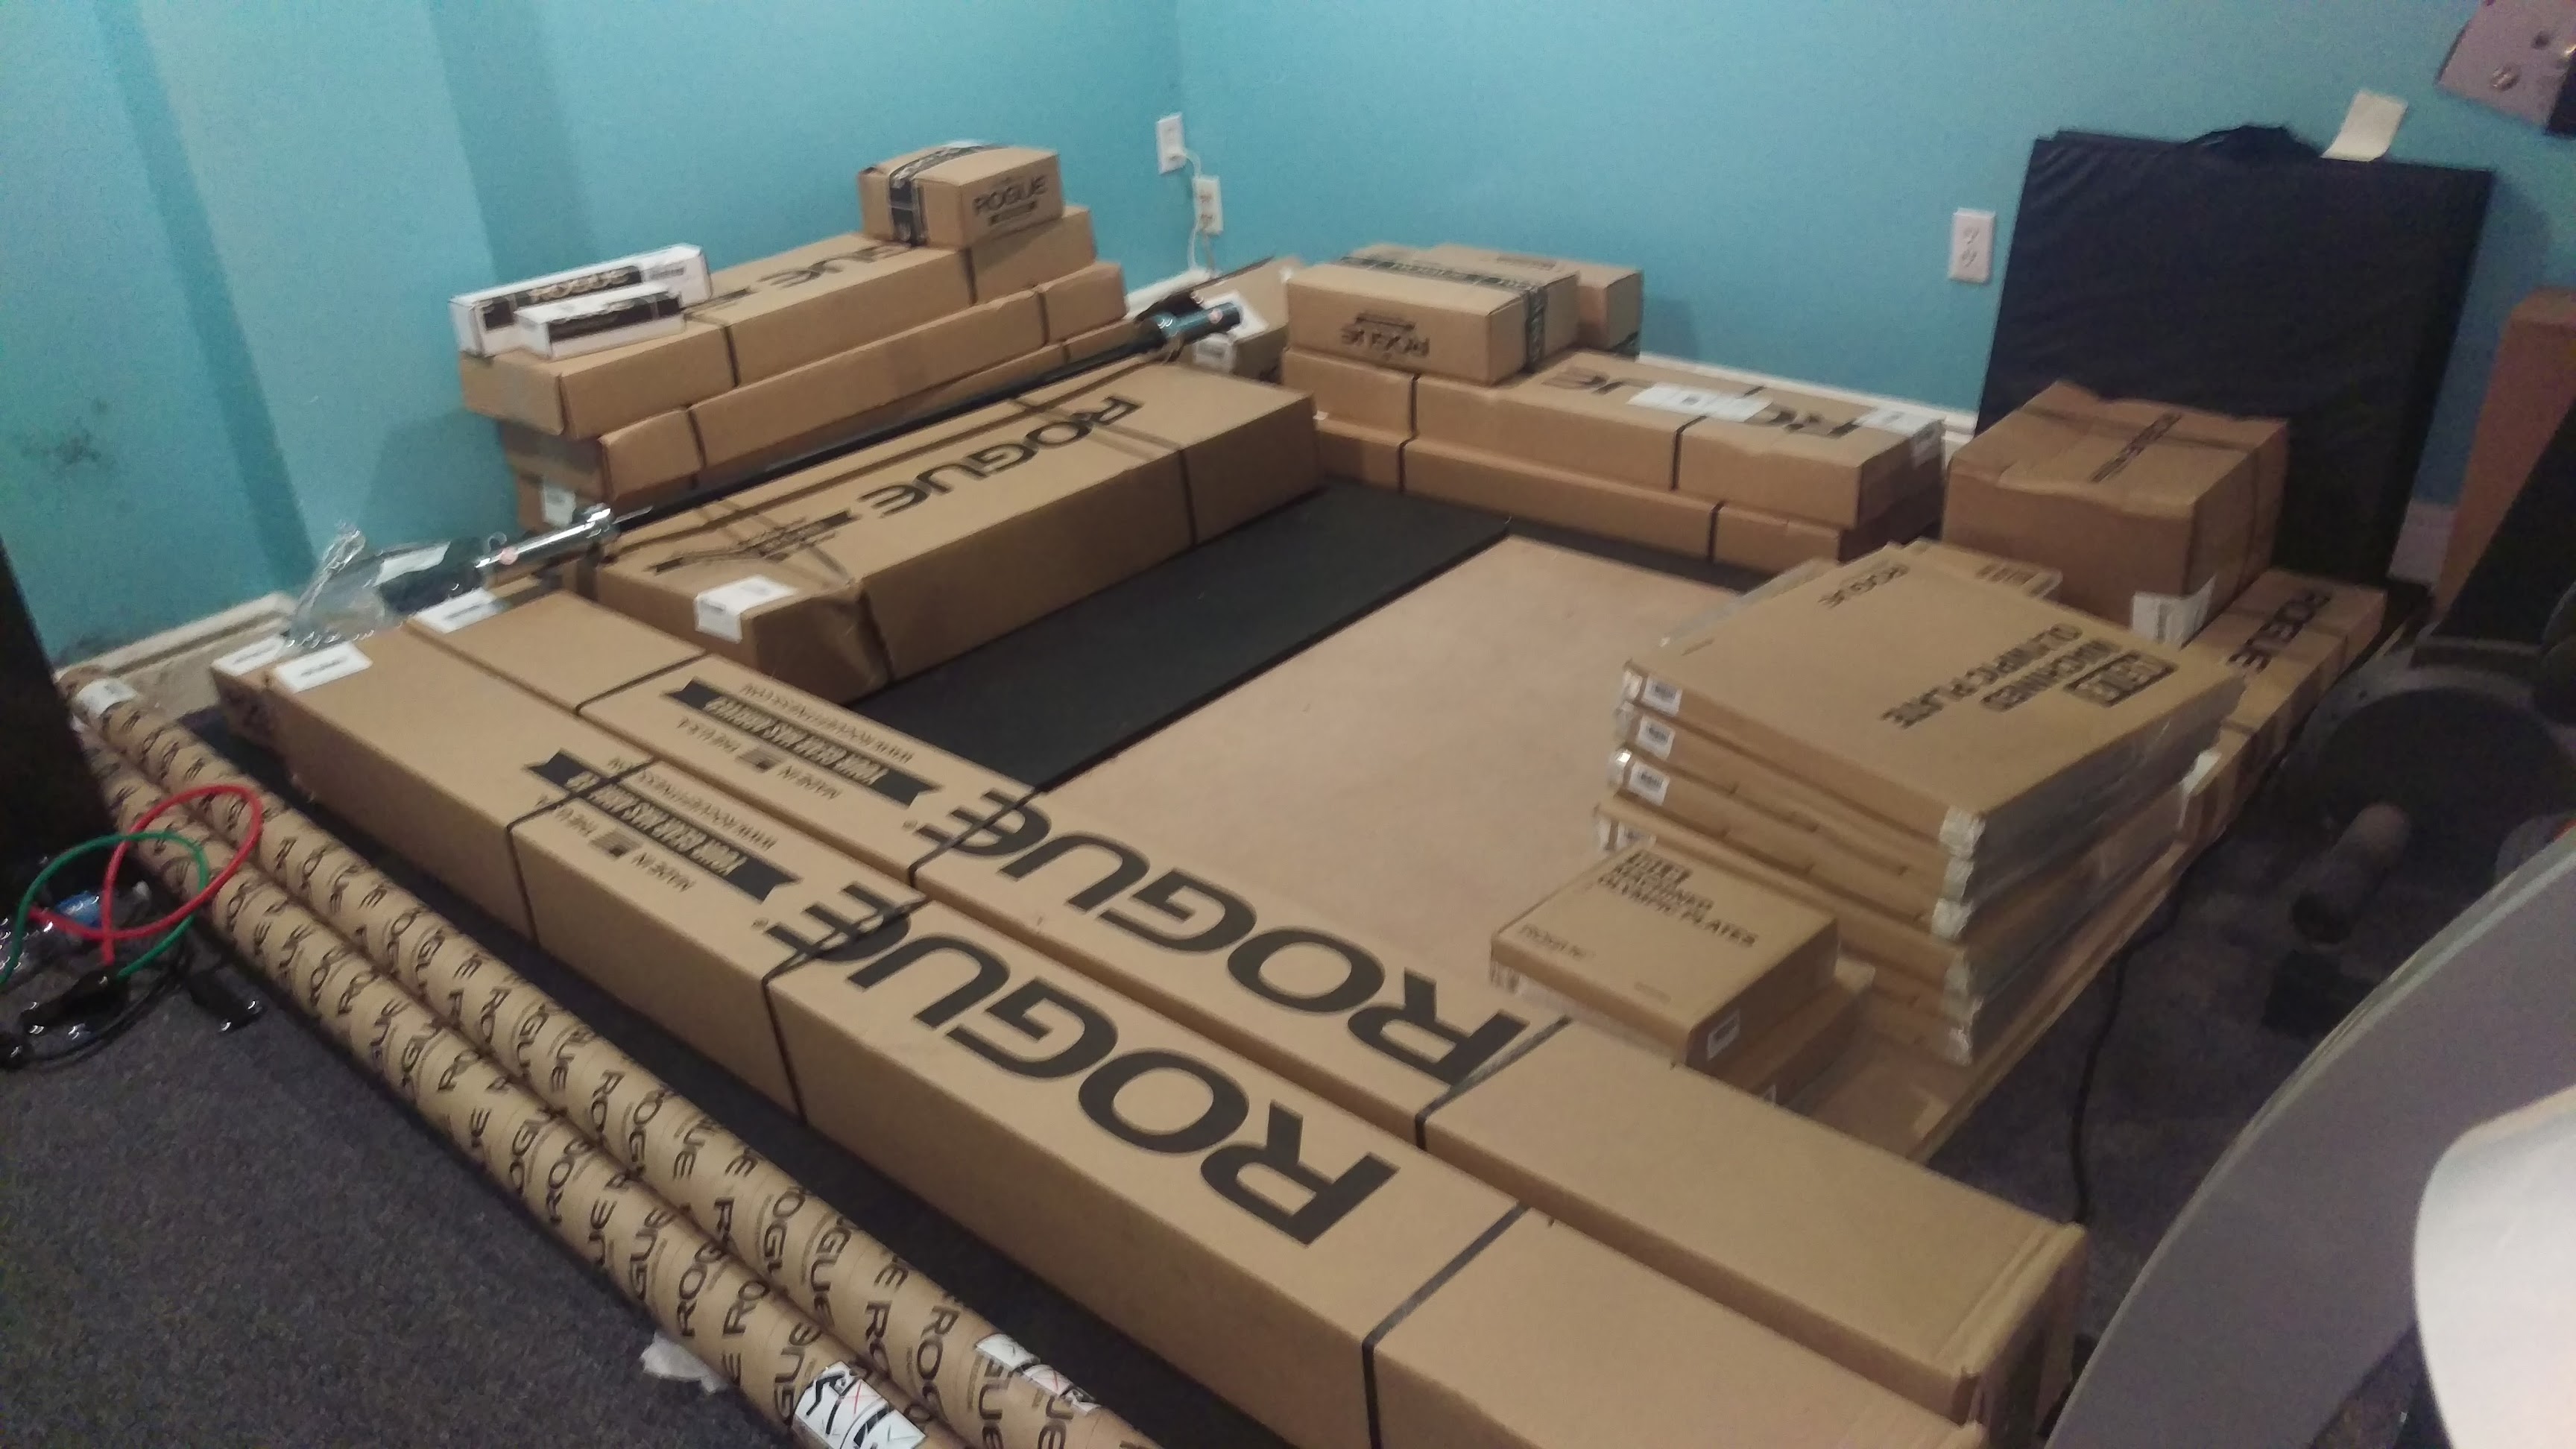 Delivery day
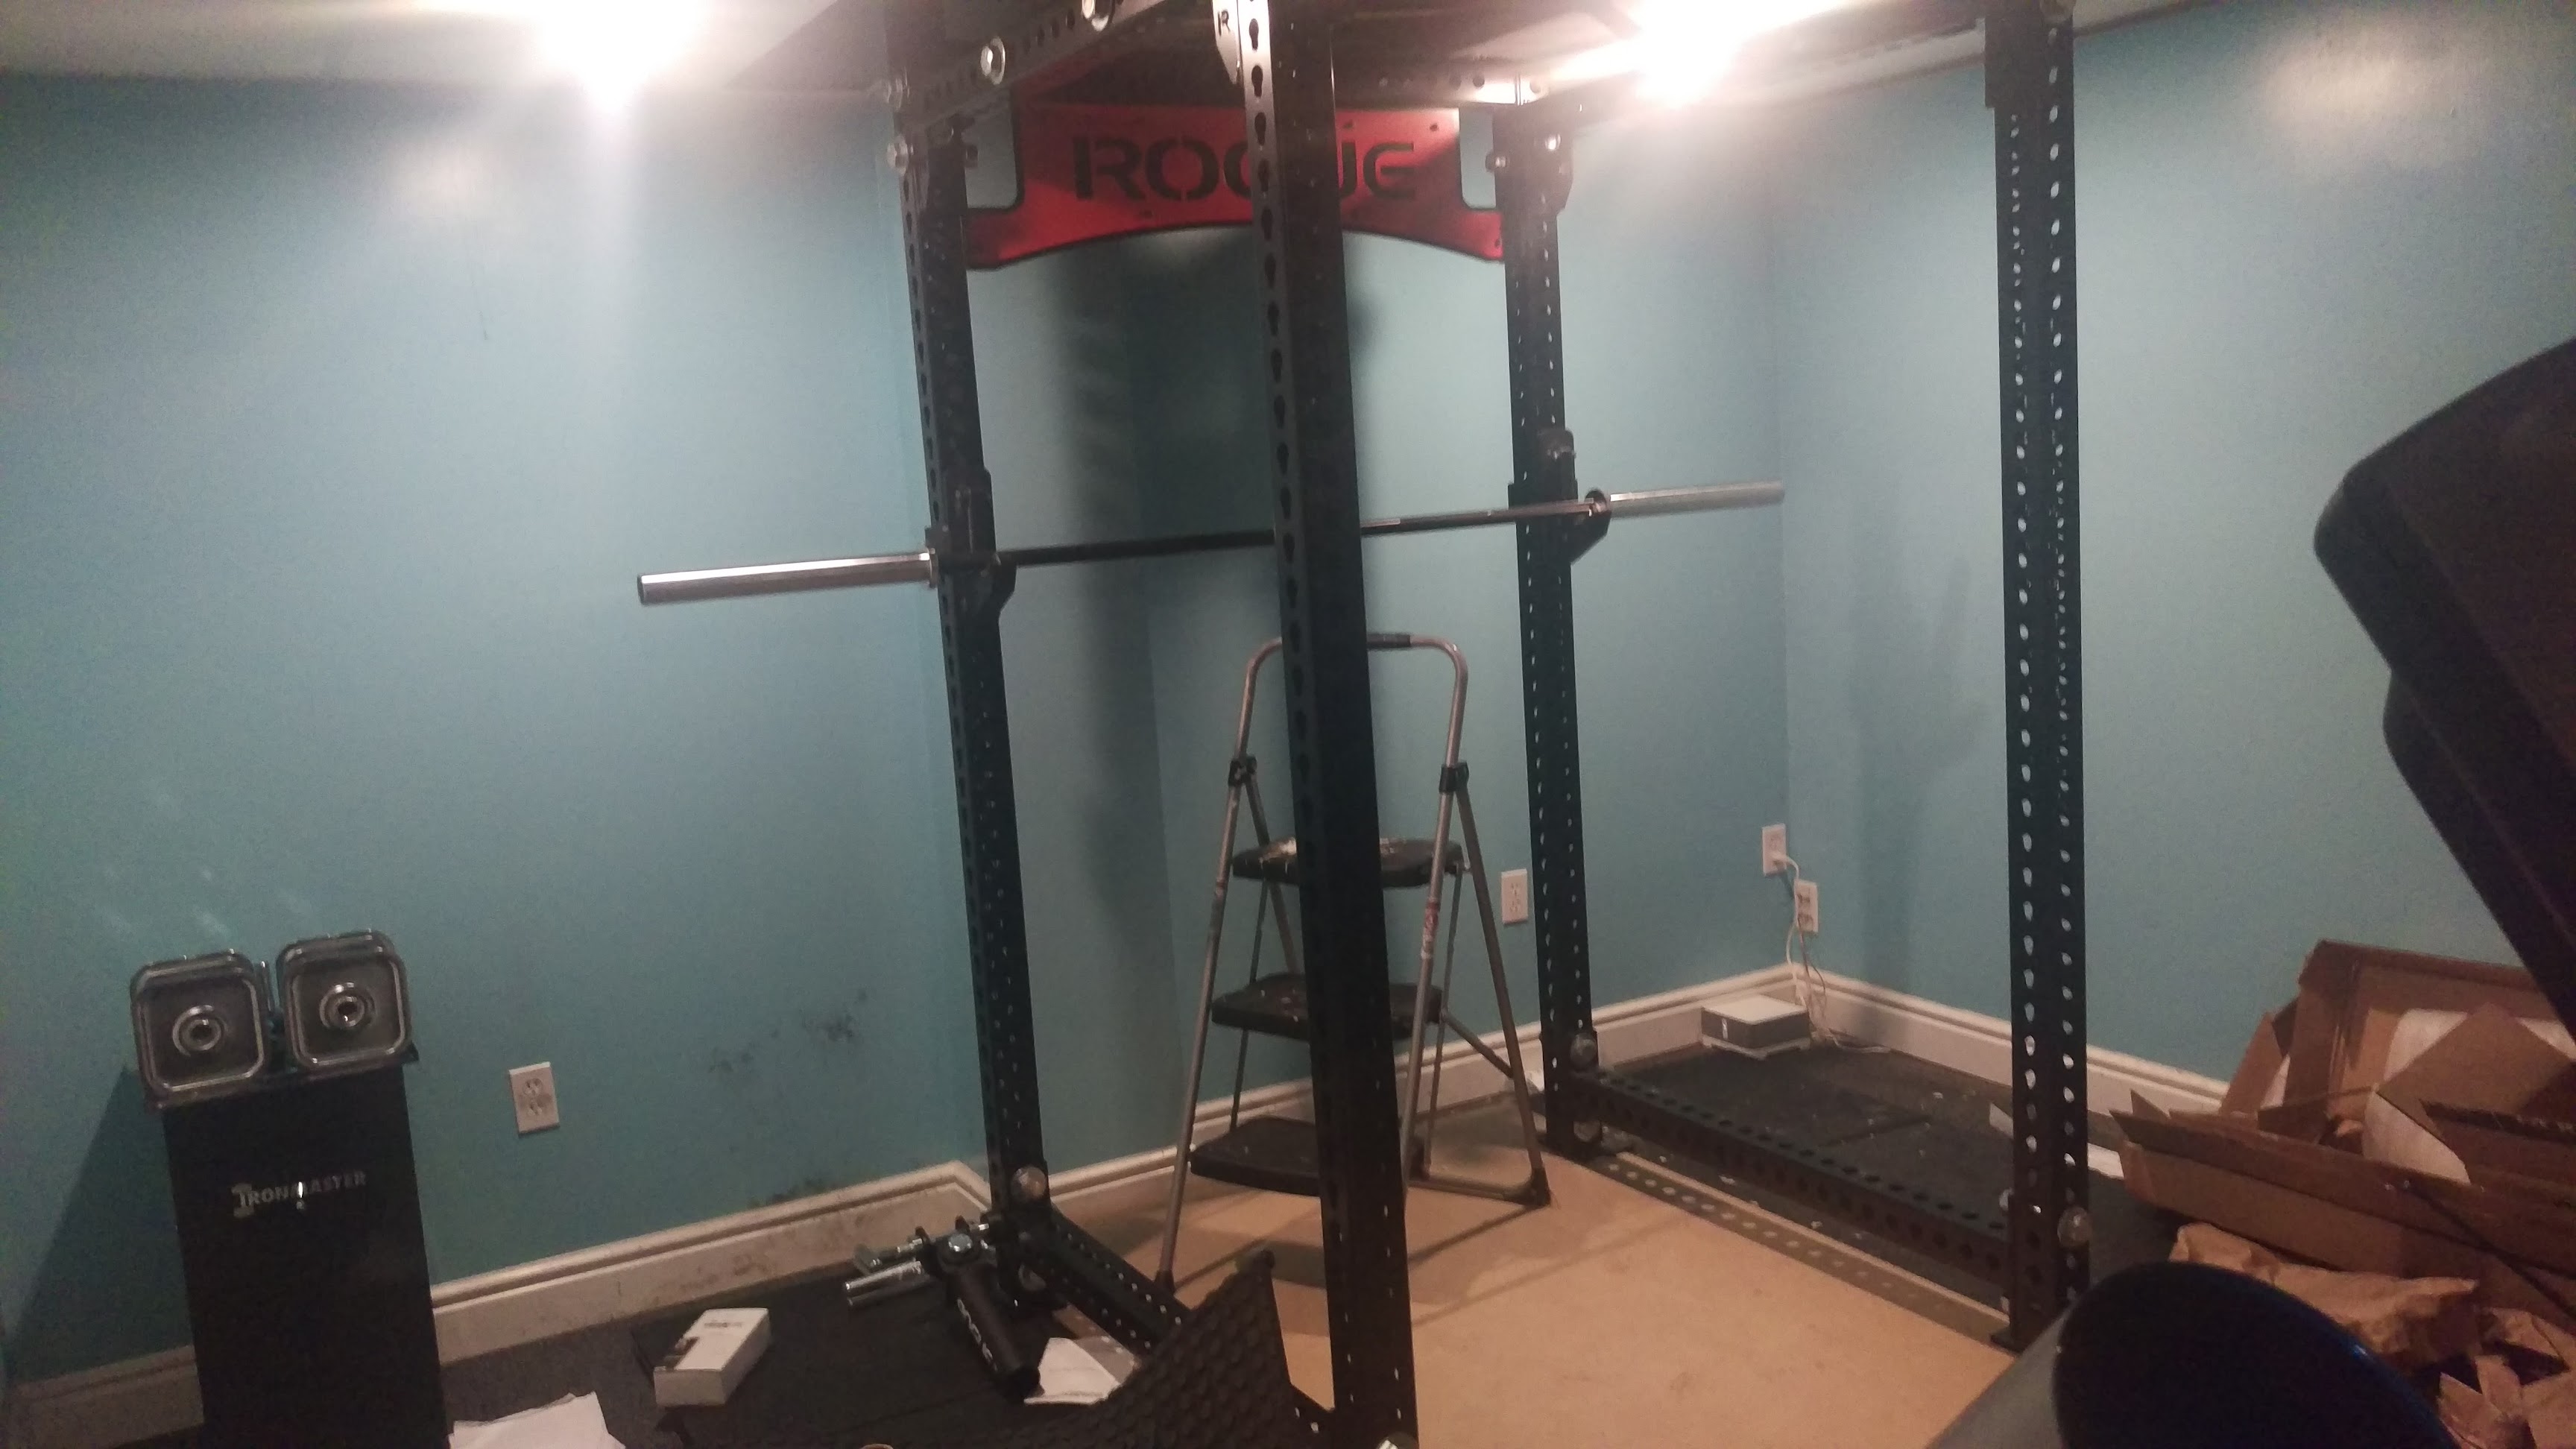 Rack up, no mirrors yet
Mirrors
Mirrors went up on the wall. In a tight space, mirrors do more than check form, they open the room, create the visual cue that you're in a real gym, and make tracking movement while lifting actually possible.
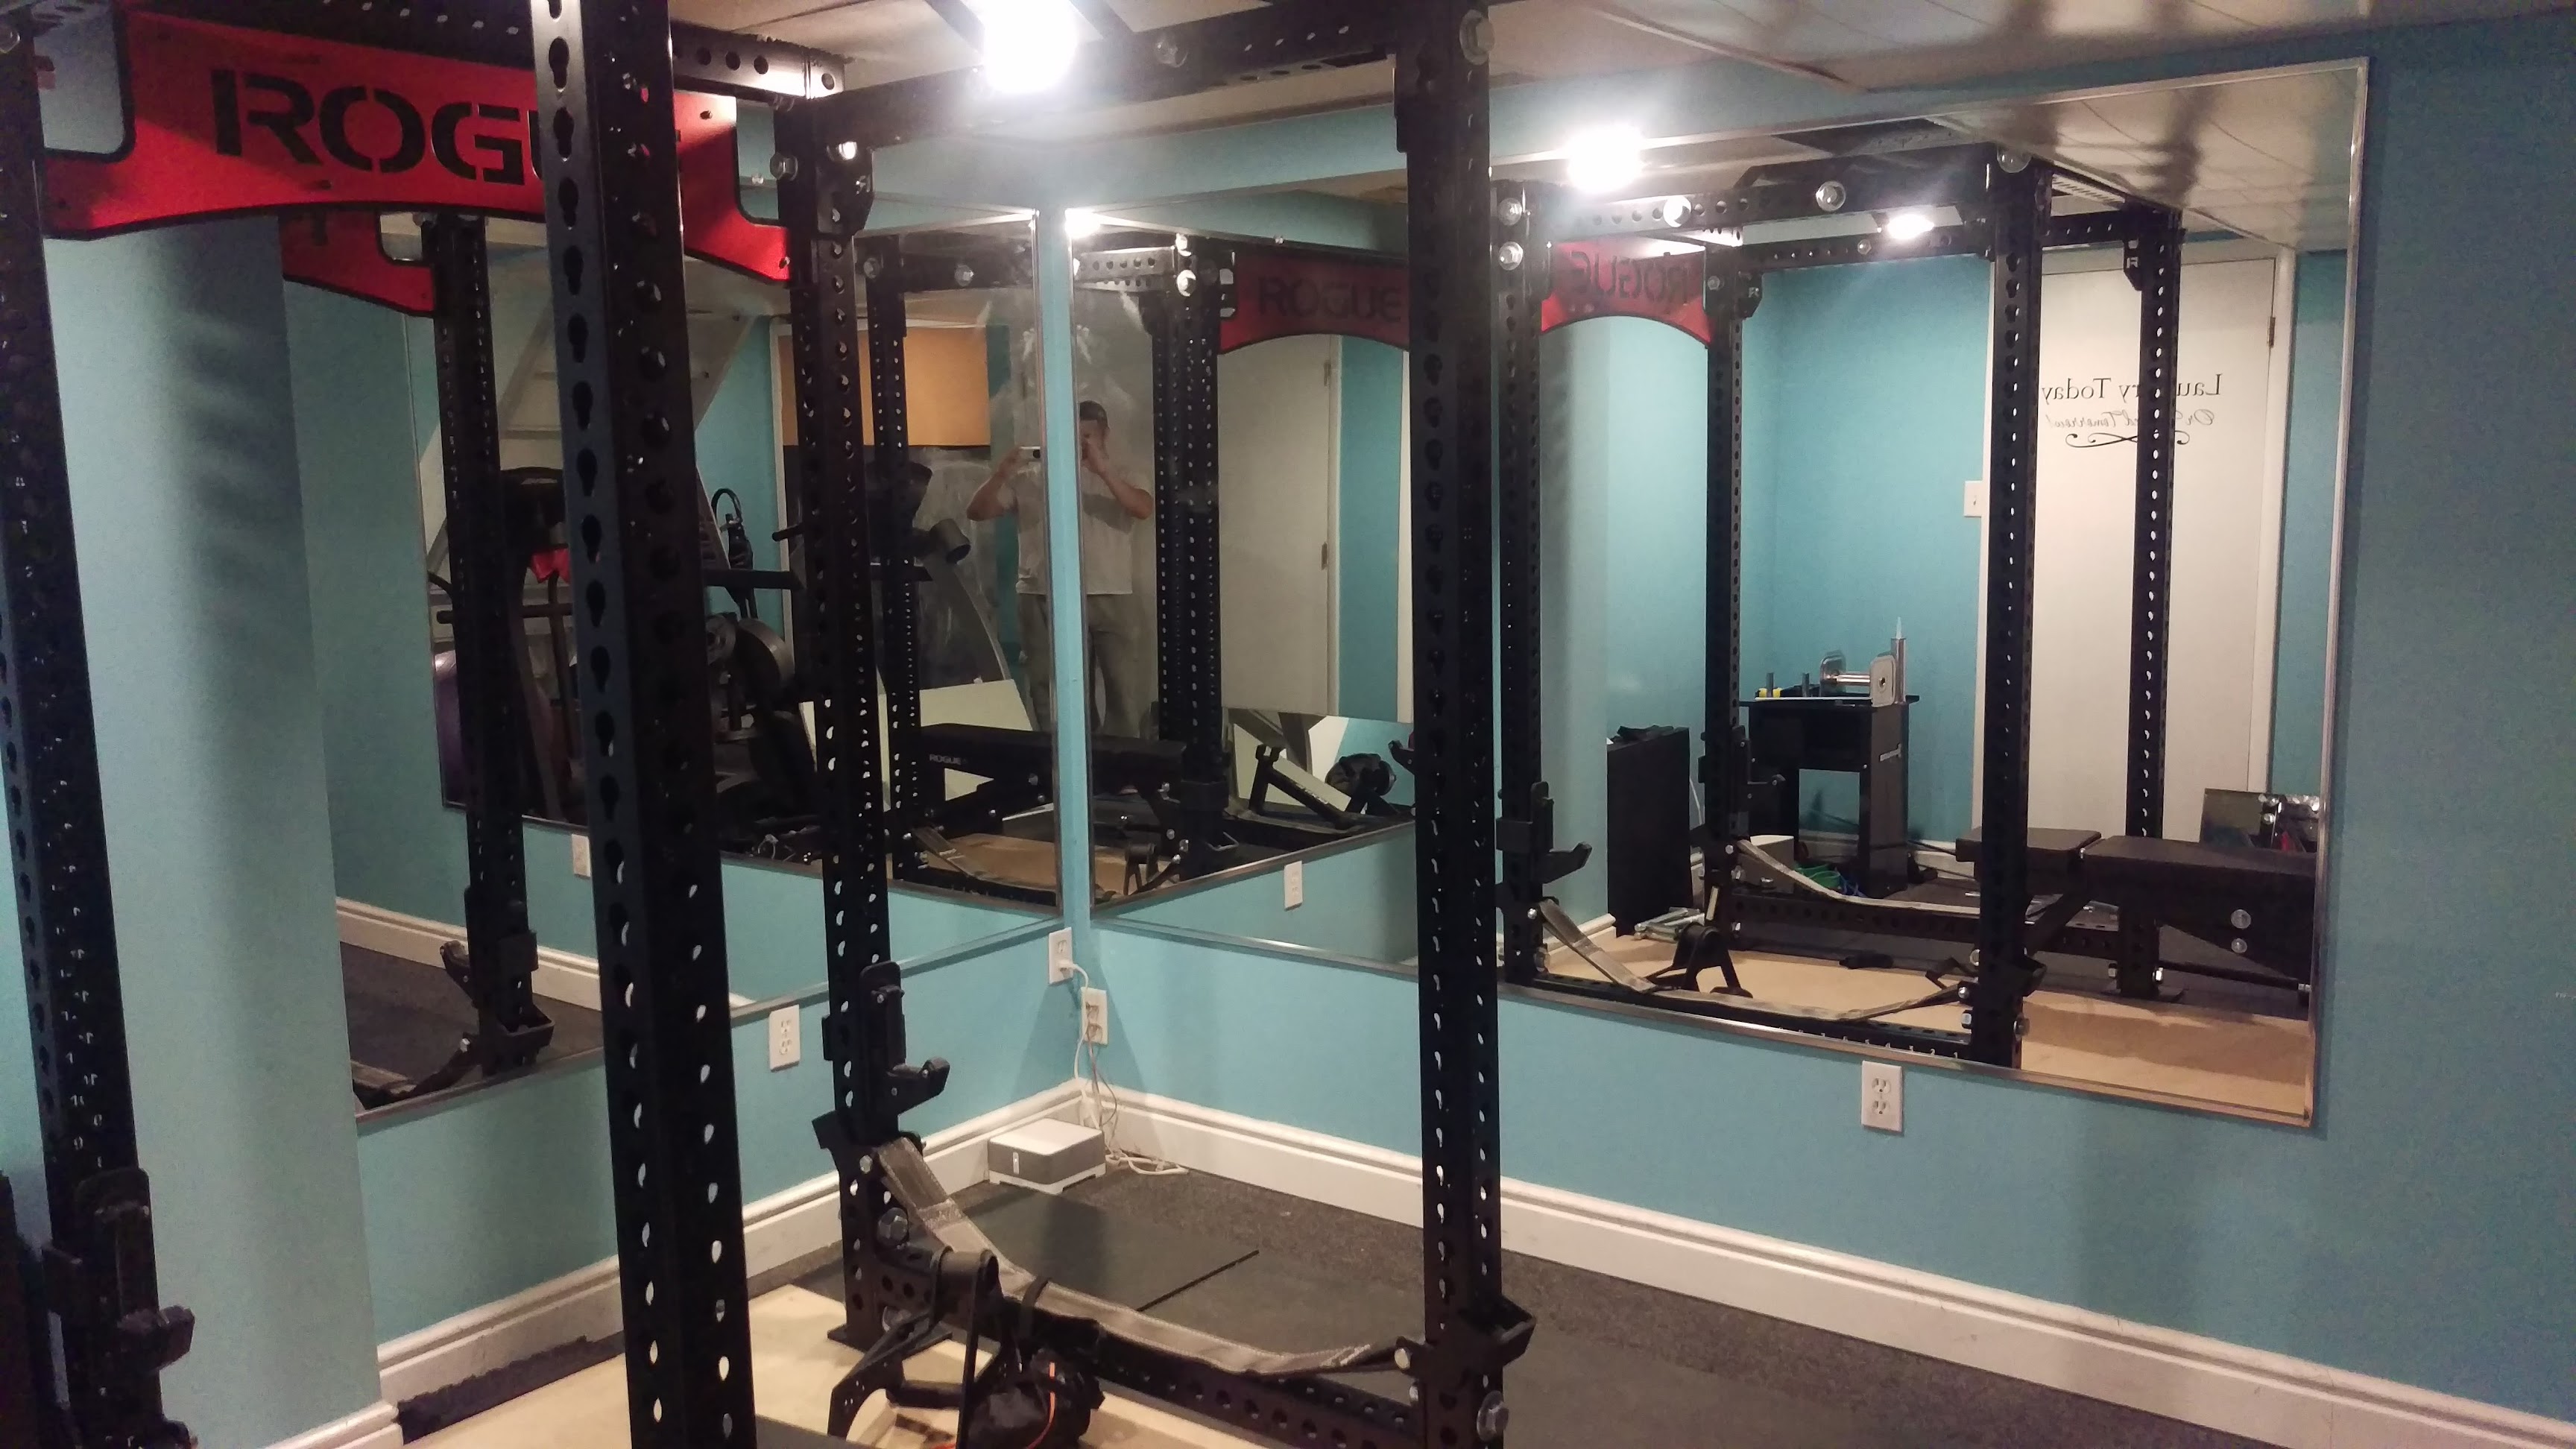 Mirrors installed
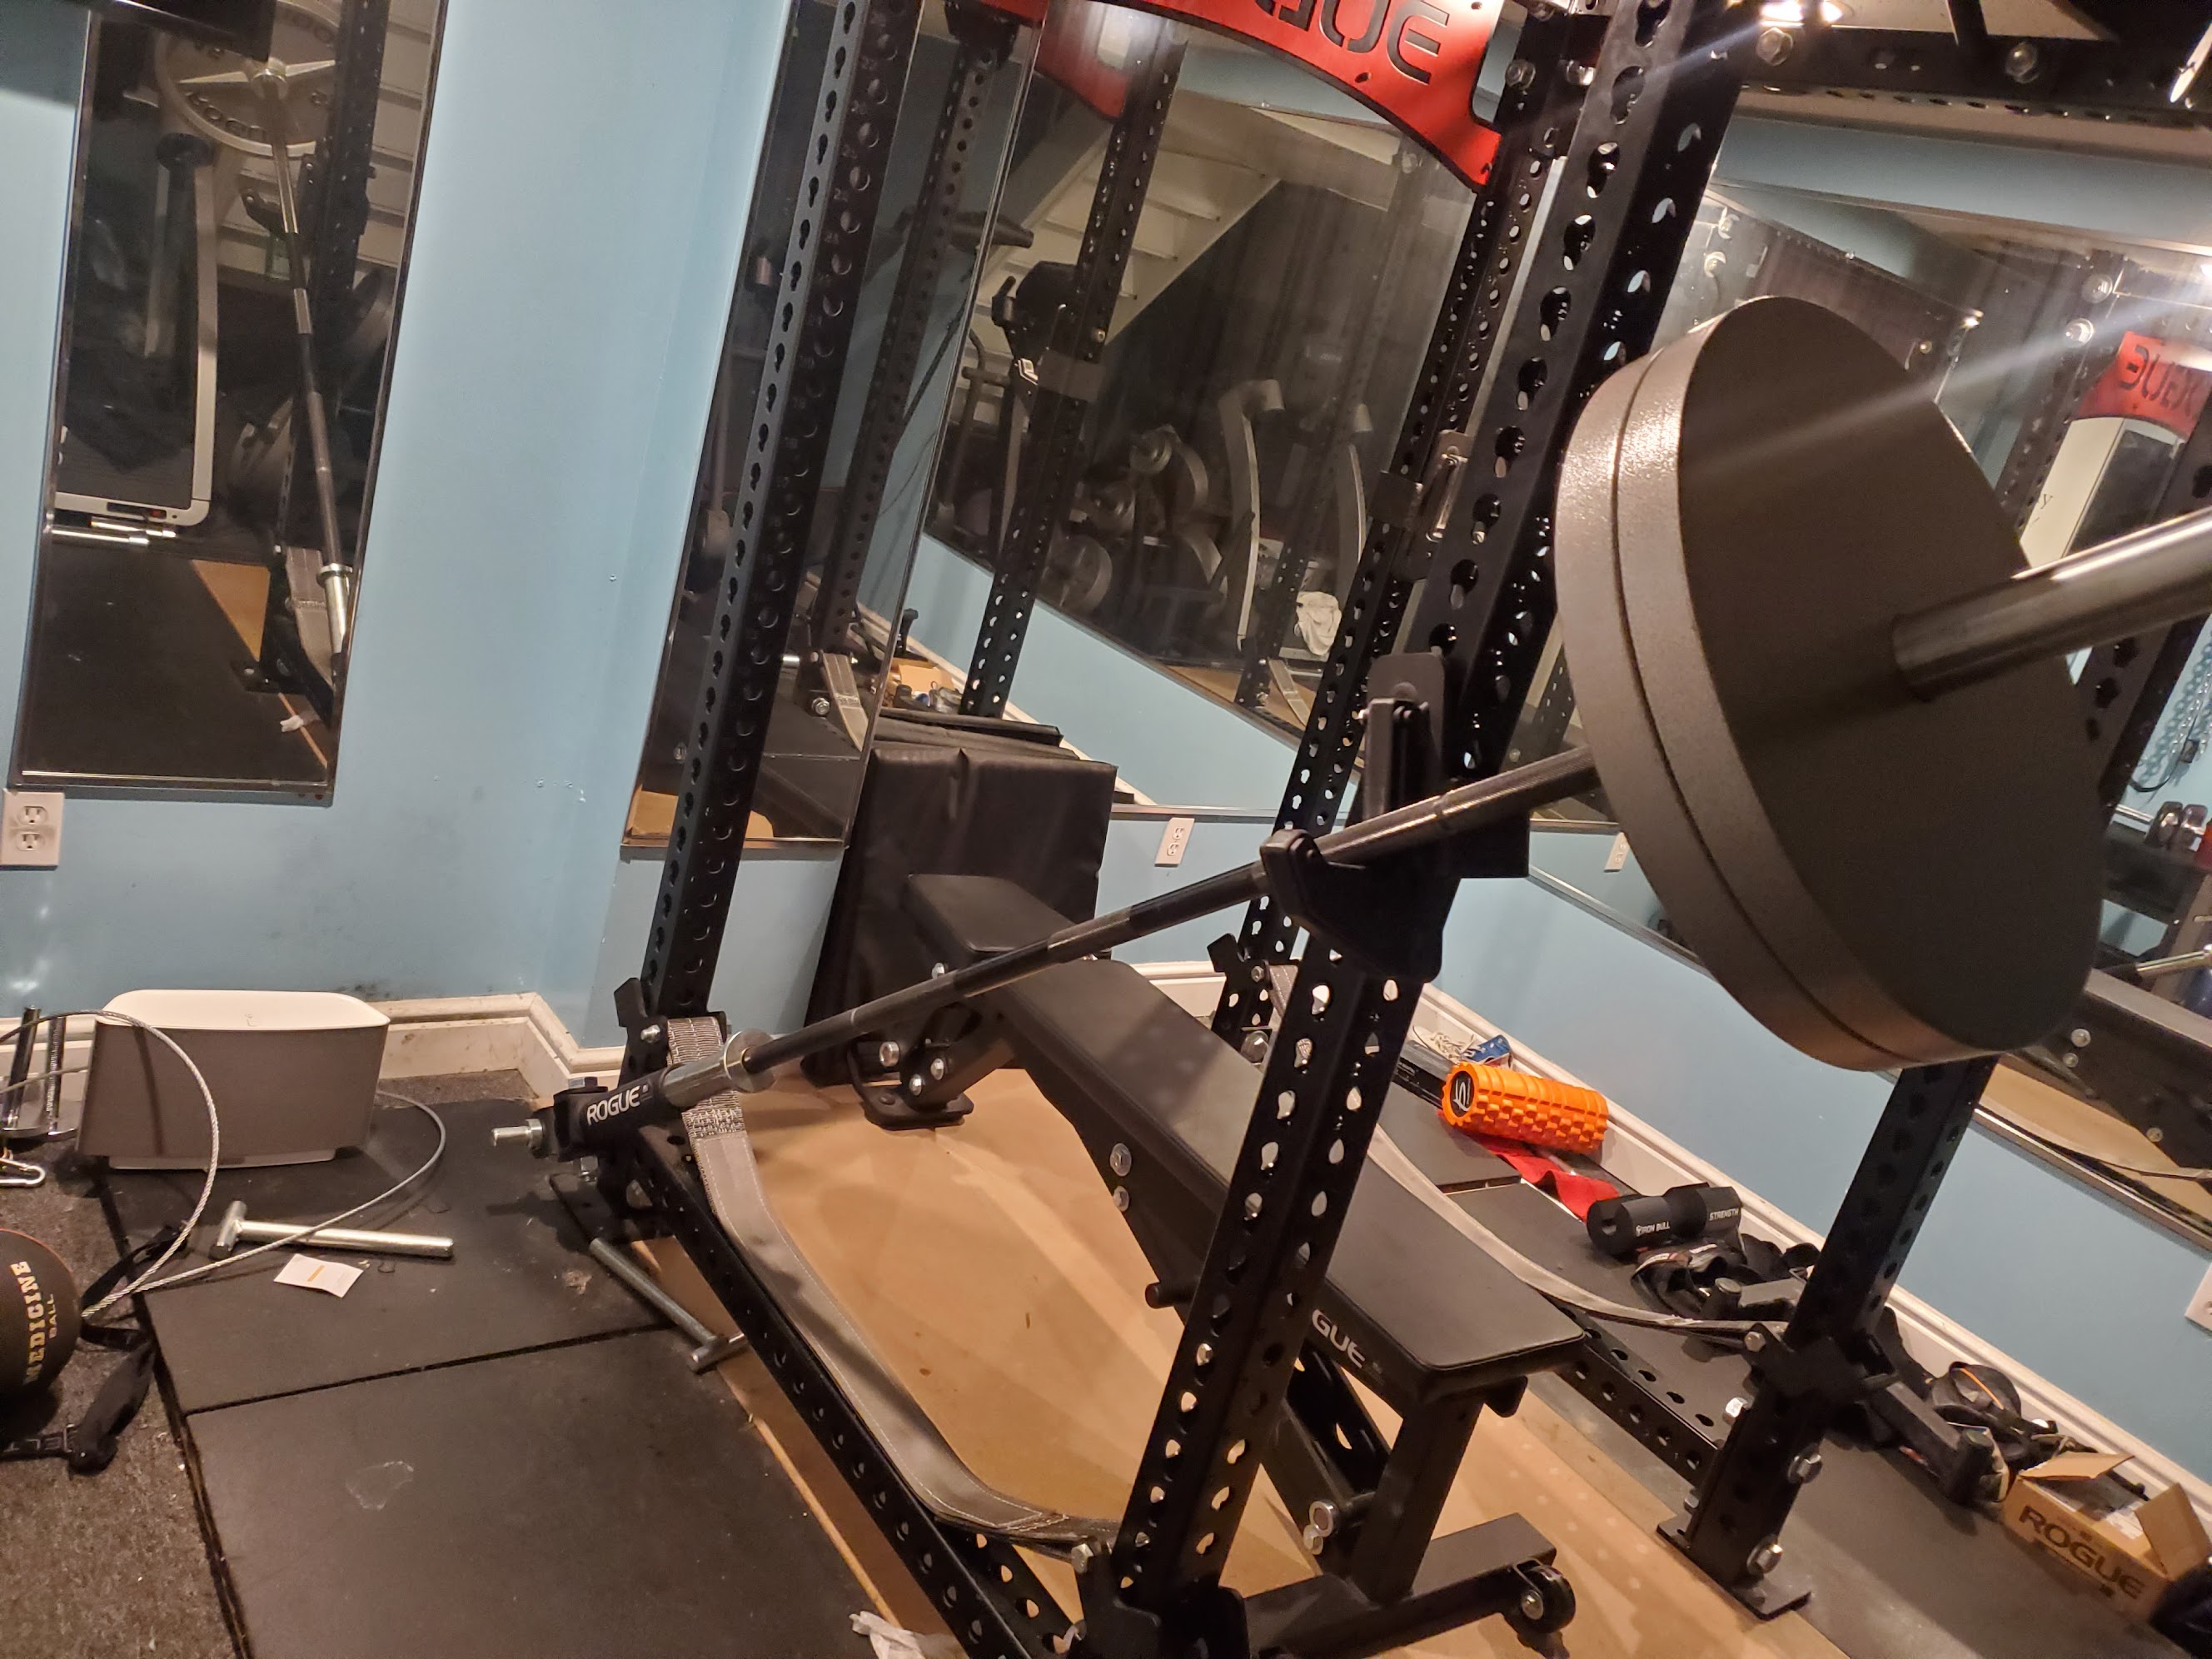
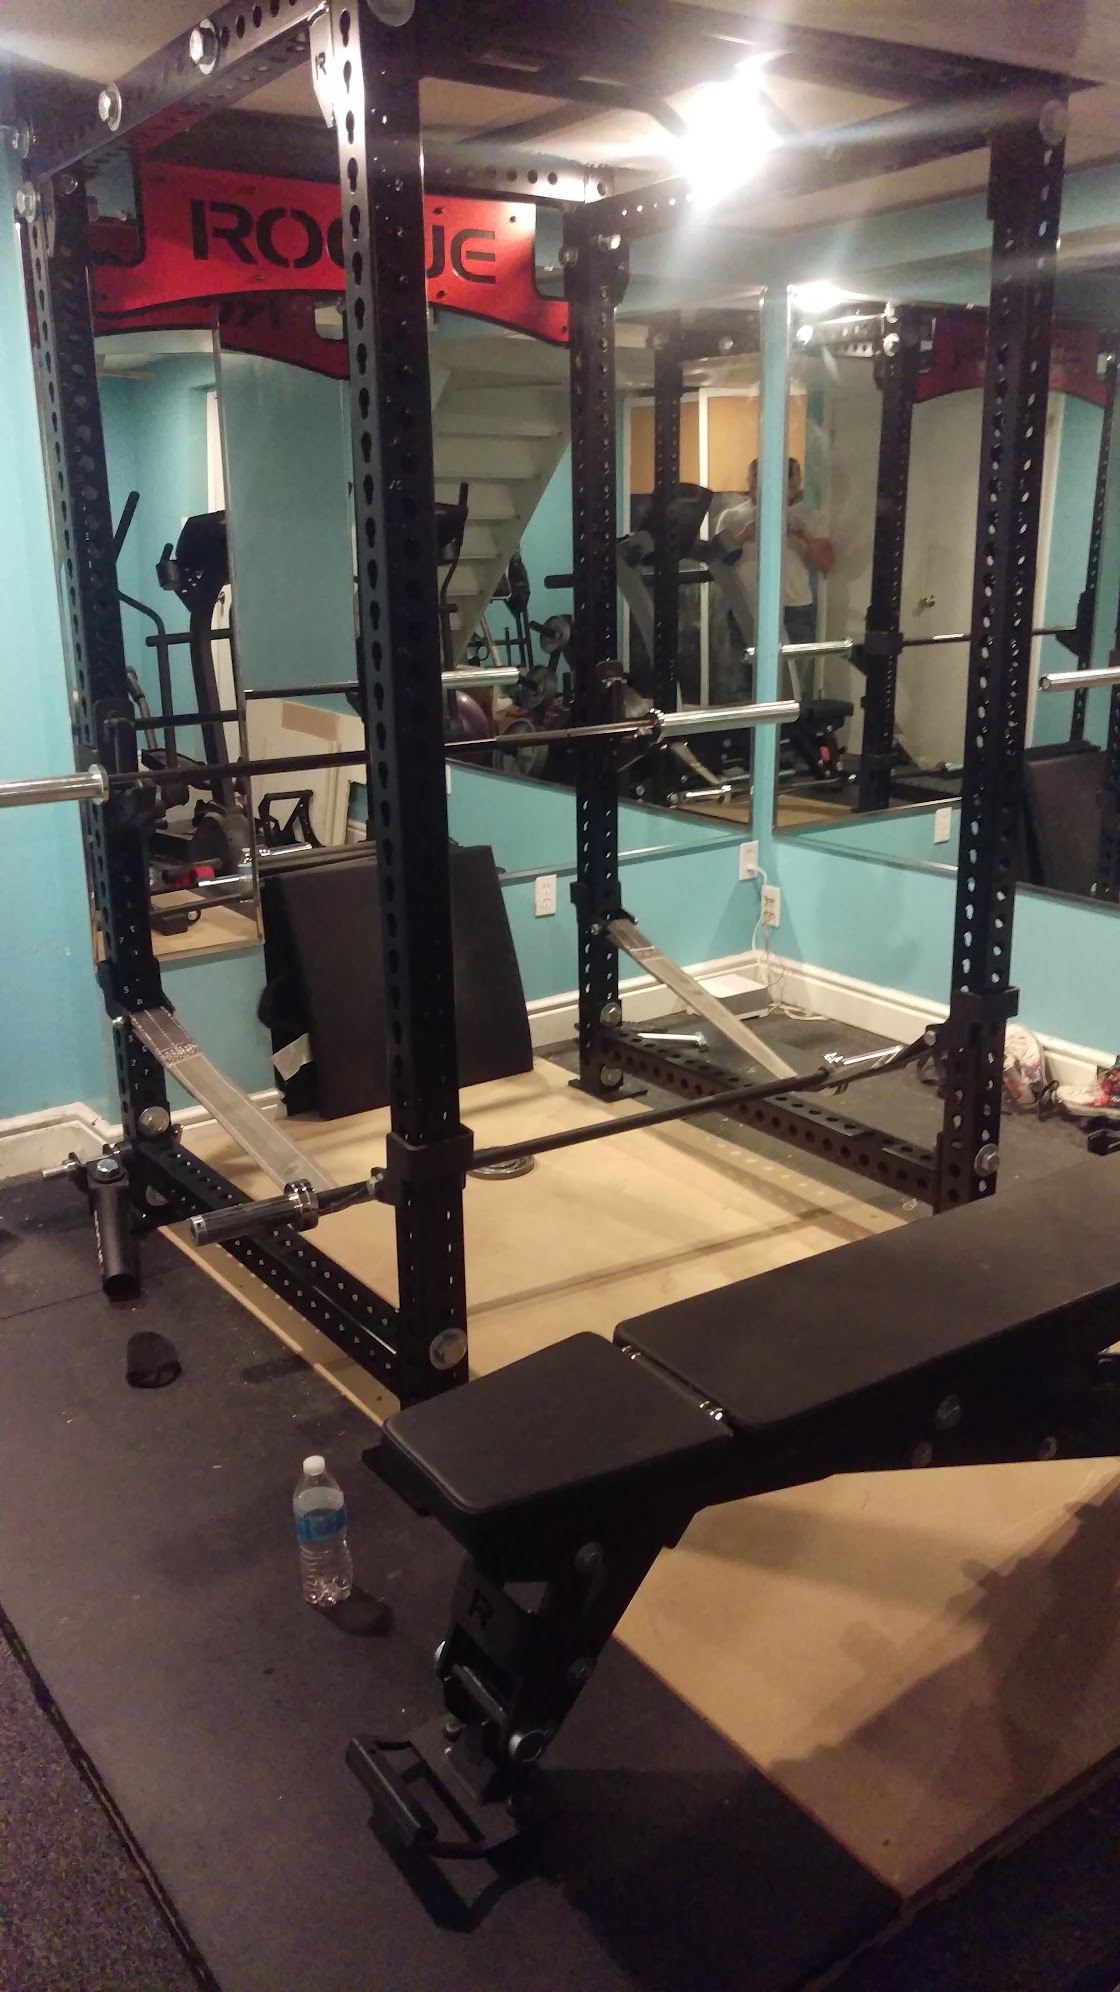 Bench in, taking shape
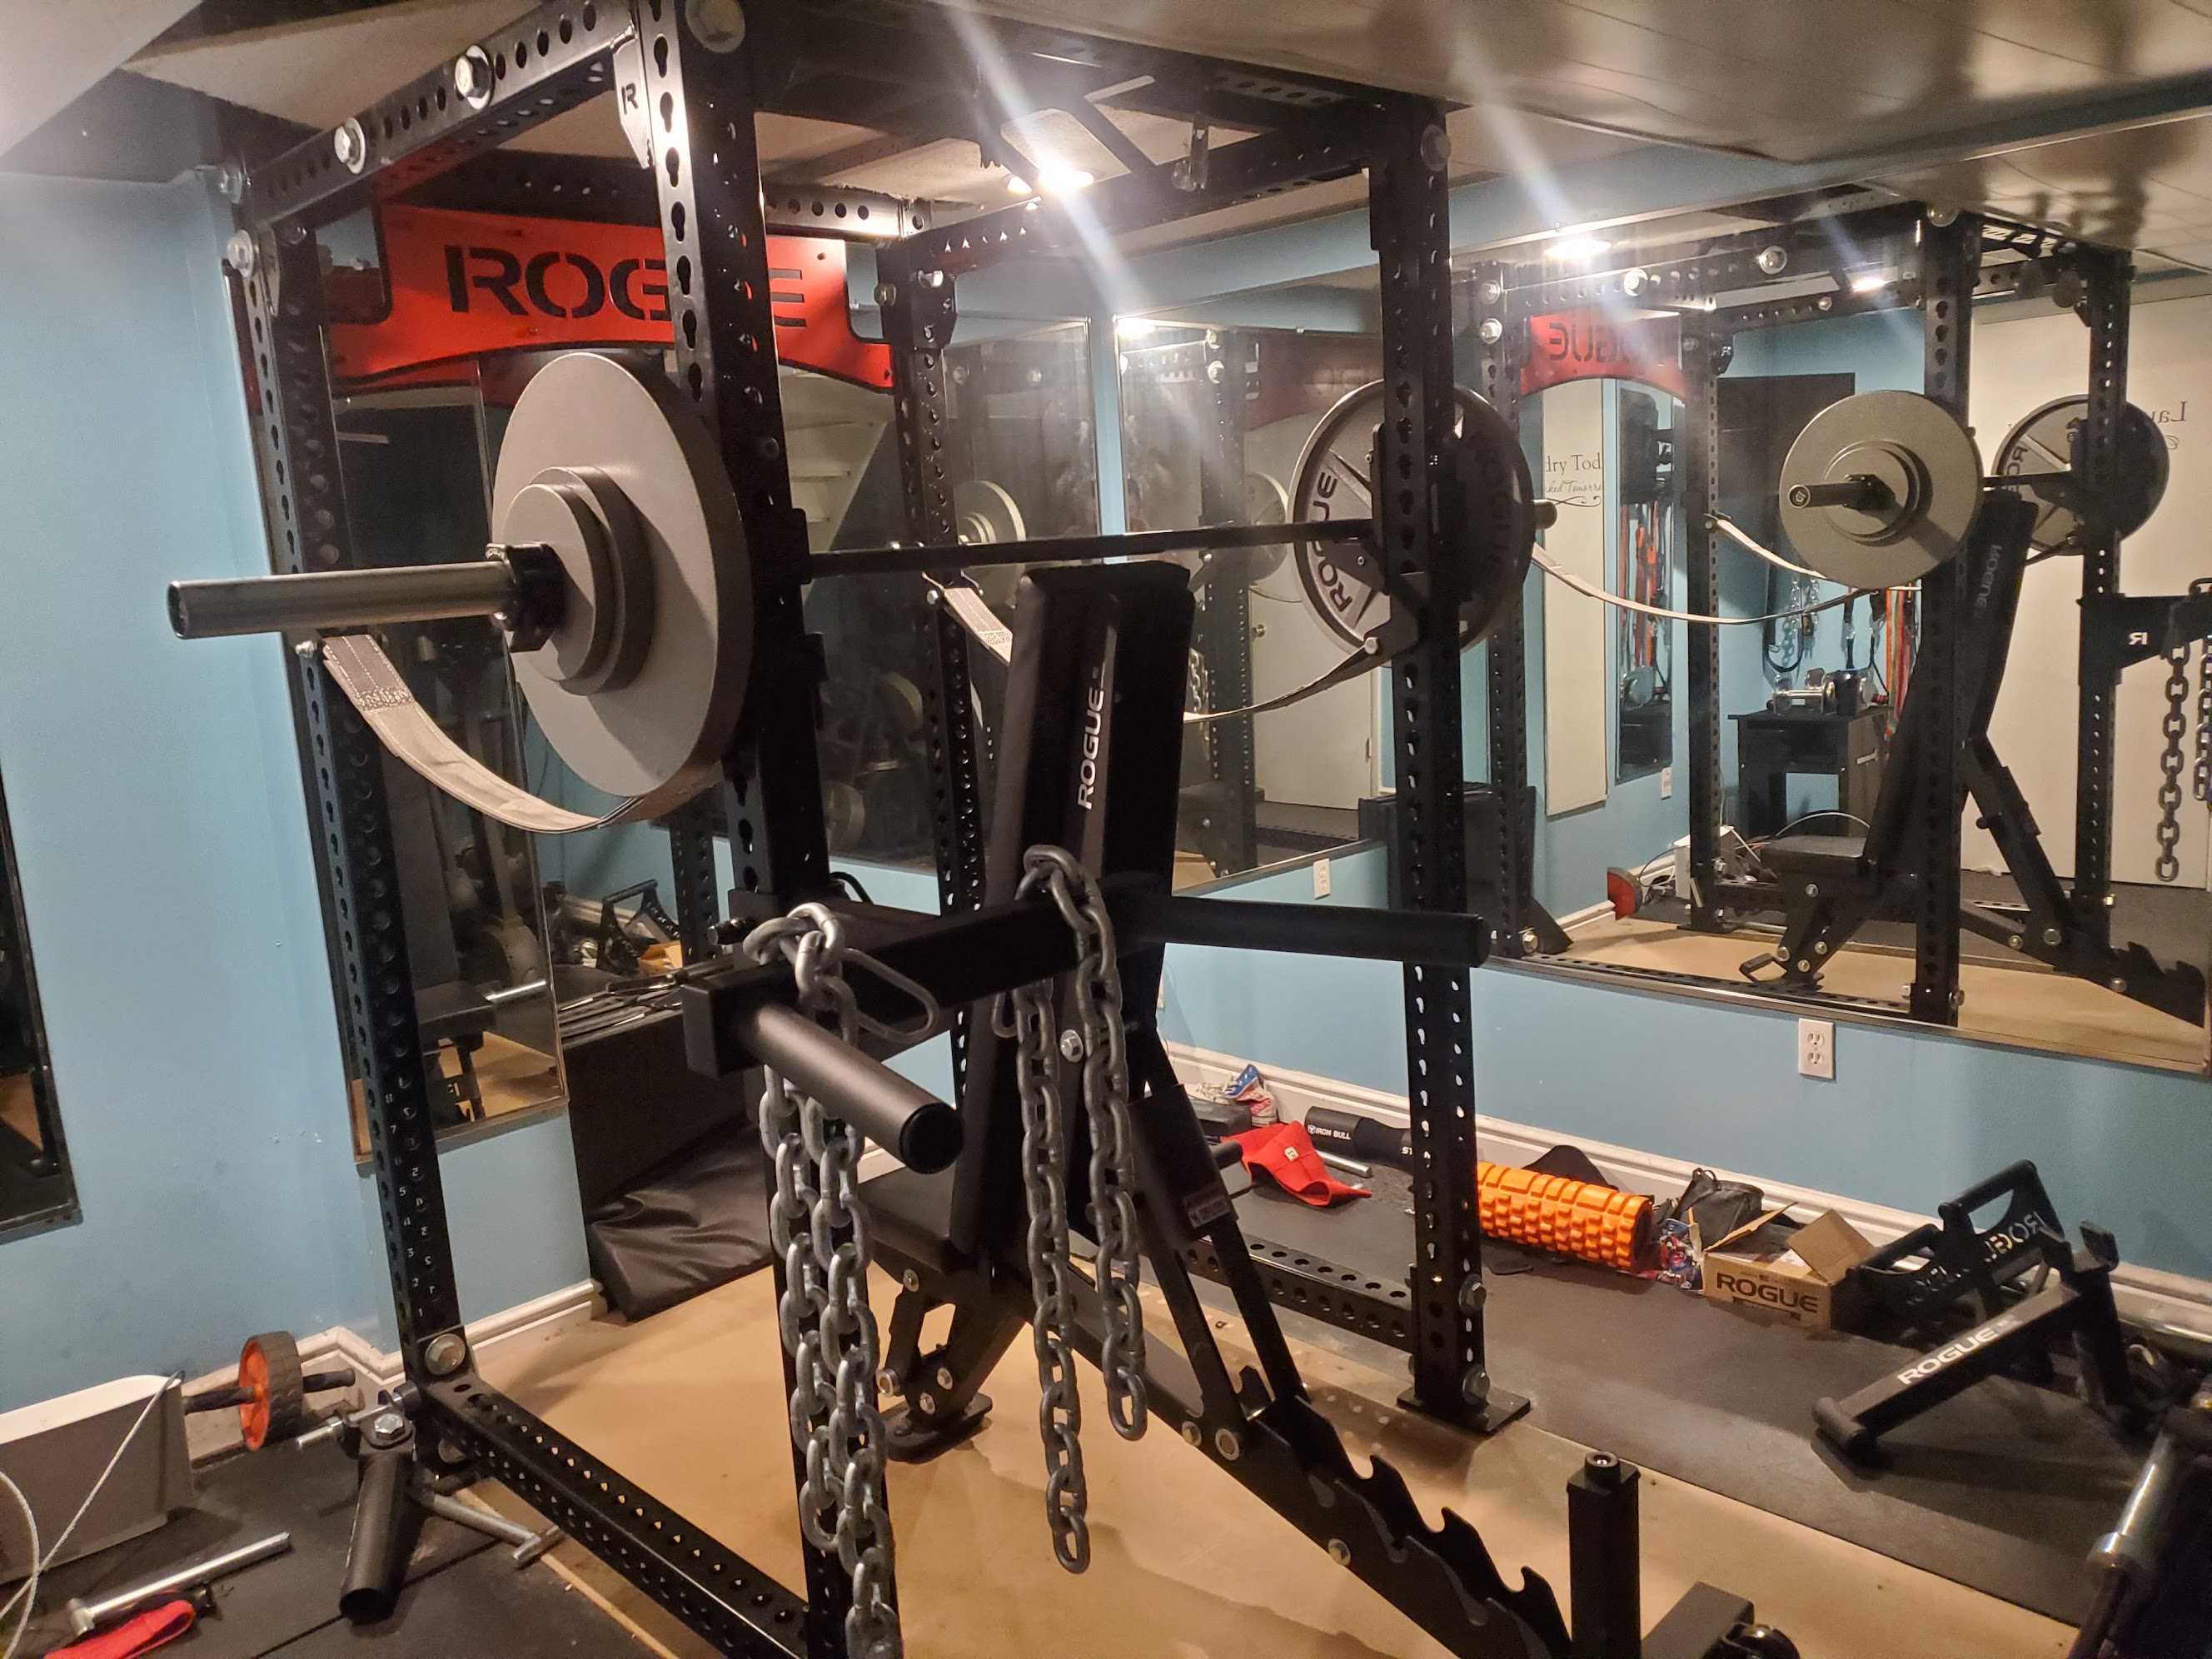
Accessories & Full Build
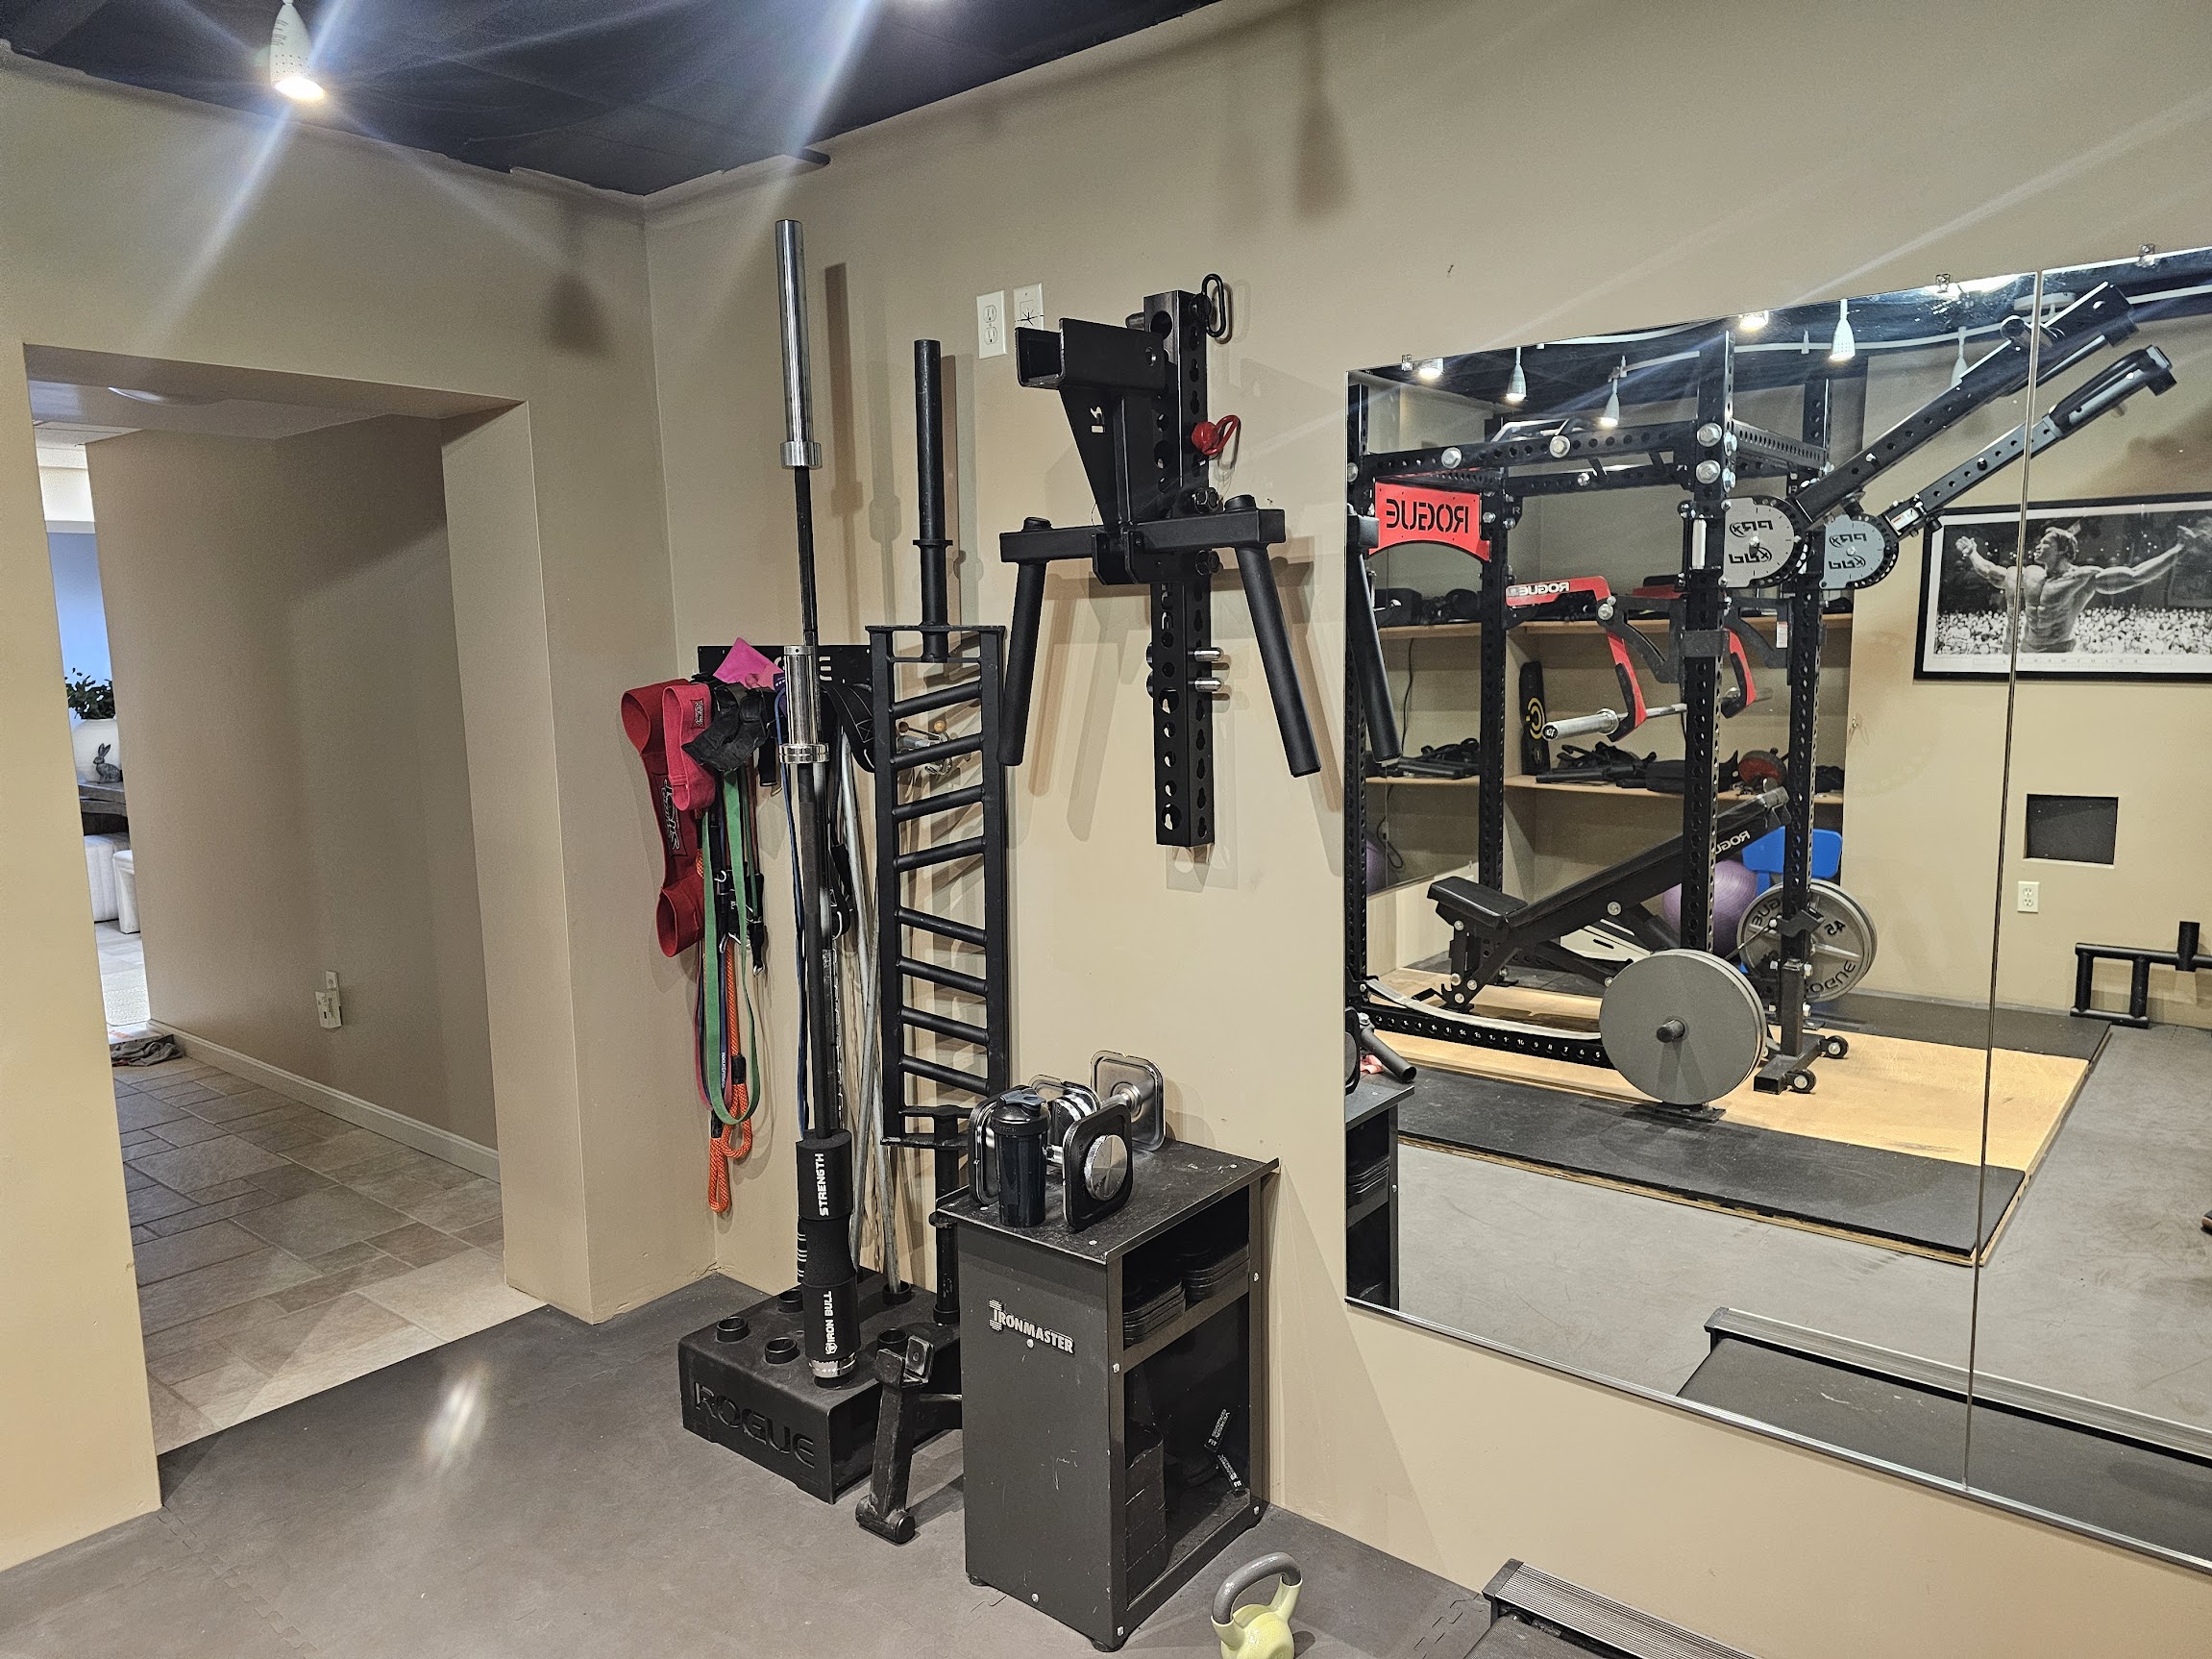
The accessories that made the gym came in over time. A landmine for rotational pressing and rows. A Matador dip bar that mounts to the rack uprights, no standalone dip station eating floor space, with a wall mount to stow it when not in use. Then the monolifts: a pivoting j-cup that lets you unrack in the strongest part of your range of motion rather than rotating your shoulders out over the hooks first. By the time it was fully built out, bars, dumbbells, plates, monolifts, jammer arms, landmine, and the Matador, it was all fitting in a space that had no business fitting all of it. Every inch was intentional.
 October 2020
 October 2020, alternate angle
New House: Built Out
The new house had a dedicated space for it. Started from empty, brought everything over, and built it back up, then kept going. Weight trees came out, wall mounts went in. Bar storage moved to the sides of the rack. The dip bar got its wall hanger. More floor, better layout, same equipment working harder.
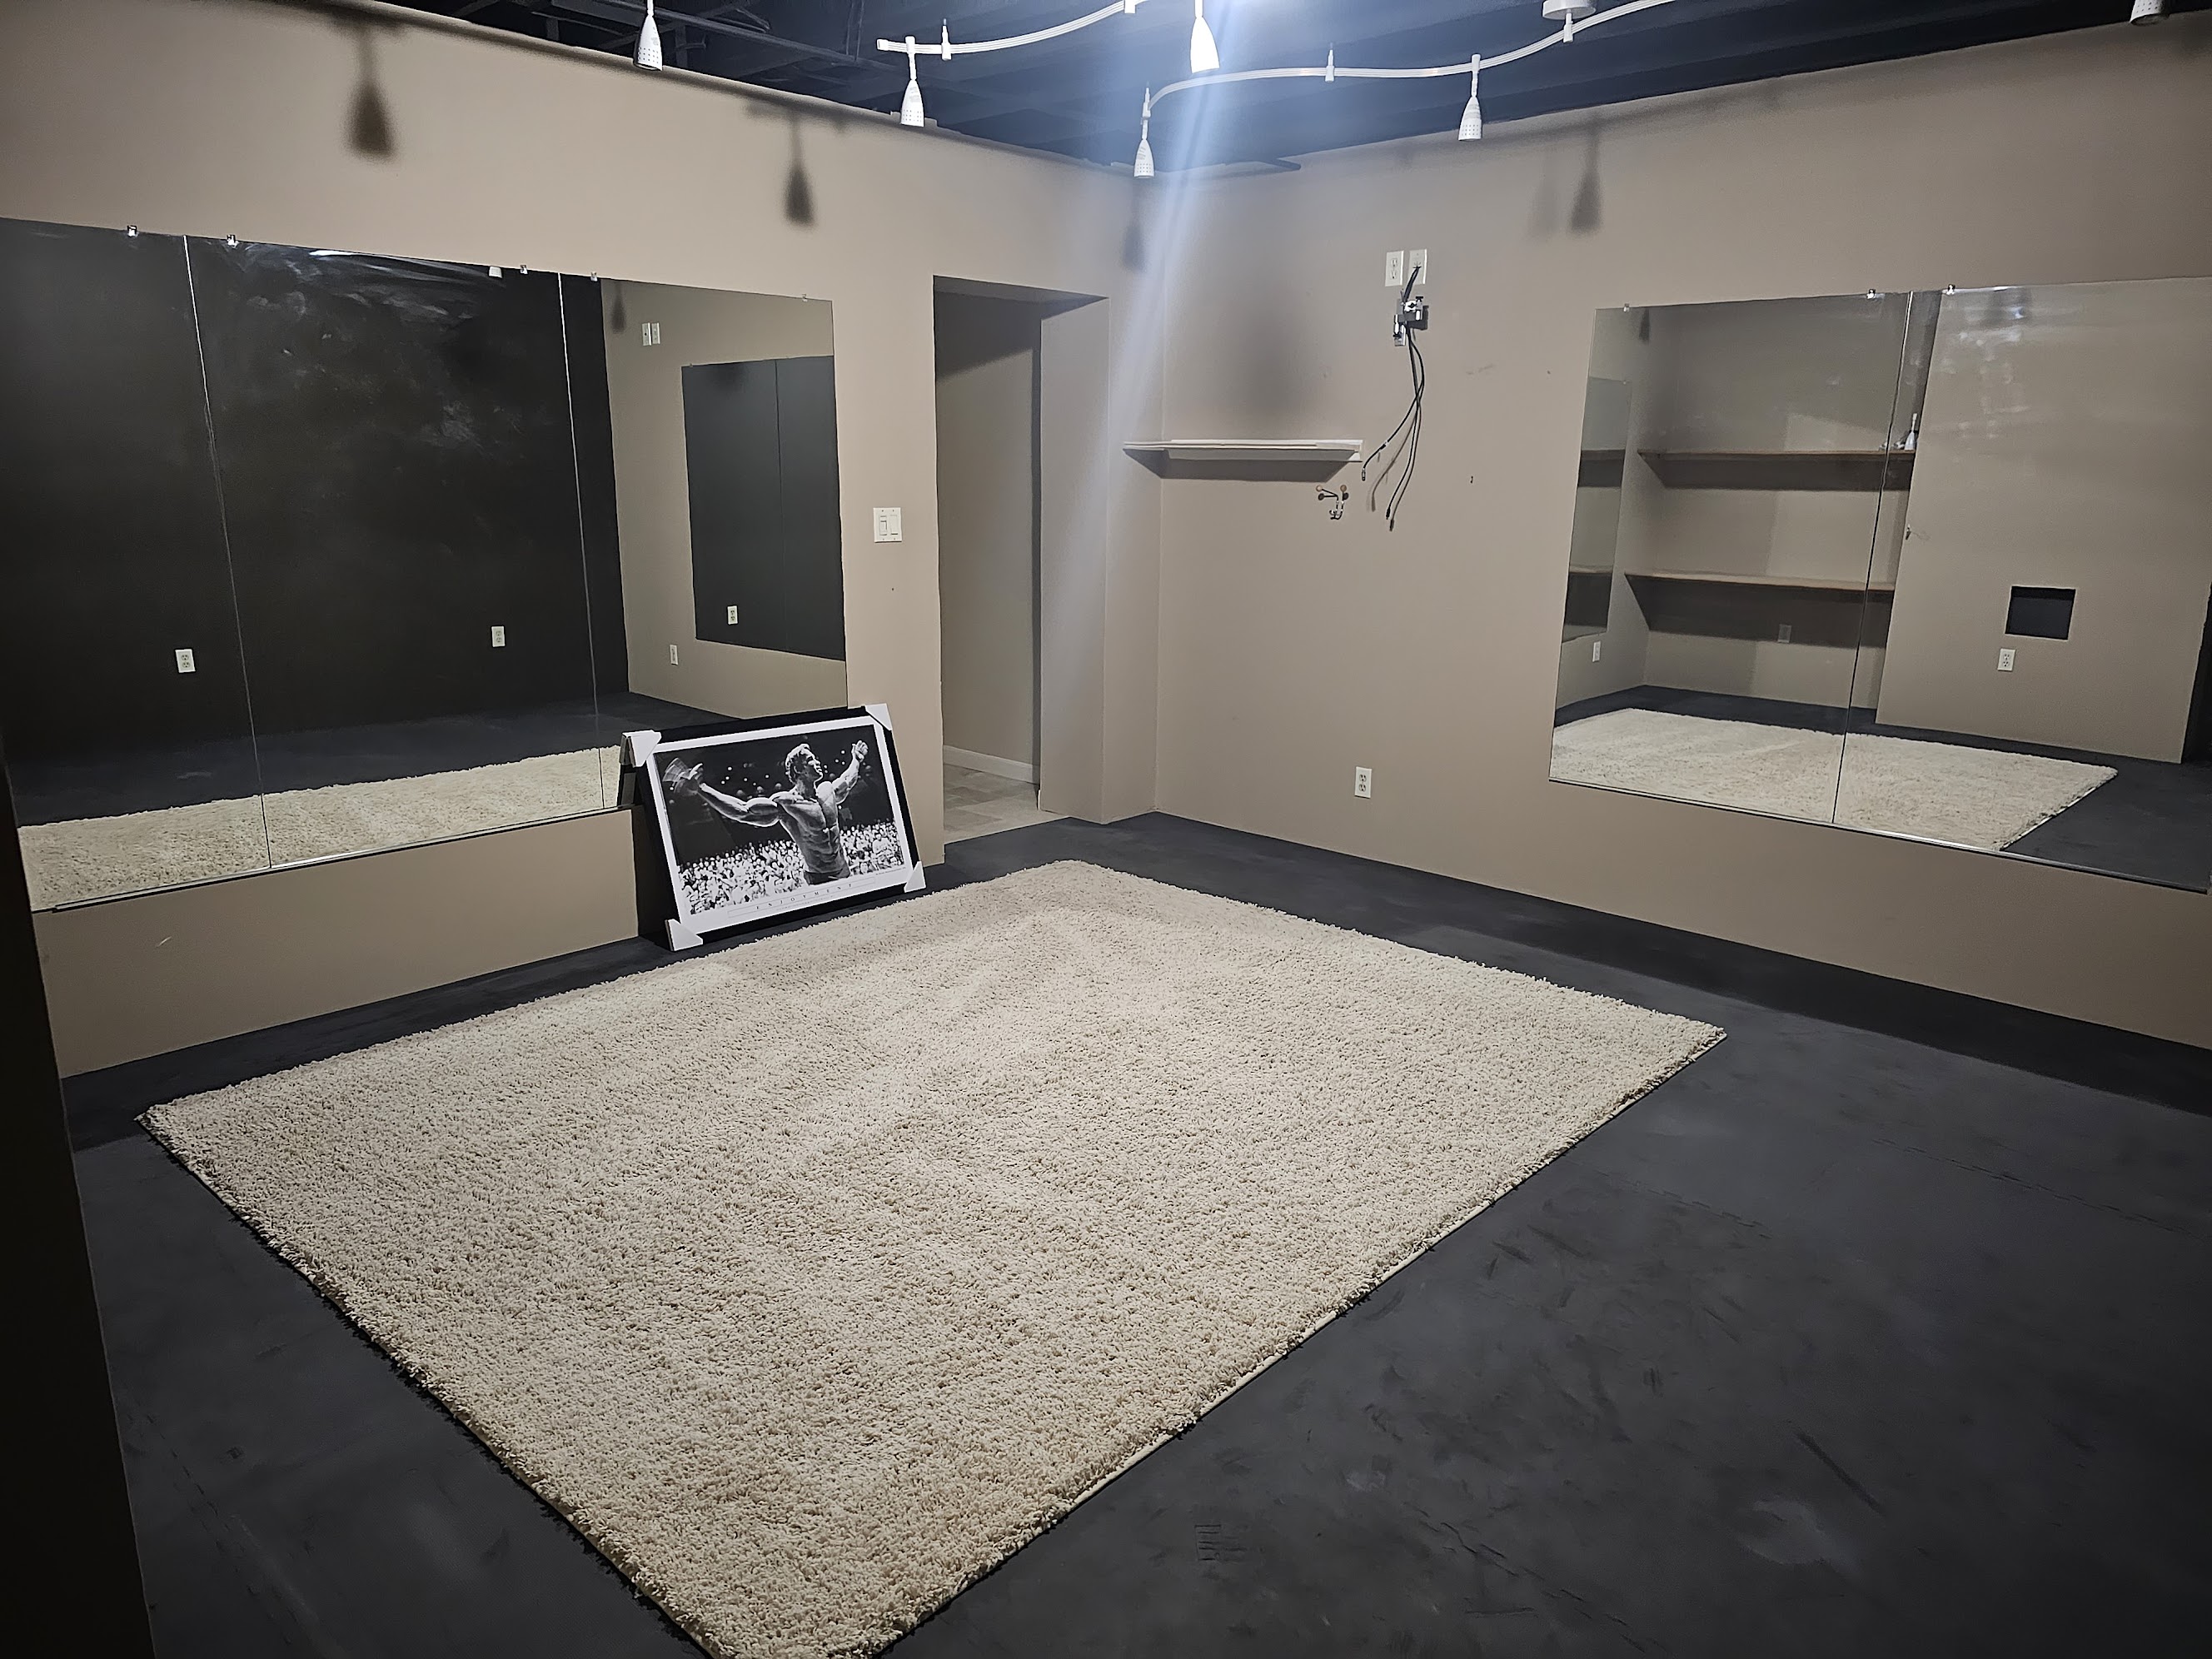 Empty, new house
 Equipment moved in
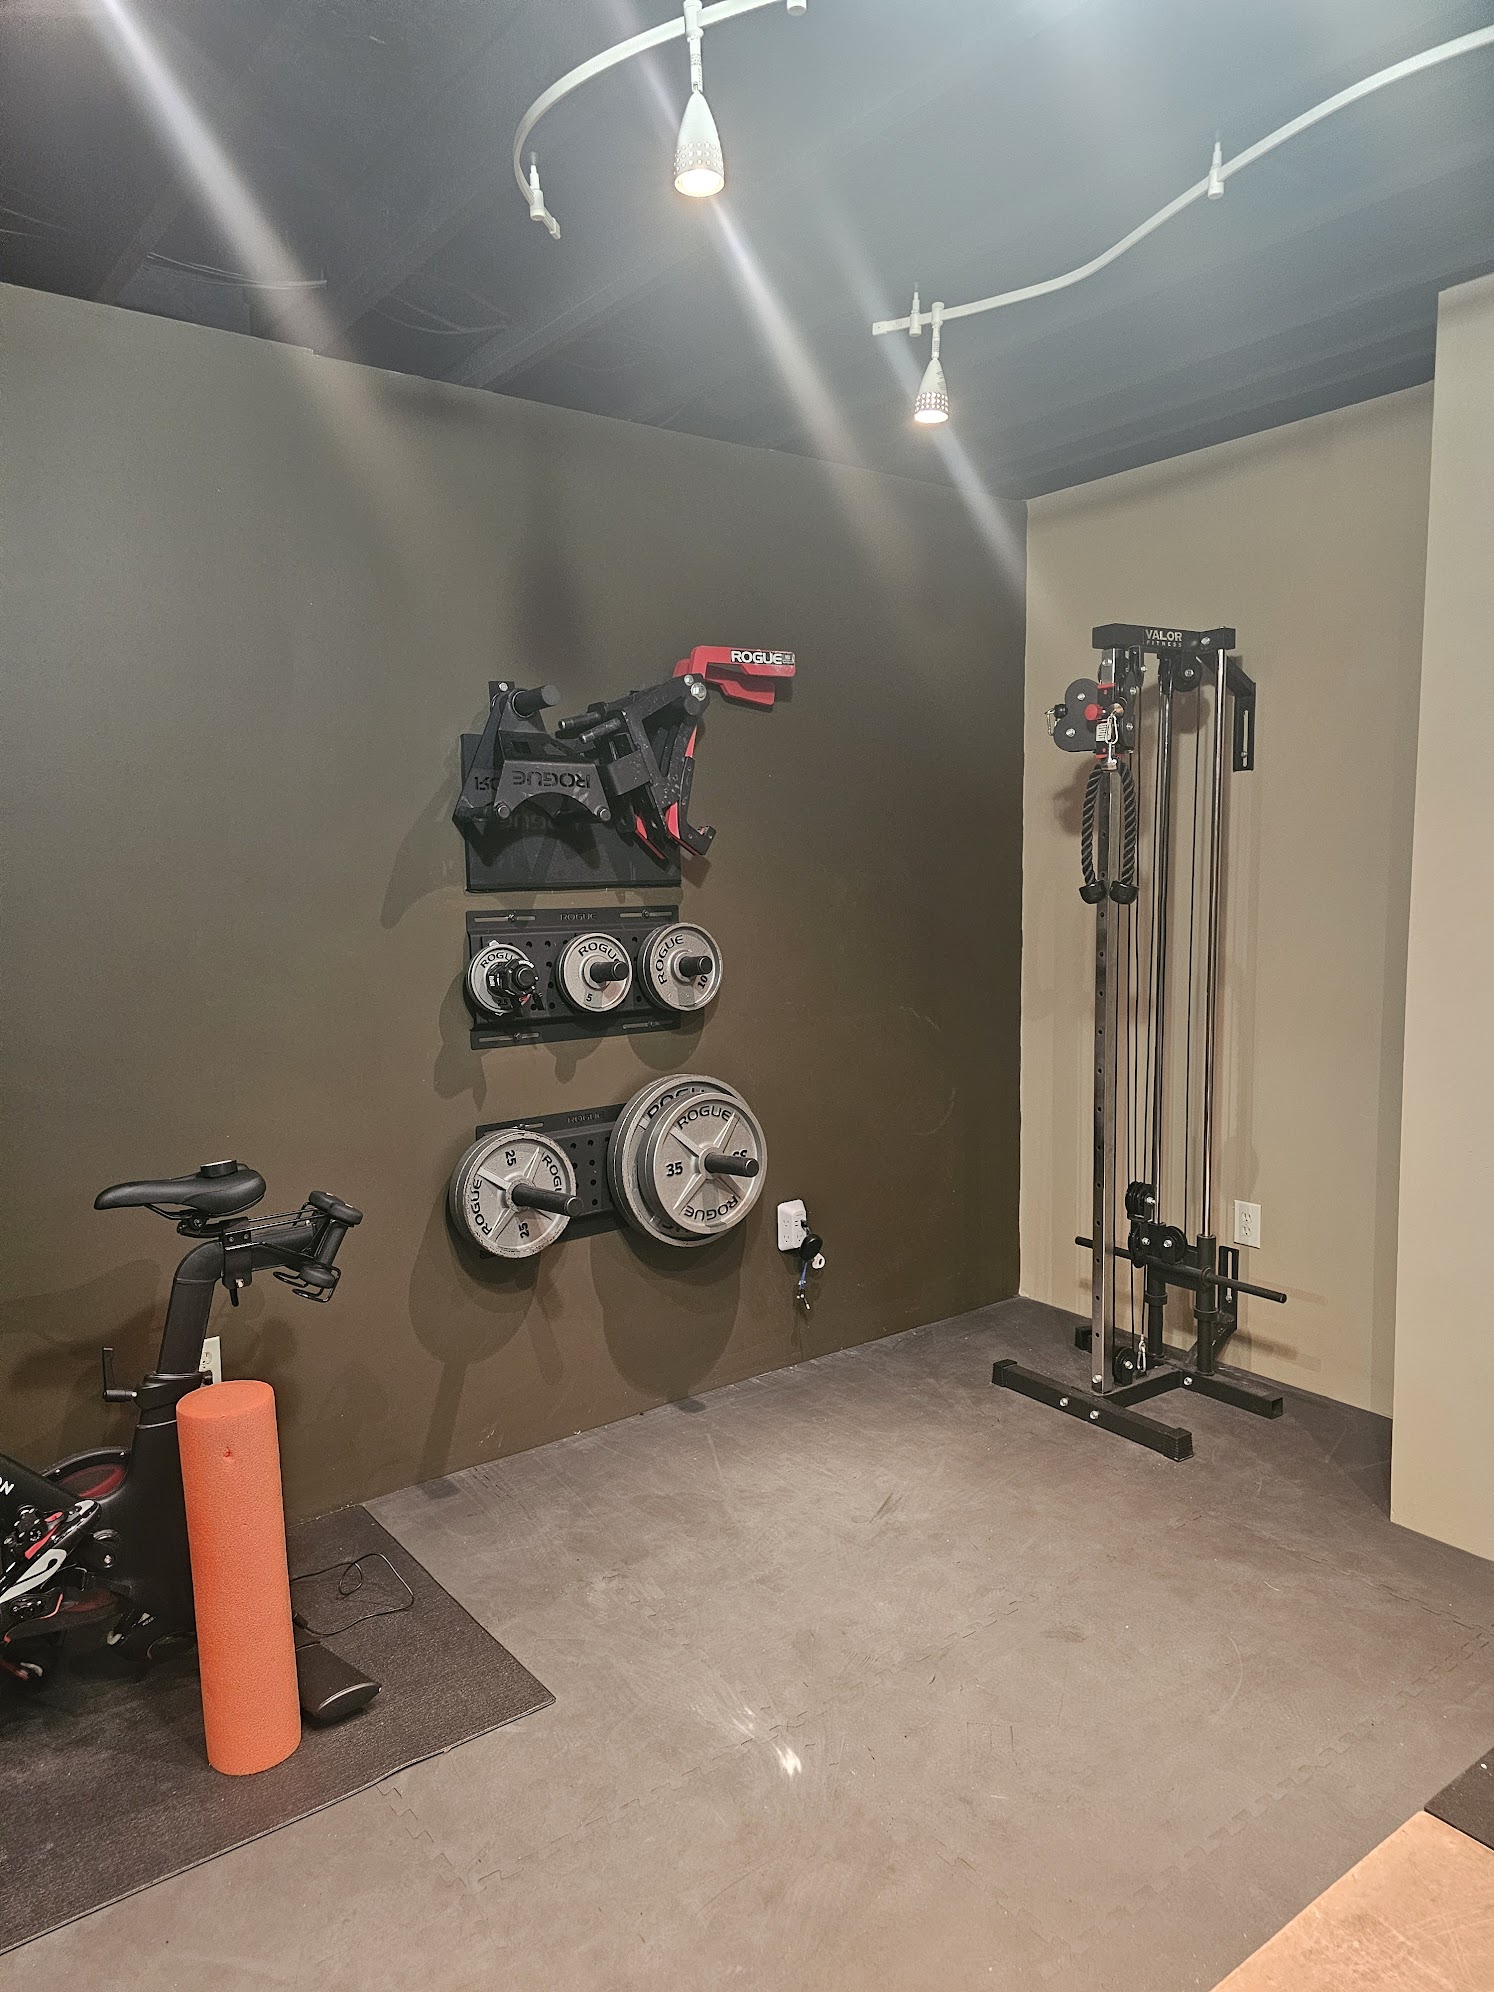 Wall mounts replace the trees
 Matador + wall storage
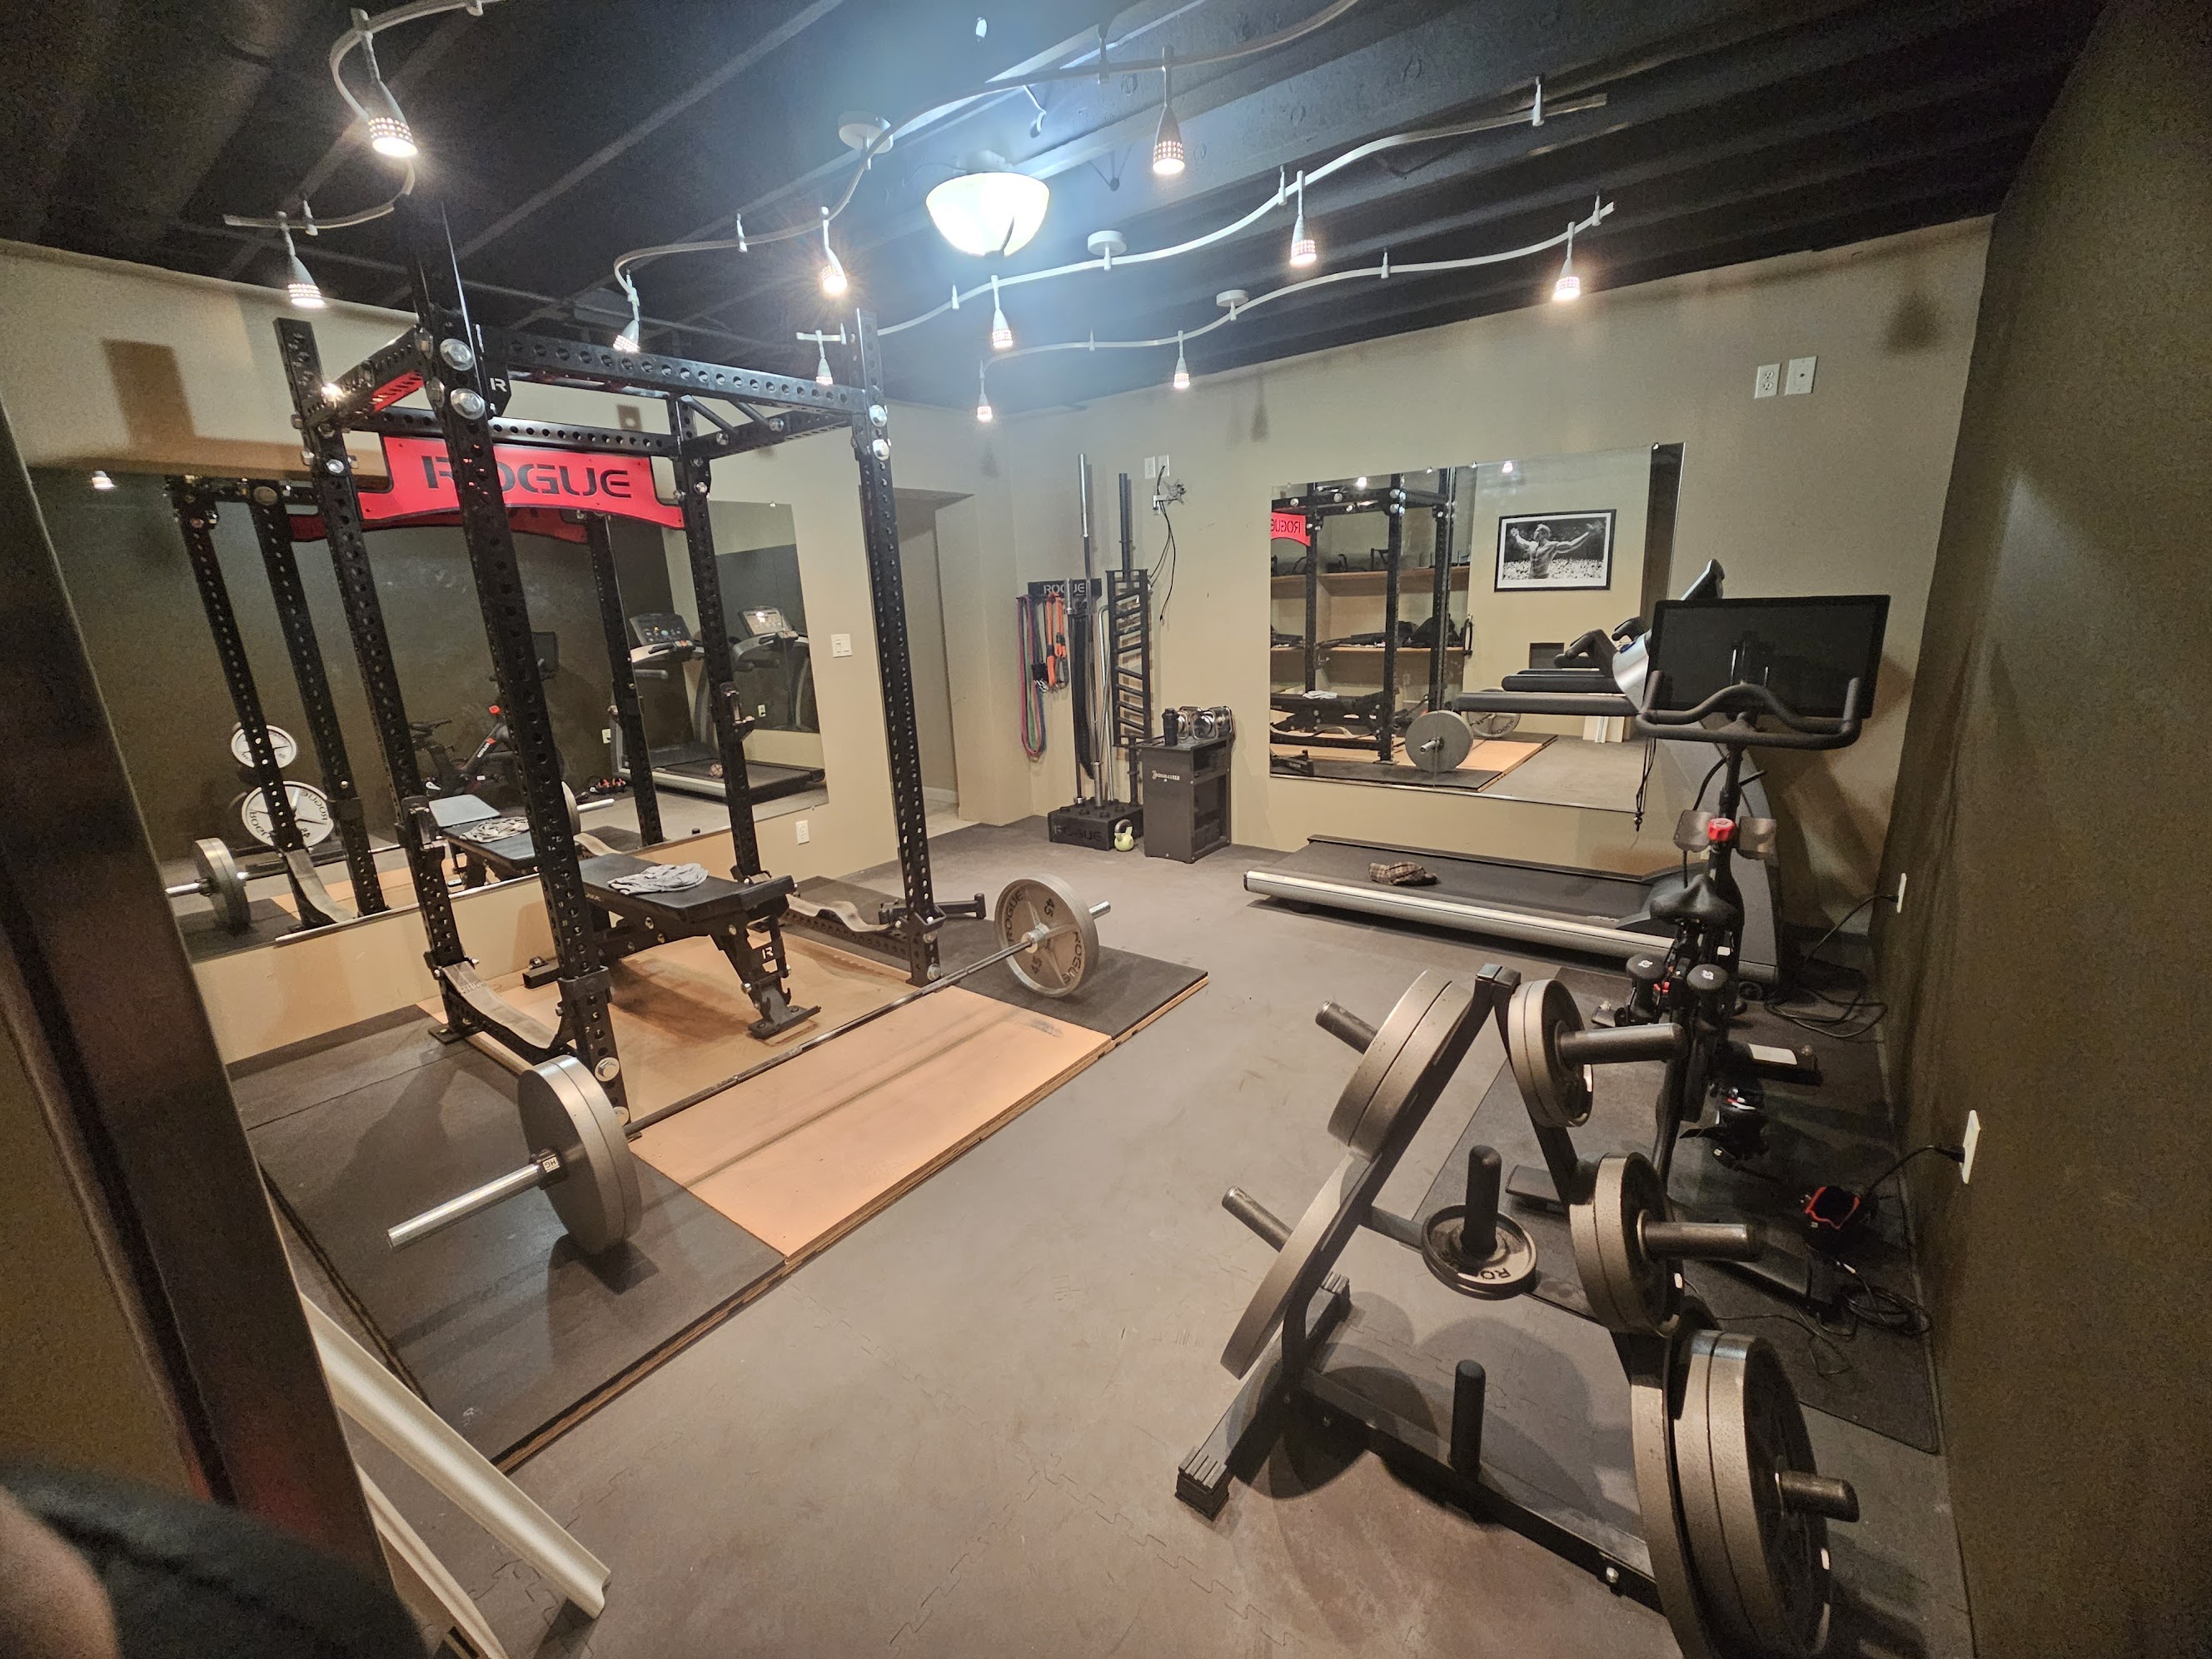
 Final state
Why It's Safer Here
The Two Features That Changed Everything
Lifting alone at home sounds riskier than lifting at a commercial gym. It isn't, not with the right setup. These two features are the reason.
Safety Straps
Far better than traditional J-cup safeties or spotter bars. The difference is in what happens when the weight comes down: straps catch and absorb it, where a hard bar bounces it back up, unpredictably, and with the potential to end up on your throat. Straps can also be set at different heights on each side of the bench, so the catch position is custom to where you actually need it. Even if the bar comes down straight, the throat stays clear.
Monolifts
Standard j-cups require you to rotate the bar forward off the hooks to unrack, which happens at the weakest part of the range of motion, shoulders rotated awkwardly out, before you've even started the lift. Monolifts pivot out of the way on unrack, so the bar travels straight down. You take it off in the strongest position: locked out, neutral shoulders. No walkout on squats, no rotation on bench. It's a mechanical advantage that matters most on heavy days alone.
Annual Benchmark
315 Bench: With Cooper in the Background
Every year since around 30, the check: can I still hit 315? This is one of those days. Cooper's in the background. The straps are in place. The monolifts do their job.